
Overwatering is the leading cause of houseplant death, yet it’s one of the most common mistakes even experienced gardeners make. When plant soil remains constantly wet, roots are deprived of oxygen, creating an ideal environment for root rot—a silent killer that can destroy a plant from the inside out. Recognizing the causes of soggy soil and understanding how to address them naturally not only saves your plants but also fosters healthier growth in the long term. This guide dives into the science behind waterlogged soil, identifies key warning signs, and provides practical, chemical-free solutions to keep your indoor garden thriving.
Understanding Why Plant Soil Stays Wet
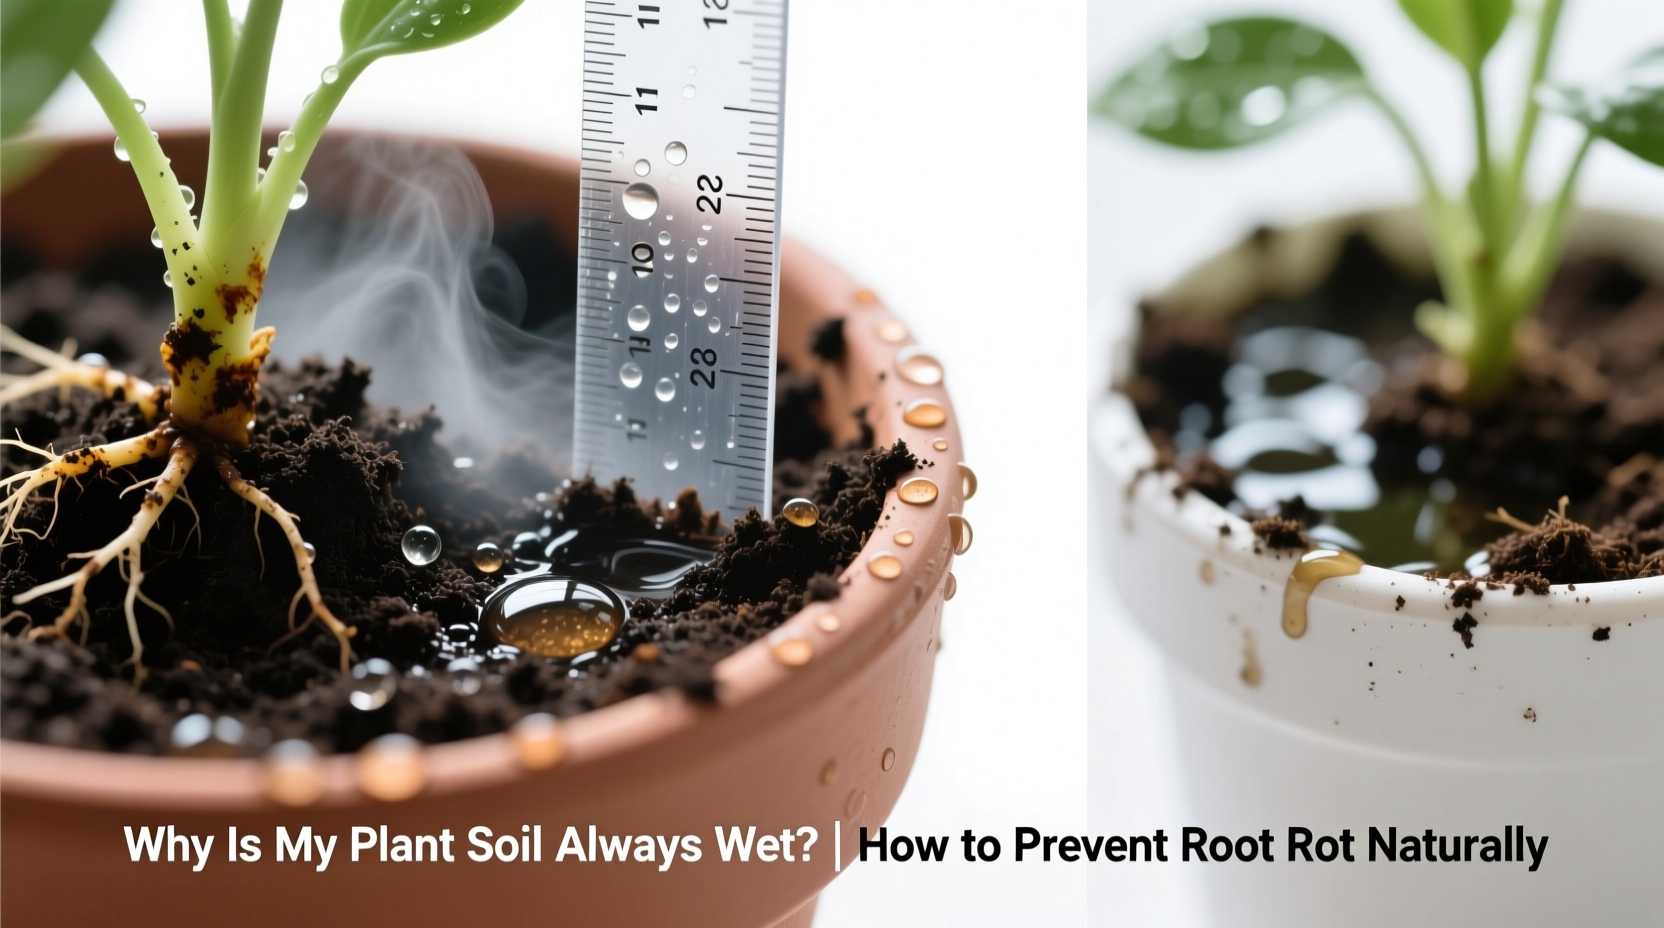
Wet soil isn’t always a sign of overwatering—sometimes, it's a symptom of deeper environmental or structural issues. The root cause often lies in a combination of poor drainage, inadequate pot design, or unsuitable growing conditions. Let’s break down the primary reasons soil remains saturated:
- Poor drainage in pots: Pots without drainage holes trap excess water, preventing it from escaping. Even with holes, compacted soil or clogged openings can hinder proper flow.
- Dense or low-quality soil: Garden soil or heavy potting mixes retain too much moisture and restrict air movement around roots.
- Low light and poor airflow: Plants in dim, stagnant environments transpire less, meaning they use less water, which accumulates in the soil.
- Overwatering habits: Watering on a fixed schedule rather than according to the plant’s needs leads to excess moisture buildup.
- Cool temperatures: Cold slows evaporation and reduces root activity, prolonging soil saturation.
The Science Behind Root Rot and Its Natural Prevention
Root rot occurs when anaerobic (oxygen-deprived) conditions develop in overly wet soil. In such environments, beneficial microbes die off while harmful fungi like Pythium, Fusarium, and Rhizoctonia thrive. These pathogens attack weakened roots, turning them mushy, dark, and foul-smelling. Once established, root rot spreads quickly and is difficult to reverse.
The best defense is prevention through natural, sustainable practices. Unlike chemical fungicides, which can harm beneficial organisms, natural methods promote a balanced ecosystem within the soil. Healthy soil biology helps suppress pathogens and strengthens plant resilience.
“Preventing root rot starts with mimicking natural conditions—plants evolved to experience dry periods between rains, not constant saturation.” — Dr. Lena Torres, Botanist & Urban Horticulture Specialist
Key Natural Strategies to Prevent Root Rot
Instead of reacting after damage occurs, focus on proactive, ecological solutions:
- Use well-aerated, fast-draining potting mixes tailored to your plant type (e.g., cactus mix for succulents).
- Incorporate natural amendments like perlite, pumice, or orchid bark to improve structure and porosity.
- Maintain consistent airflow with gentle ventilation—small fans can help mimic outdoor breezes.
- Leverage beneficial microbes such as mycorrhizal fungi and compost tea to support root health.
- Allow topsoil to dry between waterings to encourage healthy root respiration.
Step-by-Step Guide to Dry Out Wet Soil Naturally
If you’ve already noticed consistently soggy soil, don’t panic. Follow this step-by-step process to restore balance without harming your plant:
- Stop watering immediately. Assess the current moisture level and refrain from adding more until the soil dries significantly.
- Move the plant to a brighter location. Indirect sunlight increases transpiration and speeds up drying. Avoid direct sun if the plant is shade-loving.
- Improve airflow. Place a small fan nearby (on low) to circulate air around the foliage and soil surface.
- Loosen the top layer of soil. Gently aerate the surface with a fork or chopstick to allow moisture to evaporate faster.
- Remove saucers or outer pots holding water. Empty any standing water beneath the container within 15 minutes of watering.
- Repot if necessary. If the soil hasn’t dried after several days, remove the plant, inspect roots, trim decayed sections, and repot in fresh, well-draining mix.
Choosing the Right Soil and Pot for Optimal Drainage
The foundation of healthy roots begins with the right container and medium. Not all potting soils are created equal—many commercial blends contain too much peat moss, which holds water excessively and becomes hydrophobic when dry.
| Component | Function | Recommended Use |
|---|---|---|
| Perlite | Improves aeration and drainage | Ideal for most houseplants; use 1/3 of mix |
| Pumice | Drains well, retains some moisture | Great for succulents and orchids |
| Orchid Bark | Prevents compaction, allows root movement | Perfect for epiphytic plants like monstera |
| Coconut Coir | Sustainable alternative to peat; moderate water retention | Use in blends for tropicals |
| Activated Charcoal | Natural filter; reduces odors and fungal growth | Add 1–2% to potting mix |
Equally important is the choice of pot. Terracotta and unglazed ceramic pots are porous, allowing moisture to escape through the walls. Plastic and glazed ceramic retain more water, making them better suited for drought-tolerant species or dry climates. Always ensure pots have at least one drainage hole.
Mini Case Study: Reviving a Soggy Snake Plant
Sarah, a plant enthusiast in Portland, noticed her snake plant’s leaves turning yellow and feeling soft at the base. She had been watering it weekly, assuming consistency was key. Upon inspection, she found the soil remained wet for over ten days, and the roots were black and slimy—a classic case of root rot.
Following natural recovery steps, Sarah removed the plant, trimmed damaged roots with sterilized scissors, and repotted it in a terracotta pot filled with a mix of cactus soil, perlite, and orchid bark. She placed it near a bright window and waited two weeks before lightly watering. Within a month, new firm leaves emerged, and the plant stabilized. By adjusting her watering routine and improving soil structure, she prevented future issues without using chemicals.
Checklist: Prevent Wet Soil and Root Rot Naturally
Use this checklist regularly to maintain optimal root health:
- ✅ Check soil moisture before each watering
- ✅ Ensure pots have functional drainage holes
- ✅ Use a fast-draining, airy potting mix
- ✅ Empty saucers within 15 minutes after watering
- ✅ Provide adequate indirect light and airflow
- ✅ Repot every 1–2 years to refresh soil and prevent compaction
- ✅ Inspect roots during repotting for early signs of rot
- ✅ Adjust watering frequency seasonally (less in winter)
Frequently Asked Questions
How do I know if my plant has root rot?
Signs include yellowing or drooping leaves, stunted growth, mushy stems, and a foul odor from the soil. Gently remove the plant from its pot—if roots are brown, black, or slimy instead of firm and white, root rot is likely present.
Can a plant recover from root rot naturally?
Yes, if caught early. Remove affected roots, treat with hydrogen peroxide (1:4 ratio with water) or cinnamon (a natural antifungal), and repot in dry, sterile, well-draining mix. Avoid watering for at least a week to allow healing.
Is bottom watering safe if my soil is always wet?
No. Bottom watering adds moisture from below and can worsen saturation in already wet soil. Reserve this method for dry mixes and well-drained pots. For waterlogged soil, top drying and improved aeration are safer approaches.
Conclusion: Cultivate Healthier Roots, Naturally
Wet soil doesn’t have to mean doomed plants. With a deeper understanding of your plant’s needs and a few simple adjustments, you can create an environment where roots breathe, grow, and thrive. The key lies in observation—learning to read your plant’s signals and responding with intention rather than routine. By choosing the right soil, optimizing drainage, and respecting natural cycles of wet and dry, you empower your green companions to flourish without synthetic interventions.


 浙公网安备
33010002000092号
浙公网安备
33010002000092号 浙B2-20120091-4
Comments
No comments yet. Why don't you start the discussion?