
There’s nothing more frustrating than installing a fresh set of ink cartridges only to have your printer refuse to acknowledge them. The error message appears: “Cartridge not recognized,” “Ink not detected,” or worse—your printer simply ignores the new cartridge as if it were never installed. This issue affects users across brands like HP, Canon, Epson, Brother, and others. While it may seem like a hardware failure or defective product, most cases stem from preventable causes such as improper installation, outdated firmware, or protective tape left on the cartridge.
Before you return cartridges or assume your printer is failing, consider that the solution might be simpler than you think. With a methodical approach, many users can resolve recognition issues within minutes. This guide walks through the most common causes, practical fixes, and expert-backed strategies to get your printer working again—fast.
Common Causes of Ink Cartridge Recognition Failure
Printers use a combination of mechanical sensors, electrical contacts, and embedded microchips in cartridges to verify authenticity, monitor ink levels, and ensure compatibility. When any part of this system fails, the printer assumes the cartridge is missing, expired, or incompatible—even when it's brand new.
The most frequent reasons include:
- Protective tape still attached: Many cartridges come with plastic strips or orange tabs covering the contact points or air vents. Forgetting to remove these blocks communication between the cartridge and printer.
- Poor electrical contact: Dust, dried ink, or oxidation on the cartridge or printer’s internal contacts can disrupt signal transmission.
- Incompatible or third-party cartridges: Some printers reject non-OEM (original equipment manufacturer) cartridges unless firmware allows them.
- Firmware or software glitches: Outdated printer drivers or firmware bugs can cause false error messages.
- Improper insertion: Cartridges must be fully seated and aligned; even a slight misalignment prevents detection.
- Expired or reset chips: Refilled or remanufactured cartridges sometimes have chips that aren’t properly reset or programmed.
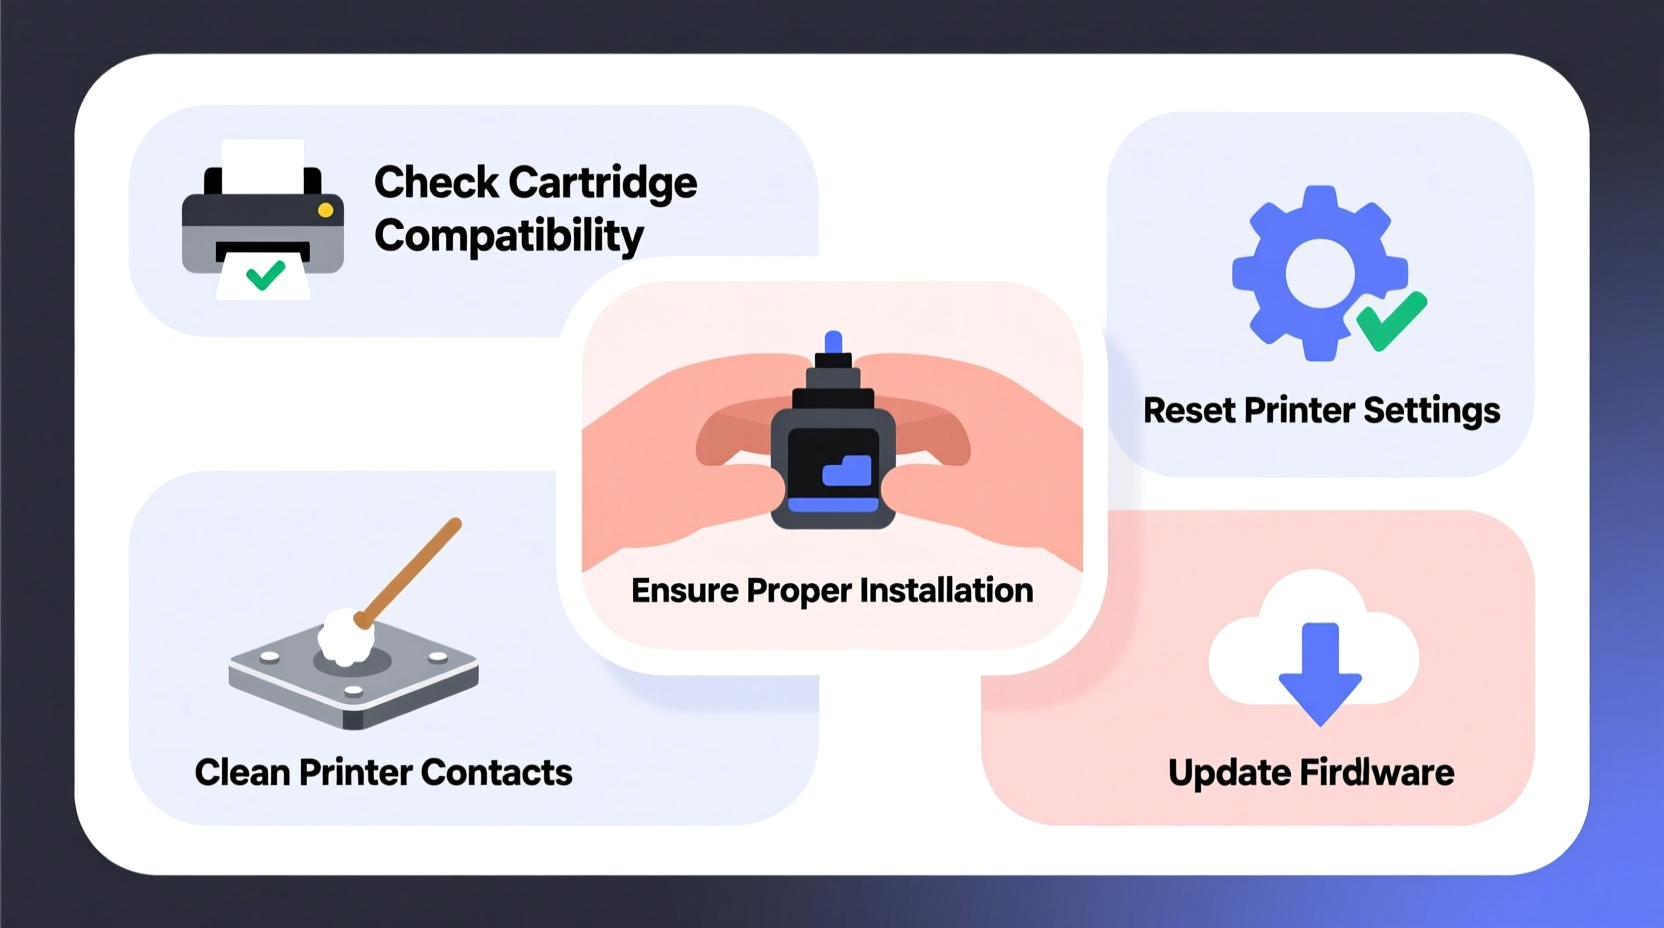
Step-by-Step Troubleshooting Guide
Follow this systematic process to identify and fix the root cause. Most problems are resolved by step 4.
- Power off the printer completely. Unplug it from the wall for at least 30 seconds. This resets internal memory and clears temporary errors.
- Remove all cartridges carefully. Open the access door and wait for the carriage to become accessible. Gently lift each cartridge out.
- Inspect for protective materials. Look closely at the bottom and sides of each cartridge. Remove any plastic tapes, pull-tabs, or stickers. On some HP models, an orange cap covers the vent—this must be removed.
- Clean the electrical contacts. Use a lint-free cloth slightly dampened with distilled water. Wipe the copper or gold contacts on both the cartridge and inside the printer carriage. Let dry completely before reinserting.
- Reinstall cartridges one at a time. Insert each cartridge firmly until it clicks into place. Do not force it—if resistance occurs, double-check orientation.
- Close the access door and power on. Wait for the printer to initialize. It may make calibration noises—this is normal.
- Run a nozzle check or alignment test. Access this via your printer’s maintenance menu or through your computer’s print settings.
If the issue persists after these steps, proceed to deeper diagnostics.
Do’s and Don’ts When Installing New Ink Cartridges
| Action | Do | Don't |
|---|---|---|
| Handling cartridges | Hold by the sides; avoid touching contacts or print head nozzles | Touch the copper contacts or ink outlets with bare fingers |
| Storage before use | Keep sealed in original packaging until ready to install | Leave cartridges exposed to air or sunlight for extended periods |
| Installation | Insert straight in with firm, even pressure until clicked | Force or tilt the cartridge during insertion |
| Troubleshooting | Power cycle the printer and clean contacts gently | Use alcohol or abrasive cleaners on electrical components |
| Using third-party inks | Choose reputable brands with chip-reset technology | Install unknown or heavily discounted off-brand cartridges without research |
Mini Case Study: Sarah’s HP Envy Stops Recognizing Black Ink
Sarah, a freelance graphic designer, replaced her HP Envy 5055’s black ink cartridge mid-project. After installation, the printer displayed “Ink Cartridge Problem” and refused to print. She tried restarting and reinstalling twice, but the error remained.
She checked online forums and discovered that HP cartridges often come with a thin transparent film over the electronic strip on the back. Her new cartridge still had this film intact. Using tweezers, she peeled it off completely. Upon reinsertion, the printer immediately recognized the cartridge and resumed normal operation.
This case highlights how a tiny oversight—a nearly invisible strip of plastic—can halt productivity. A quick visual inspection saved her from returning a functional cartridge or scheduling costly service.
“Over 60% of ‘defective’ cartridge returns we see are actually due to overlooked protective materials or dirty contacts.” — James Lin, Technical Support Lead at PrintCare Solutions
Firmware and Software Considerations
Modern printers rely heavily on firmware—the internal software that manages operations. If your printer’s firmware is outdated, it may fail to recognize newer cartridge models or updated chip formats.
To update firmware:
- Visit the manufacturer’s support website (e.g., hp.com/support, canon.com/support).
- Enter your printer model number.
- Download and install the latest firmware update using a USB cable or direct Wi-Fi connection.
Similarly, outdated printer drivers on your computer can cause communication errors. Reinstalling the latest driver from the manufacturer ensures compatibility and resolves false error reports.
Note: Some manufacturers intentionally block third-party cartridges via firmware updates. While controversial, this practice protects their ink sales. If you regularly use compatible cartridges, consider disabling automatic updates or checking community forums for workarounds.
Checklist: Quick Fixes for Printer Not Recognizing New Ink
Use this checklist to systematically eliminate potential issues:
- ✅ Power off and unplug the printer for 30+ seconds
- ✅ Verify all protective tapes, tabs, and films are removed
- ✅ Clean cartridge and printer contact points with a lint-free cloth
- ✅ Ensure cartridges are fully inserted and properly aligned
- ✅ Try installing cartridges one at a time to isolate the problem unit
- ✅ Update printer firmware and drivers to the latest version
- ✅ Reset printer settings to default (via control panel or software)
- ✅ Test with a known-working cartridge (if available)
- ✅ Check for error codes and consult the manual or support site
Frequently Asked Questions
Why does my printer say “cartridge not recognized” even with genuine OEM ink?
This can happen due to static discharge, dirty contacts, or a manufacturing defect in the cartridge chip. It may also occur after a recent firmware update that inadvertently altered compatibility. Try cleaning the contacts and reinstalling. If the issue continues, contact the manufacturer for a replacement under warranty.
Can I use refilled or third-party ink cartridges without issues?
You can, but success varies by brand and model. High-quality third-party cartridges with properly programmed chips usually work well. However, printers from HP, Epson, and Canon have increasingly aggressive anti-third-party measures. Look for cartridges labeled “guaranteed to work” or “chip-reset” and read user reviews before purchasing.
What should I do if only one color isn’t being recognized?
Focus troubleshooting on that specific cartridge. Remove it, clean its contacts, and inspect for damage. Swap positions temporarily (if your printer allows multi-cartridge models to share slots) to determine if the issue follows the cartridge or stays with the slot. If it follows the cartridge, it may be faulty. If it stays with the slot, the printer’s internal sensor or contact strip may need cleaning or repair.
When to Seek Professional Help
If you’ve completed all troubleshooting steps and the printer still doesn’t recognize new cartridges, the issue may lie beyond user repair. Possible hardware failures include:
- Damaged contact pins inside the cartridge slot
- Failed internal sensor or logic board
- Corrosion due to ink leakage
In such cases, professional servicing may cost more than replacing the printer—especially for older or low-end models. Evaluate the age and value of your device before proceeding. For business-critical environments, consider upgrading to a supported enterprise model with reliable ink systems and better customer support.
“Printer longevity isn’t just about hardware—it’s about consistent maintenance and using compatible supplies wisely.” — Maria Chen, Office Equipment Consultant
Final Thoughts and Call to Action
A printer that won’t recognize new ink cartridges is a common but solvable problem. In most cases, the fix requires no tools, no technical expertise, and certainly no panic. By understanding how printers communicate with cartridges and following a clear diagnostic path, you can save time, avoid unnecessary returns, and keep your workflow uninterrupted.
Start with the basics: power cycle, inspect for tape, clean contacts, and reinstall properly. Then move to software updates and compatibility checks. Keep this guide handy for future reference—because the next time a new cartridge fails to register, you’ll know exactly what to do.


 浙公网安备
33010002000092号
浙公网安备
33010002000092号 浙B2-20120091-4
Comments
No comments yet. Why don't you start the discussion?