
Printing a crucial document only to find blank pages emerging from your printer is both frustrating and time-consuming. Whether you're working from home, managing a small office, or handling last-minute school assignments, this issue can disrupt your workflow. The good news is that most causes of blank page printing are fixable without professional help. Understanding the root cause—whether it's clogged print heads, incorrect settings, or depleted ink—is the first step toward a quick resolution. This guide breaks down common culprits, offers practical fixes, and provides preventive strategies to keep your printer running smoothly.
Common Causes of Blank Page Printing
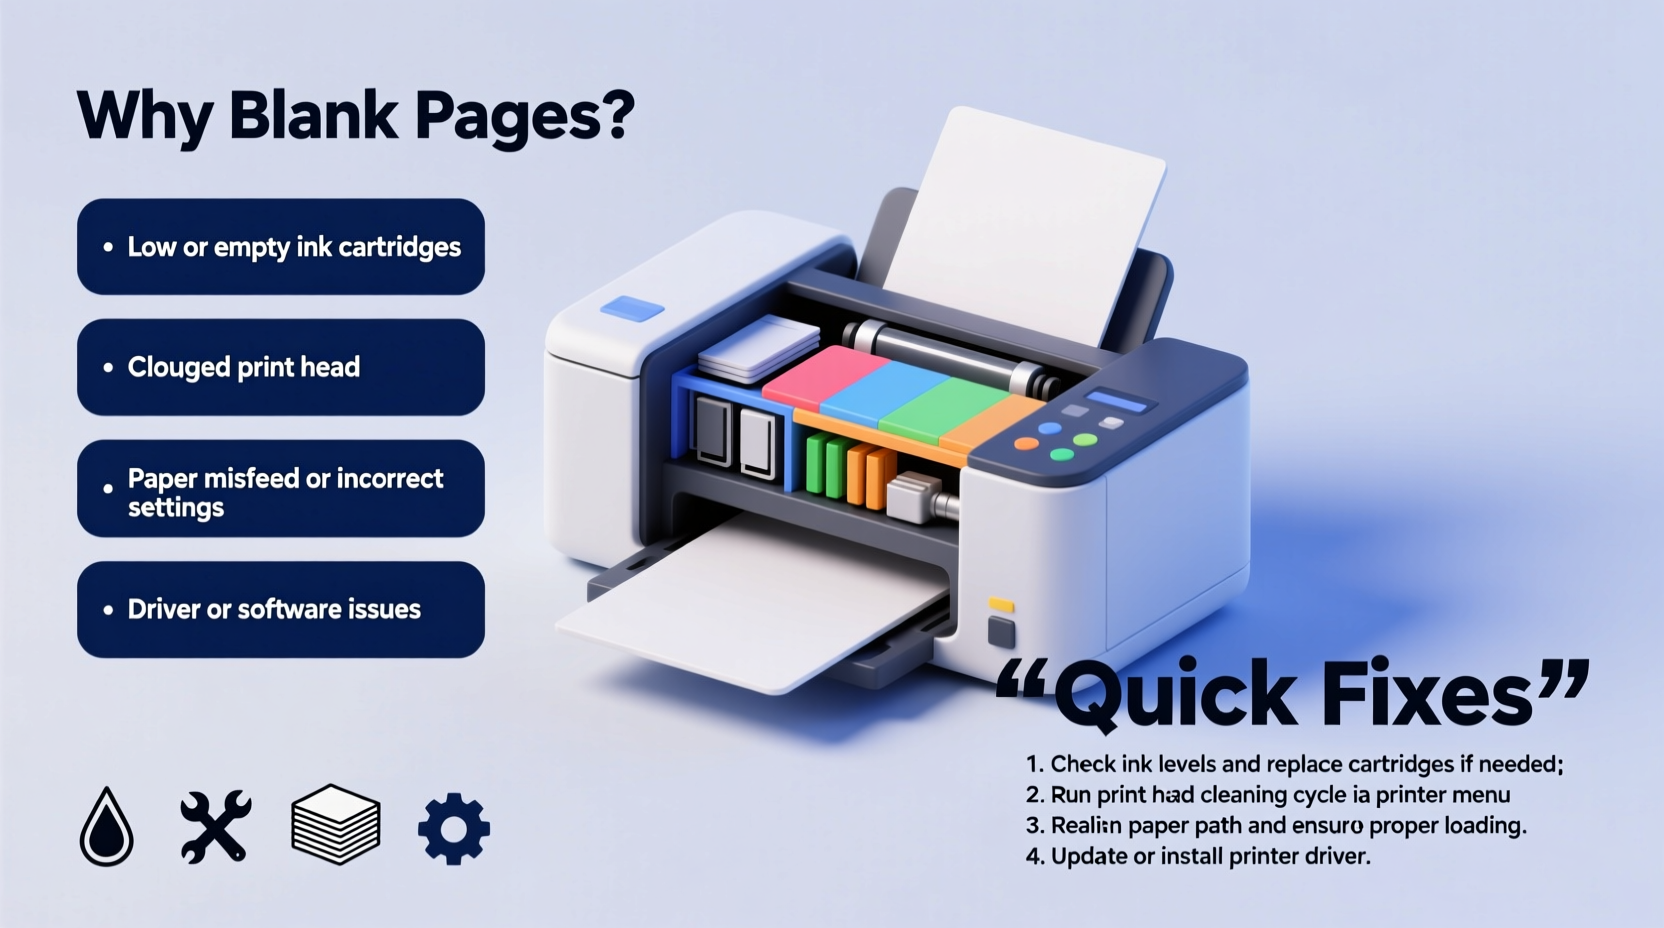
Blank pages don't always mean your printer is broken. Often, the issue lies in overlooked details like software settings, cartridge status, or internal hardware conditions. Identifying the exact cause saves time and prevents unnecessary part replacements.
- Clogged or dried print heads: Inkjet printers are prone to nozzle clogs when not used regularly, especially if low-quality ink is used.
- Empty or faulty ink cartridges: Even if a cartridge appears full, internal sensors may fail to detect ink flow.
- Incorrect print settings: Accidentally selecting \"Print in Grayscale\" with an empty black cartridge or enabling \"Background Graphics\" suppression can result in blank output.
- Firmware or driver issues: Outdated or corrupted printer drivers can miscommunicate with your computer, leading to incomplete print jobs.
- Paper type mismatch: Some printers refuse to print on unsupported media types, defaulting to blank sheets.
- Protective tape left on cartridges: A surprisingly common oversight—new cartridges sometimes ship with sealing tape still attached.
Step-by-Step Troubleshooting Guide
Follow this systematic approach to diagnose and fix blank page issues efficiently. Start with the simplest checks and progress to more involved solutions.
- Verify ink or toner levels. Open your printer’s software utility (usually accessible via system tray or control panel) and confirm all cartridges have sufficient ink. Replace any that are empty or near depletion.
- Run a nozzle check. For inkjet printers, print a nozzle alignment or diagnostic page. This reveals whether ink is being ejected properly. If lines are missing or broken, cleaning is required.
- Clean the print heads. Use the printer’s built-in cleaning function (found in maintenance settings). Run 1–2 cycles, then reprint the test page. Avoid excessive cleaning, as it wastes ink.
- Check print settings. Ensure “Grayscale,” “Economy Mode,” or “Draft Quality” aren’t suppressing ink usage. Also confirm the correct paper size and type are selected.
- Restart devices. Power off both the printer and computer. Wait 30 seconds, then restart them. This resets communication and clears temporary glitches.
- Update or reinstall drivers. Visit the manufacturer’s website, download the latest driver for your model, and install it fresh. Uninstall old versions first if needed.
- Inspect for stuck print jobs. Clear the print queue on your computer. Stalled jobs can interfere with new ones, causing unexpected behavior.
When to Perform Manual Cleaning
If automated cleaning fails, a manual approach may be necessary—especially for infrequently used printers. Turn off the device, unplug it, and open the cartridge access area. Using lint-free cloths dampened with distilled water (not tap water), gently wipe the print head contacts and nozzles. Do not use alcohol unless specified by the manufacturer, as it can damage rubber seals.
“Many blank page issues stem from user error or preventable neglect. Regular use and proper storage significantly reduce mechanical failures.” — David Lin, Senior Technician at PrintCare Solutions
Do’s and Don’ts: Printer Maintenance Best Practices
| Do’s | Don’ts |
|---|---|
| Print at least once a week to prevent ink drying | Leave cartridges out of the printer for extended periods |
| Use genuine or high-quality compatible cartridges | Ignore low-ink warnings until complete failure |
| Store unused printers in dry, dust-free environments | Shake toner cartridges vigorously (can disrupt powder distribution) |
| Align cartridges after replacement | Use compressed air directly on print heads (can force debris deeper) |
| Keep firmware updated through manufacturer tools | Install third-party software claiming to boost printer performance |
Real-World Example: Fixing a Home Office Emergency
Sarah, a freelance graphic designer, faced a critical deadline when her HP Envy 5055 started producing blank pages mid-project. She had replaced the black cartridge two days prior but hadn’t removed the protective tape fully—it was tucked beneath the label and nearly invisible. After ruling out connectivity and driver issues, she re-examined the cartridge under bright light and spotted the thin strip of plastic. Removing it restored full functionality immediately. While the solution was simple, the delay cost her 45 minutes of troubleshooting. Her takeaway? Always inspect new cartridges under good lighting before installation.
This scenario underscores how easily small oversights lead to major disruptions. It also highlights the importance of methodical diagnostics—eliminating one possibility at a time—to avoid jumping to costly conclusions like buying a new printer.
Advanced Fixes for Persistent Problems
If basic steps fail, consider these advanced interventions:
Deep Cleaning with Manufacturer Tools
Some brands offer dedicated utilities for deep cleaning. For example, Epson’s Printer Utility includes a “Head Deep Cleaning” mode that applies stronger suction to unclog stubborn nozzles. Canon’s MP Navigator EX allows users to adjust cleaning intensity. These tools should be used sparingly, as they consume significant ink.
Resetting Printer Settings to Factory Defaults
Misconfigured preferences can override normal operation. Access your printer’s control panel and locate “Restore Default Settings” under setup or tools. This resets network, print quality, and maintenance settings. Note: You’ll need to reconfigure Wi-Fi and custom options afterward.
Checking for Internal Paper Sensor Errors
Laser printers often rely on optical sensors to detect paper and trigger toner application. Dust buildup on these sensors can cause the printer to believe no paper is present, resulting in blank output. Power down the unit, open accessible panels, and use a cotton swab lightly dampened with isopropyl alcohol to clean sensor windows.
Preventive Checklist for Long-Term Reliability
Prevention is far more efficient than repair. Use this checklist monthly to maintain peak printer performance:
- ✅ Print a test page weekly
- ✅ Check ink/toner levels every two weeks
- ✅ Clean exterior vents and paper feed rollers with a dry cloth
- ✅ Verify firmware updates quarterly
- ✅ Store spare cartridges in sealed containers away from heat and sunlight
- ✅ Replace ink cartridges within six months of opening (drying risk increases over time)
- ✅ Keep the printer covered when not in use for long stretches
Frequently Asked Questions
Why does my printer print blank pages even with new ink?
New cartridges may have shipping tape still attached, or they might not be seated correctly. Additionally, some remanufactured cartridges have faulty chips that prevent communication with the printer. Try reinserting the cartridge firmly or testing with another known-working unit.
Can a printer run out of ink suddenly without warning?
Yes. Ink level sensors are estimates, not precision instruments. Sudden drops can occur due to temperature changes, air bubbles in the cartridge, or sensor calibration errors. Always keep a backup cartridge for mission-critical tasks.
Is it worth fixing an older printer with recurring blank page issues?
Consider the cost of replacement parts versus a new model. If your printer is over three years old and requires frequent cleaning or cartridge replacements, investing in a newer, more reliable model may save money and frustration in the long run.
Conclusion: Take Control of Your Printing Experience
Blank pages are rarely a death sentence for your printer. With a logical approach, most issues can be resolved in under 30 minutes using tools you already have. The key is understanding your device’s behavior, maintaining consistent care, and acting promptly when problems arise. Don’t let a minor malfunction derail your productivity. Apply these strategies today—clean those nozzles, double-check your settings, and keep your printer active. A little attention goes a long way in ensuring crisp, reliable prints every time.


 浙公网安备
33010002000092号
浙公网安备
33010002000092号 浙B2-20120091-4
Comments
No comments yet. Why don't you start the discussion?