
Smart thermostats are designed to make home climate control effortless, efficient, and precise. But when your device starts reporting temperatures that don’t match reality—like saying it’s 78°F in a room that feels icy—it defeats the purpose. Inaccurate readings can lead to discomfort, wasted energy, and even HVAC strain. The good news: most calibration issues are fixable with the right approach.
This guide walks you through the common causes of erratic smart thermostat behavior, how to verify if your device is truly off, and a step-by-step process to recalibrate or correct its performance. Whether you own a Nest, Ecobee, Honeywell T9, or another model, the principles apply across brands.
Understanding Smart Thermostat Accuracy
While marketed as highly intelligent, smart thermostats rely on internal sensors and algorithms that aren't immune to environmental interference. Most devices use thermistors—temperature-sensitive resistors—to measure ambient air temperature. These sensors are generally accurate within ±0.5°F to ±1°F under ideal conditions. However, real-world factors like placement, airflow, and internal electronics can skew results.
The U.S. Department of Energy notes that even a 2°F variance in thermostat readings can increase heating and cooling costs by up to 4%. Over time, persistent inaccuracies may force your HVAC system to overwork, reducing efficiency and lifespan.
“Thermostat accuracy is foundational to both comfort and energy savings. A miscalibrated unit doesn’t just misread—it mismanages your entire home’s climate.” — Dr. Alan Reeves, Building Efficiency Researcher at NREL
Common Causes of Inaccurate Temperature Readings
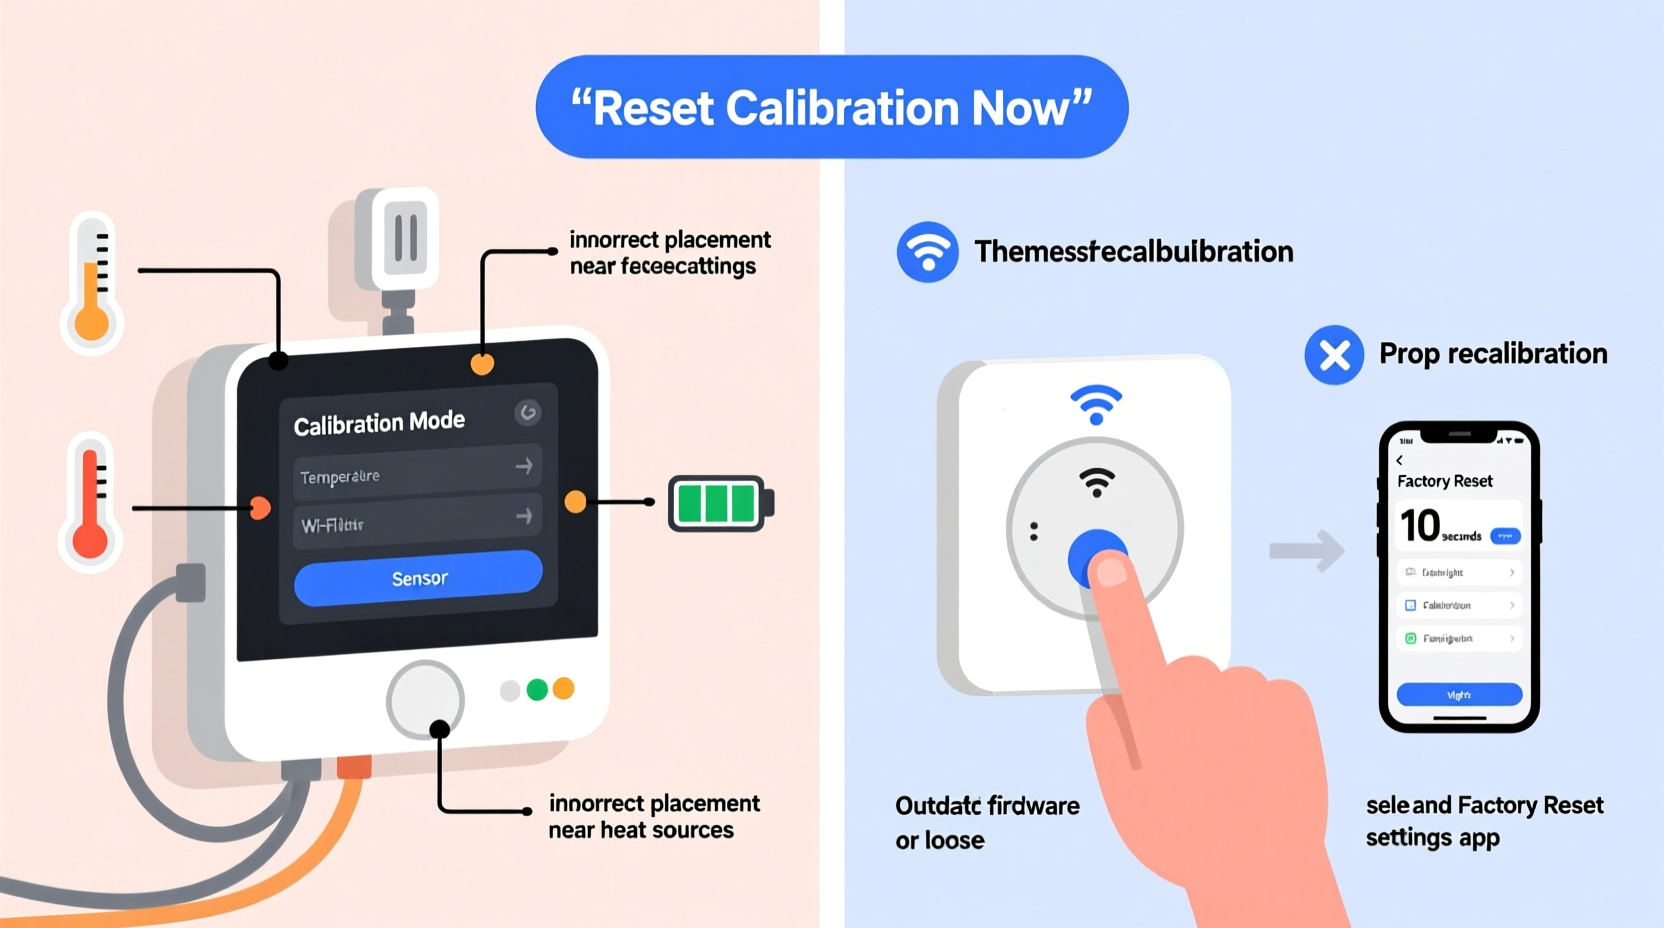
Before attempting recalibration, identify what might be causing the discrepancy. Many “faulty” thermostats are simply reacting to poor conditions.
- Poor Placement: Installing near windows, exterior walls, kitchens, or direct sunlight exposes the sensor to heat sources unrelated to room temperature.
- Airflow Obstruction: Furniture, curtains, or cabinets blocking the thermostat can create microclimates around the device.
- Heat from Electronics: TVs, lamps, or other electronics nearby emit radiant heat, tricking the sensor into thinking the room is warmer than it is.
- Drafts or Vents: Mounting directly above or below an air vent leads to false highs or lows depending on system activity.
- Firmware Bugs: Outdated or buggy software can cause incorrect display values despite accurate sensing.
- Sensor Drift: Over years, electronic components degrade slightly, leading to gradual calibration loss.
Step-by-Step Guide to Recalibrating Your Smart Thermostat
Recalibration isn’t always a manual process—many smart thermostats self-calibrate during setup or firmware updates. But when readings persistently deviate, follow this structured method to restore accuracy.
- Verify the Problem: Place a calibrated digital thermometer beside the thermostat. Close doors and windows, avoid direct sunlight, and wait at least 30 minutes. Compare readings after the space stabilizes.
- Check for Physical Interference: Ensure no lights, appliances, or vents are influencing the immediate area. Relocate temporary heat sources.
- Restart the Device: Power down the thermostat (via breaker or removal from wall) for 30 seconds, then reconnect. This resets sensor logic and clears transient errors.
- Update Firmware: Open the companion app (e.g., Google Home, Ecobee App). Navigate to settings and confirm the latest firmware is installed. Updates often include sensor corrections.
- Access Calibration Settings:
- Nest: Go to Settings > Equipment > Temperature Correction. Adjust offset in 0.5°F increments.
- Ecobee: Menu > Settings > Preferences > Temperature Offset. Modify per sensor if using remote sensors.
- Honeywell: System > Installation > Advanced > Sensor Calibration.
- Apply Temperature Offset: If your thermometer reads 70°F but the thermostat shows 73°F, set a -3°F offset. Avoid extreme adjustments (>±5°F); they suggest deeper issues.
- Test Over 24 Hours: Monitor changes across different times of day and HVAC cycles. Accuracy should stabilize within normal range.
If the problem persists after these steps, consider relocating the thermostat—a task best done by an HVAC professional to avoid wiring complications.
Do’s and Don’ts of Smart Thermostat Maintenance
| Do | Don’t |
|---|---|
| Install away from direct sunlight and heat sources | Mount near kitchens, bathrooms, or windows |
| Use a standalone thermometer to validate readings quarterly | Assume the display is always accurate |
| Keep firmware updated automatically | Ignore app notifications about software updates |
| Clean dust from vents and around thermostat monthly | Use compressed air or liquids near internal circuitry |
| Leverage remote sensors for multi-room accuracy | Rely solely on the main unit’s reading in large homes |
Real-World Example: Fixing a Misleading Nest in a Two-Story Home
In suburban Denver, Sarah noticed her upstairs was consistently too warm despite setting her Nest Learning Thermostat to 68°F. The display read 69°F, but a handheld hygrometer showed only 65°F. Frustrated, she adjusted settings lower, increasing heating bills without improving comfort.
After consulting a technician, she discovered two issues: the thermostat was mounted next to a recessed LED light that emitted heat during evening hours, and the second-floor layout caused uneven airflow. The Nest, sensing localized warmth, prematurely shut off the heat, leaving the rest of the floor cold.
The solution involved relocating the thermostat to a shaded interior hallway and enabling a remote room sensor in the far bedroom. She also applied a +2°F offset to account for slight sensor drift detected during testing. Within days, temperature consistency improved, and her energy usage dropped by 12% according to her utility bill.
When Recalibration Isn’t Enough: Hardware & Environmental Fixes
Sometimes, no amount of calibration will resolve inaccurate readings because the issue lies beyond software adjustment.
Consider replacing the unit if:
- The temperature offset required exceeds ±5°F regularly.
- Readings fluctuate wildly without environmental cause (e.g., jumping from 68°F to 75°F in five minutes).
- The device fails diagnostics in the manufacturer’s app.
- It’s older than 5–7 years—sensor degradation becomes more likely.
Alternatively, assess your HVAC system. Dirty filters, blocked ducts, or refrigerant leaks can cause inconsistent room temperatures, making the thermostat appear faulty when it's actually responding correctly to poor airflow.
For homes with multiple zones, consider upgrading to a zoned HVAC control system paired with multi-sensor thermostats. Brands like Ecobee and Honeywell offer models that aggregate data from several sensors to balance overall comfort.
Frequently Asked Questions
Can I manually calibrate any smart thermostat?
Most modern smart thermostats allow some form of offset adjustment via their settings menu, though full hardware-level recalibration requires factory tools. User-accessible \"temperature correction\" features let you compensate for known discrepancies without opening the device.
Why does my thermostat read differently than my phone’s weather app?
Weather apps show outdoor temperatures, often from regional stations miles away. Indoor thermostats measure ambient air at their specific location. Differences of 10–20°F are normal. Focus on consistency between your thermostat and a trusted indoor thermometer, not external forecasts.
How often should I check my thermostat’s accuracy?
Twice a year—once before summer cooling season and once before winter heating—is sufficient for most homes. More frequent checks may be needed in environments with high humidity, temperature extremes, or older HVAC systems.
Maintenance Checklist for Reliable Performance
Stay ahead of calibration issues with regular maintenance. Follow this checklist every six months:
- ✅ Verify thermostat reading against a calibrated digital thermometer
- ✅ Inspect for nearby heat sources (lights, electronics, sunlight)
- ✅ Clean dust from thermostat housing and surrounding wall area
- ✅ Confirm Wi-Fi connectivity and app functionality
- ✅ Check for available firmware updates
- ✅ Test HVAC startup and response time
- ✅ Review battery levels (if applicable)
- ✅ Evaluate need for remote sensors in distant rooms
Document your findings each time. A simple log helps detect slow sensor drift or recurring patterns linked to seasonal changes.
Conclusion: Take Control of Your Home Climate
An erratic smart thermostat doesn’t mean you’re stuck with discomfort or rising energy bills. Most accuracy issues stem from placement, environmental factors, or minor calibration needs—all within your power to fix. By understanding how your device measures temperature, applying precise offsets, and maintaining optimal conditions, you restore both trust and efficiency to your smart home system.


 浙公网安备
33010002000092号
浙公网安备
33010002000092号 浙B2-20120091-4
Comments
No comments yet. Why don't you start the discussion?