
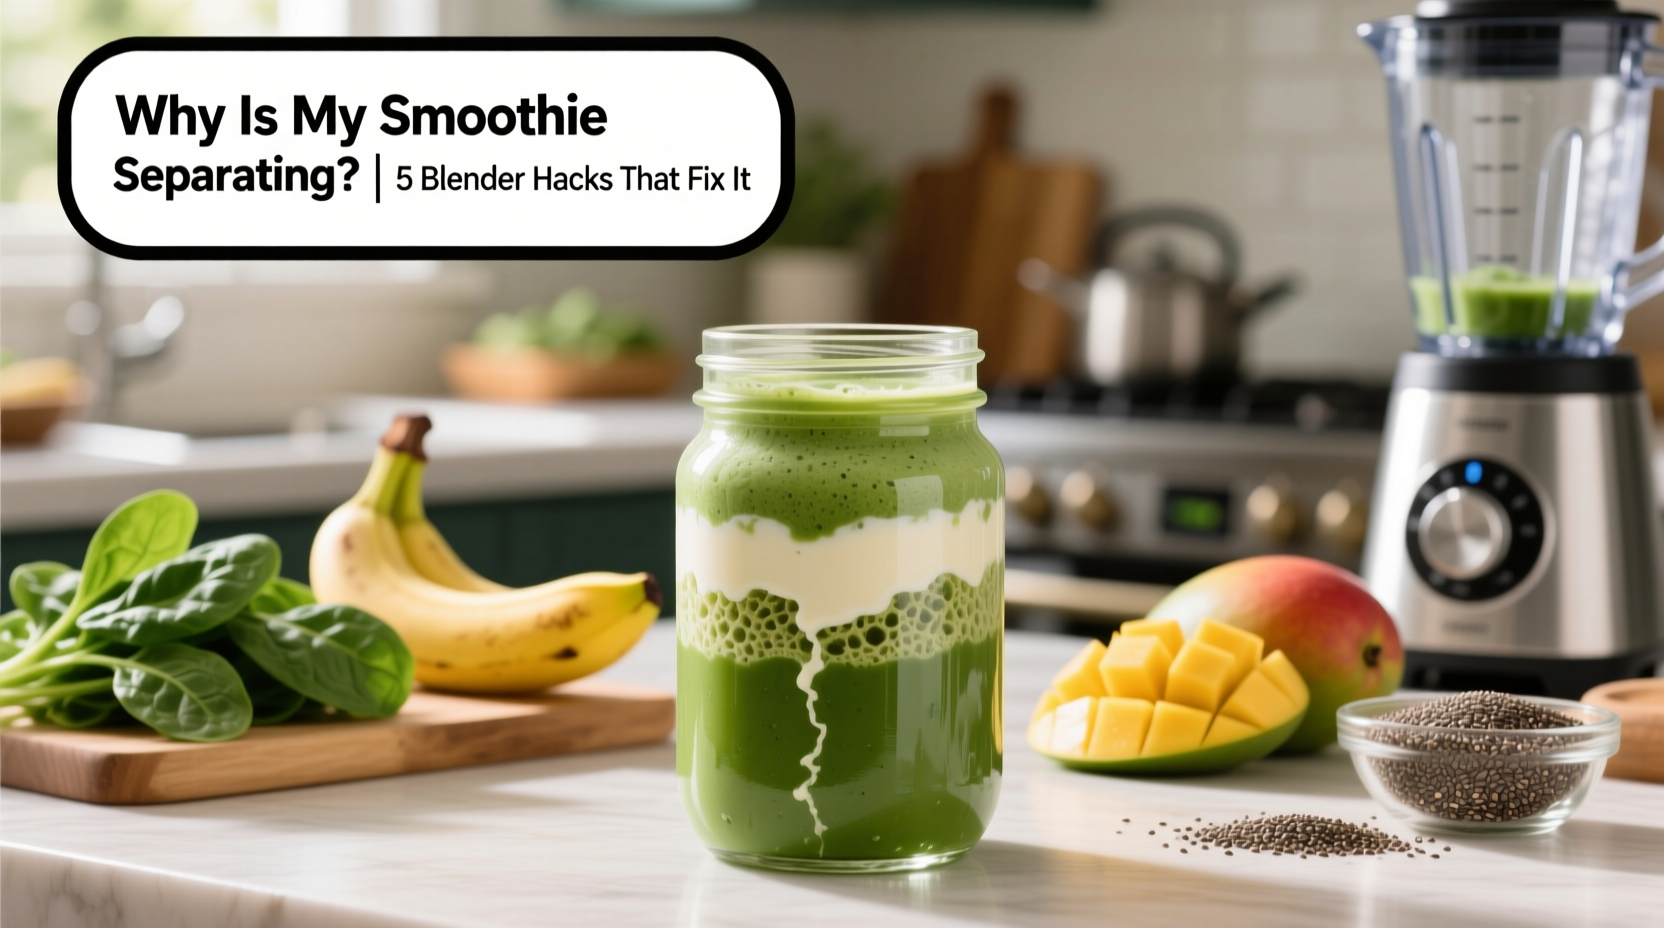
A smoothie should be creamy, consistent, and satisfying from the first sip to the last. But if yours splits into layers seconds after blending—watery liquid at the bottom, pulp or greens floating on top—it defeats the purpose of blending in the first place. Separation isn’t just unappetizing; it signals imbalances in ingredients, technique, or equipment use. The good news? With the right blender hacks, you can stop smoothie separation in its tracks.
Smoothie separation happens when ingredients don’t emulsify properly during blending. Instead of forming a stable suspension, heavier components sink while lighter ones rise. This issue affects even experienced smoothie makers, but understanding the science behind it—and applying targeted fixes—can transform your results.
The Science Behind Smoothie Separation
Smoothies are emulsions: mixtures of liquids and solids held together by mechanical force (blending) and stabilizing agents like fiber, protein, and healthy fats. When these elements are out of balance, the mixture collapses quickly. Think of it like salad dressing—oil and vinegar separate unless shaken or emulsified with mustard. Similarly, smoothies need cohesion.
Separation occurs due to density differences. Water-rich fruits like watermelon or oranges release juice that’s lighter than fibrous greens or nut butters. Without proper binding, gravity takes over. Additionally, under-blending leaves large particles that settle faster. High-speed blenders create shear force that breaks down cell walls, releasing natural thickeners like pectin and mucilage (found in chia seeds or oats), which help stabilize the blend.
“Proper emulsification starts with ingredient order and ends with blending duration. Skipping steps leads to instability.” — Dr. Lena Torres, Food Scientist & Nutrition Technologist
Blender Hacks That Prevent Instant Separation
Fixing smoothie separation isn’t about buying expensive ingredients—it’s about technique. These tested hacks optimize your blending process and ingredient synergy.
1. Layer Ingredients in the Right Order
How you load your blender matters more than most realize. Adding ingredients in the wrong sequence creates inefficient blending, leaving pockets of unincorporated liquid.
Start with your liquid base (water, milk, coconut water). Next, add yogurt, nut butter, or protein powder. Then layer soft fruits like banana or avocado. Finish with ice, frozen fruit, or leafy greens. This allows the blades to catch the liquid and create a vortex, pulling everything down evenly. Reverse layering—putting ice at the bottom—can stall blades and lead to uneven texture.
2. Use a Thickening Agent Strategically
Incorporate natural thickeners that act as stabilizers. These ingredients increase viscosity and help trap particles in suspension.
- Chia seeds or flaxseeds: Absorb up to 10 times their weight in water, forming a gel-like matrix.
- Oats: Add soluble fiber (beta-glucan) that thickens and binds moisture.
- Banana or avocado: Provide creaminess and natural emulsifiers.
- Yogurt or kefir: Contain proteins and lactic acid that improve texture stability.
Use 1–2 tablespoons of chia or ¼ cup oats per smoothie. Soak chia in liquid for 5 minutes before blending for maximum hydration and binding power.
3. Blend in Stages for Maximum Emulsification
Instead of dumping everything in and hitting “blend,” use a staged approach to ensure full integration.
- Add liquid and soft ingredients. Blend for 10 seconds to form a slurry.
- Add frozen components. Pulse 3–5 times to break them up.
- Blend continuously on high for 30–45 seconds until completely smooth.
- Let sit for 10 seconds, then blend again for 15 seconds to re-emulsify.
This method prevents air pockets and ensures even particle size, critical for stability. High-powered blenders like Vitamix or Blendtec benefit from this technique, but even mid-range models respond well.
4. Adjust Liquid-to-Solid Ratio
Too much liquid is the most common cause of rapid separation. While hydration matters, excess water or juice dilutes viscosity and reduces binding capacity.
Aim for a ratio of roughly 1:2—1 cup liquid to 2 cups total solids (fruit, vegetables, add-ins). For example:
| Liquid (1 cup) | Solids (2 cups) |
|---|---|
| Almond milk, coconut water, green tea | 1 banana + 1 cup spinach + ½ cup frozen berries |
| Water + lemon juice | Avocado + ½ apple + 1 tbsp chia + kale |
| Kefir | Pineapple + mango + ¼ cup oats + ginger |
If your smoothie is too thick, adjust by adding liquid 1 tablespoon at a time instead of pouring in extra. Better to start thick and thin slightly than to over-dilute.
5. Let It Rest (Briefly) Before Serving
After blending, let the smoothie sit for 30–60 seconds. This allows air bubbles to escape and ingredients to settle into a more cohesive structure. Pouring immediately traps air, creating foam that accelerates layering. Gently stir before drinking if needed.
Common Mistakes That Cause Separation
Even with quality ingredients, small errors sabotage consistency. Avoid these pitfalls:
- Using only watery fruits: Cucumber, melon, or citrus-heavy blends lack fiber and thickness.
- Skipping thickeners: Relying solely on fruit and liquid offers no structural support.
- Under-blending: Not running the blender long enough leaves chunks that sink.
- Overloading the blender: Too much volume strains motors and disrupts vortex formation.
- Using old or low-powered blenders: Weak motors can’t generate sufficient shear force for emulsification.
If your blender struggles to crush ice or leaves fibrous bits in green smoothies, it may not be powerful enough. Consider upgrading to a model with at least 1000 watts and a narrow, tall container design that promotes better circulation.
Real Example: Fixing a Daily Green Smoothie Routine
Jamie, a fitness instructor, made the same green smoothie every morning: spinach, pineapple, banana, water, and a scoop of protein powder. Within two minutes, the drink separated—green sludge on the bottom, yellow liquid on top. He almost gave up on smoothies entirely.
After analyzing his recipe, he realized three issues: too much water (1.5 cups), no added binder, and blending all ingredients at once without layering. He adjusted by reducing liquid to ¾ cup, adding 1 tbsp chia seeds soaked in water for 5 minutes, and blending in stages. Result? A smooth, uniform texture that stayed mixed for over 20 minutes—even when taken on his commute.
“I didn’t think such small changes would make a difference,” Jamie said. “Now I don’t have to shake my bottle constantly. It’s actually enjoyable to drink.”
Checklist: How to Stop Smoothie Separation
Follow this actionable checklist before your next blend:
- ✅ Use the correct ingredient layering order (liquid → soft → frozen/hard)
- ✅ Include at least one natural thickener (banana, chia, oats, avocado)
- ✅ Maintain a 1:2 liquid-to-solid ratio
- ✅ Blend in stages: slurry first, then pulse, then high speed for 30+ seconds
- ✅ Use a high-powered blender with adequate wattage
- ✅ Let the smoothie rest 30 seconds before serving
- ✅ Stir gently before drinking if minor separation occurs
When Separation Isn’t the Real Issue
Occasionally, what looks like separation is actually ingredient settling—a normal process in fiber-rich blends. True separation involves clear liquid pooling at the bottom within seconds. Settling can be reversed with a quick stir and isn’t harmful.
To distinguish between the two:
- Instant separation: Happens in under 30 seconds; indicates poor emulsification.
- Gradual settling: Occurs over 5–10 minutes; normal in high-fiber smoothies.
If your smoothie holds together for several minutes before mild layering appears, you’re doing well. Only address instant breakdown.
Frequently Asked Questions
Can I fix a separated smoothie after it happens?
Yes. Simply return it to the blender and run on high for 15–20 seconds. Alternatively, shake vigorously in a sealed bottle or stir thoroughly with a fork or spoon. Prevention is better, but rescue is possible.
Does freezing my smoothie affect separation?
Freezing can actually help preserve texture. Pour smoothies into jars or molds and freeze immediately after blending. Thaw in the fridge and re-blend briefly before drinking. The initial emulsion is locked in, minimizing post-thaw separation.
Are there commercial stabilizers I can use?
While guar gum, xanthan gum, or lecithin are effective, they’re unnecessary for home use. Natural ingredients like chia, flax, avocado, and Greek yogurt perform just as well without additives. Reserve commercial stabilizers for large-scale production or specialized diets.
Final Thoughts: Consistency Starts Before You Press Blend
Smoothie separation isn’t a flaw in your ingredients—it’s a signal that technique needs adjustment. By understanding how liquids, solids, and blending mechanics interact, you gain control over texture and stability. The best smoothies aren’t just nutritious; they’re engineered for enjoyment.
Start implementing these blender hacks today. Pay attention to layering, incorporate smart thickeners, respect the liquid ratio, and give your blender time to do its job. Small changes yield dramatic improvements. Your smoothie shouldn’t require constant shaking or stirring—just a satisfying sip.


 浙公网安备
33010002000092号
浙公网安备
33010002000092号 浙B2-20120091-4
Comments
No comments yet. Why don't you start the discussion?