
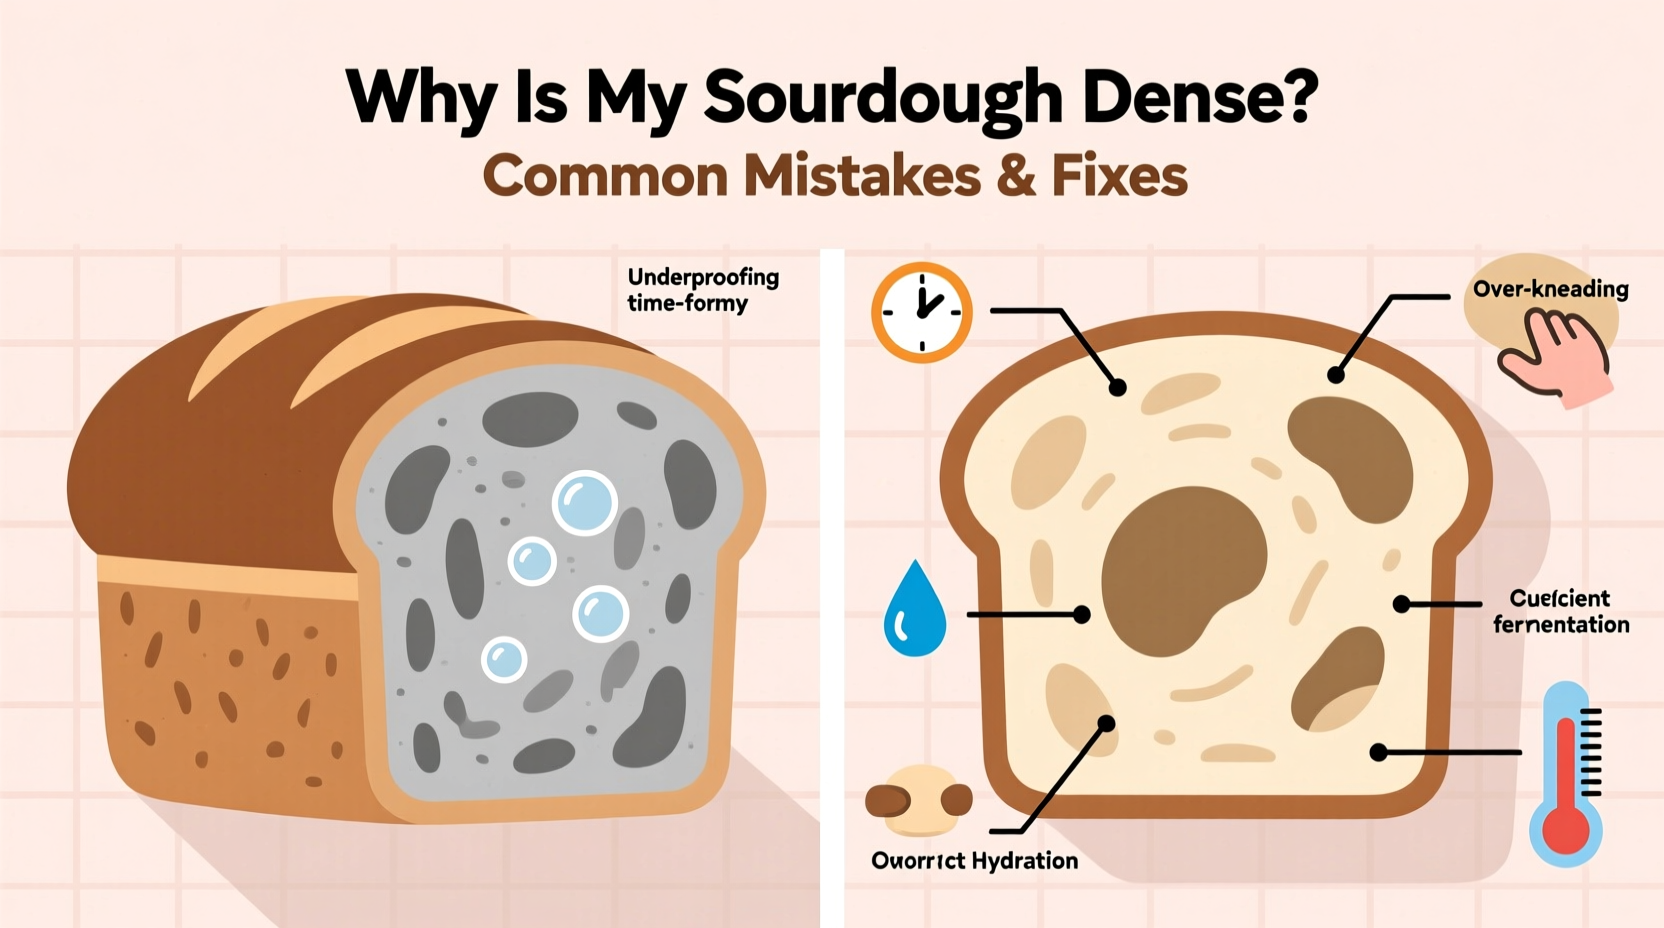
Sourdough baking is both an art and a science. While the reward—crusty, tangy, open-crumbed bread—is worth the effort, many beginners struggle with one persistent issue: dense loaves. A loaf that should be airy and springy instead emerges heavy, gummy, or flat. This isn’t a failure of passion or patience; it’s usually a sign of small but critical missteps in the process. Understanding what causes density in sourdough is the first step toward consistently achieving that dreamy texture.
Density in sourdough occurs when the dough lacks sufficient gas retention, structure, or fermentation activity. The problem can originate at any stage—from starter health to shaping technique. By isolating the most common errors, you can diagnose and correct your method with precision. Below are the key culprits behind dense sourdough and actionable solutions to transform your results.
1. An Underperforming Sourdough Starter
The foundation of every good sourdough loaf is a healthy, active starter. If your starter isn’t strong enough, it won’t produce enough carbon dioxide to leaven the bread properly, resulting in poor rise and a compact crumb.
A weak starter often shows signs like slow rise (less than doubling in 6–8 hours), lack of bubbles on the surface, or a collapsed peak after rising. These indicate insufficient microbial activity. Feeding frequency, flour type, water quality, and temperature all influence starter vitality.
Many beginners use their starter straight from the fridge without refreshing it. Cold storage slows fermentation dramatically, so a refrigerated starter needs at least 1–2 full feeding cycles at room temperature to regain peak activity. Use it when it's at its highest point—usually 4–8 hours after feeding—when bubble formation is vigorous and the aroma is pleasantly tangy and fruity.
“A reliable sourdough loaf starts with a starter that doubles predictably within 6 hours using bread flour.” — Richard Bertinet, artisan baker and author of *Dough*
2. Inadequate Fermentation Time or Temperature
Fermentation is where flavor and structure develop. Too little time means underdeveloped gluten and insufficient gas production; too much leads to overproofing and collapse. Both extremes can result in dense bread, but underfermentation is far more common among beginners.
Room temperature plays a crucial role. A kitchen below 70°F (21°C) significantly slows fermentation. In cooler environments, bulk fermentation may take 8–12 hours instead of the typical 4–6. Rushing this phase by baking too soon cuts off essential enzymatic and bacterial activity needed for volume and openness.
To test if your dough is ready after bulk fermentation, look for visible bubbles beneath the surface, increased volume (about 50–75%), and a jiggly, aerated texture. The “finger poke test” can help: gently press a floured finger about half an inch into the dough. If it slowly springs back halfway, it’s ready. If it snaps back immediately, it needs more time.
Bulk Fermentation Guidelines by Temperature
| Room Temp (°F) | Expected Bulk Ferment Time | Signs of Readiness |
|---|---|---|
| 65–68°F | 8–12 hours | 50% rise, bubbly sides, slight jiggle |
| 69–73°F | 5–7 hours | Visible expansion, airy feel |
| 74–78°F | 3.5–5 hours | Doubled volume, domed top, bubbles |
| 79°F+ | Under 3.5 hours | Risk of overproofing—monitor closely |
If your kitchen is cool, consider creating a proofing environment using an oven with the light on, a microwave with a cup of hot water, or a dedicated proofer. Consistent warmth ensures predictable fermentation and better oven spring.
3. Poor Gluten Development
Gluten is the protein network that traps gas produced during fermentation. Without adequate development, the dough can’t hold air, leading to collapse and density. Many new bakers underestimate how much physical work sourdough requires—even with long fermentation times.
Techniques like stretch and folds during bulk fermentation strengthen gluten gradually. Skipping these steps or performing them too infrequently results in slack, fragile dough. Aim for 3–4 sets of stretch and folds spaced 30 minutes apart during the first two hours of bulk fermentation.
To perform a stretch and fold: wet your hands slightly, grab one side of the dough, stretch it upward, and fold it over the center. Rotate the bowl and repeat on all four sides. This takes less than a minute but makes a dramatic difference in structure.
Alternatively, some bakers use slap and fold or windowpane testing to assess gluten maturity. To perform the windowpane test, pinch off a small piece of dough and gently stretch it between your fingers. If it forms a thin, translucent membrane without tearing, gluten is well-developed. If it breaks easily, continue folding or extend bulk fermentation with additional sets.
4. Incorrect Shaping and Scoring
Shaping isn’t just about aesthetics—it creates surface tension that helps the loaf expand upward in the oven rather than spreading out. A poorly shaped boule lacks internal structure, causing it to deflate or bake densely.
When shaping, handle the dough gently but firmly. Flatten it slightly into a rectangle, then fold the sides toward the center like a letter. Roll it up tightly from one end, pinching the seam closed. Cup your hands around the loaf and rotate it, using the friction of the counter to tighten the outer skin. The final shape should feel taut and hold its form.
After shaping, place the loaf seam-side up in a floured banneton for final proofing. This supports the structure and prevents flattening. Proofing basket liners (like linen) also help maintain shape.
Scoring—the shallow cuts made before baking—allows steam and gases to escape in a controlled way. Without scoring, pressure builds and bursts unpredictably, often deflating the loaf. Use a sharp blade (lame or razor) and make decisive, swift cuts about ½ inch deep at a 30–45° angle.
“Good scoring doesn’t just decorate—it directs expansion. One clean slash can mean the difference between an open crumb and a brick.” — Chad Robertson, co-founder of Tartine Bakery
5. Underbaking or Improper Oven Conditions
Even a well-fermented, perfectly shaped loaf can turn out dense if baked incorrectly. Two key factors are oven temperature and steam.
Oven spring—the final burst of rise in the first 15 minutes of baking—requires high heat (typically 450–475°F / 230–245°C). Baking at lower temperatures fails to activate rapid gas expansion, resulting in minimal lift. Always preheat your Dutch oven or baking steel for at least 45 minutes to ensure thermal stability.
Steam is equally important. It keeps the crust soft during the initial phase, allowing the loaf to expand fully. Without steam, the crust hardens too early, restricting growth. Trapping steam using a covered Dutch oven for the first 20–25 minutes mimics professional deck ovens and maximizes oven spring.
Finally, underbaking leads to gummy, dense interiors. The crust may look done, but the crumb hasn’t set. Use an instant-read thermometer: the internal temperature should reach at least 208–210°F (98–99°C) for proper starch gelatinization and structural integrity. Remove the lid for the last 15–20 minutes to allow browning and drying of the crust.
Step-by-Step Guide to Avoid Dense Sourdough
- Activate your starter: Feed it 1:1:1 (starter:flour:water) twice daily for 2–3 days before baking. Use when peaking—doubled and bubbly.
- Use proper flour: Opt for unbleached all-purpose or bread flour with high protein (11.5–12.5%). Avoid low-protein cake flour.
- Perform stretch and folds: Complete 3–4 sets during the first 2 hours of bulk fermentation.
- Monitor fermentation: Adjust time based on ambient temperature. Wait for 50–75% rise and jiggly texture.
- Shape with tension: Create surface tension through tight rolling and bench scoring.
- Proof correctly: Final proof is typically 1–4 hours at room temp or overnight in the fridge. Dough should spring back slowly when poked.
- Bake with steam: Preheat Dutch oven, score deeply, and bake covered for 25 minutes, then uncovered until internal temp hits 210°F.
Common Mistakes Checklist
- Using a sluggish or cold starter
- Skipping stretch and folds
- Underproofing due to impatience or cold kitchen
- Overhandling during shaping, deflating gas
- Not scoring the loaf before baking
- Baking at too low a temperature
- Removing bread before reaching 210°F internally
- Using chlorinated tap water that inhibits yeast
Real Example: Sarah’s Turnaround Loaf
Sarah, a home baker in Portland, had been making sourdough weekly for three months with disappointing results—each loaf was dense, moist, and lacked oven spring. She followed recipes closely but couldn’t identify the flaw. After reviewing her process, she realized she was using her starter straight from the fridge and only doing one stretch and fold.
She adjusted her routine: she began feeding her starter twice daily for two days prior to baking and performed four sets of stretch and folds. She also extended her bulk fermentation from 4 to 7 hours, noting visible bubbles and a domed surface. On bake day, she preheated her Dutch oven thoroughly and scored the loaf with confidence.
The result? Her next loaf had a 3-inch rise, a crisp crust, and an open, airy crumb with irregular holes. “I finally saw the difference technique makes,” she said. “It wasn’t magic—it was method.”
FAQ
Why is my sourdough dense even though I used an active starter?
An active starter is necessary but not sufficient. Other factors like underdeveloped gluten, underproofing, poor shaping, or inadequate baking temperature can still cause density. Evaluate each stage of your process systematically.
Can I fix a dense loaf after baking?
No—once baked, the structure is set. However, dense loaves can be repurposed into croutons, bread pudding, or grilled sandwiches. Focus on adjusting your next bake rather than salvaging the current one.
Does hydration level affect density?
Yes. Very low hydration (<65%) produces denser crumb by nature, while very high hydration (>80%) can collapse if gluten isn’t strong enough. Beginners should start with 70–75% hydration for balance between manageability and openness.
Final Thoughts
Dense sourdough isn’t a dead end—it’s feedback. Each loaf tells you something about your starter, timing, technique, and environment. The journey to perfect bread is iterative, requiring observation, adjustment, and patience. Small improvements compound: one extra fold, a longer ferment, a hotter oven. These nuances separate good loaves from great ones.
You don’t need fancy equipment or years of experience. You need consistency, attention to detail, and the willingness to learn from every outcome—even the dense ones.


 浙公网安备
33010002000092号
浙公网安备
33010002000092号 浙B2-20120091-4
Comments
No comments yet. Why don't you start the discussion?