
Sourdough baking is both an art and a science. For many beginners, the dream of a crackling crust and open crumb gives way to disappointment when the loaf emerges from the oven dense, gummy, and more like a brick than bread. The good news? These issues are almost always fixable with small but precise adjustments. Understanding the root causes—whether it’s underproofing, hydration imbalance, or temperature fluctuations—can transform your results. This guide breaks down the most common reasons behind dense and gummy sourdough and offers practical, tested solutions tailored for home bakers.
Understanding Dense and Gummy Sourdough: What Went Wrong?
A perfect sourdough loaf should have a springy crumb with visible air pockets and a tender chew. When bread is dense, it lacks volume and structure; when it's gummy, the interior feels sticky or wet even after cooling. These flaws typically stem from one or more of the following: incomplete fermentation, improper gluten development, incorrect hydration, inadequate oven spring, or premature slicing.
Fermentation is the heart of sourdough. Unlike commercial yeast, wild yeast and lactobacilli in a sourdough starter work slowly, requiring time and attention. If fermentation ends too soon, starches don’t fully break down, and gases aren’t trapped effectively in the gluten network. The result? A loaf that collapses inward during baking, leaving a tight, moist crumb.
“Many beginners mistake proofing time for a fixed number of hours, but sourdough responds to conditions, not clocks.” — Dr. Carla Mendez, Fermentation Scientist at the Artisan Bread Institute
Common Causes and Beginner-Friendly Fixes
1. Underproofed Dough
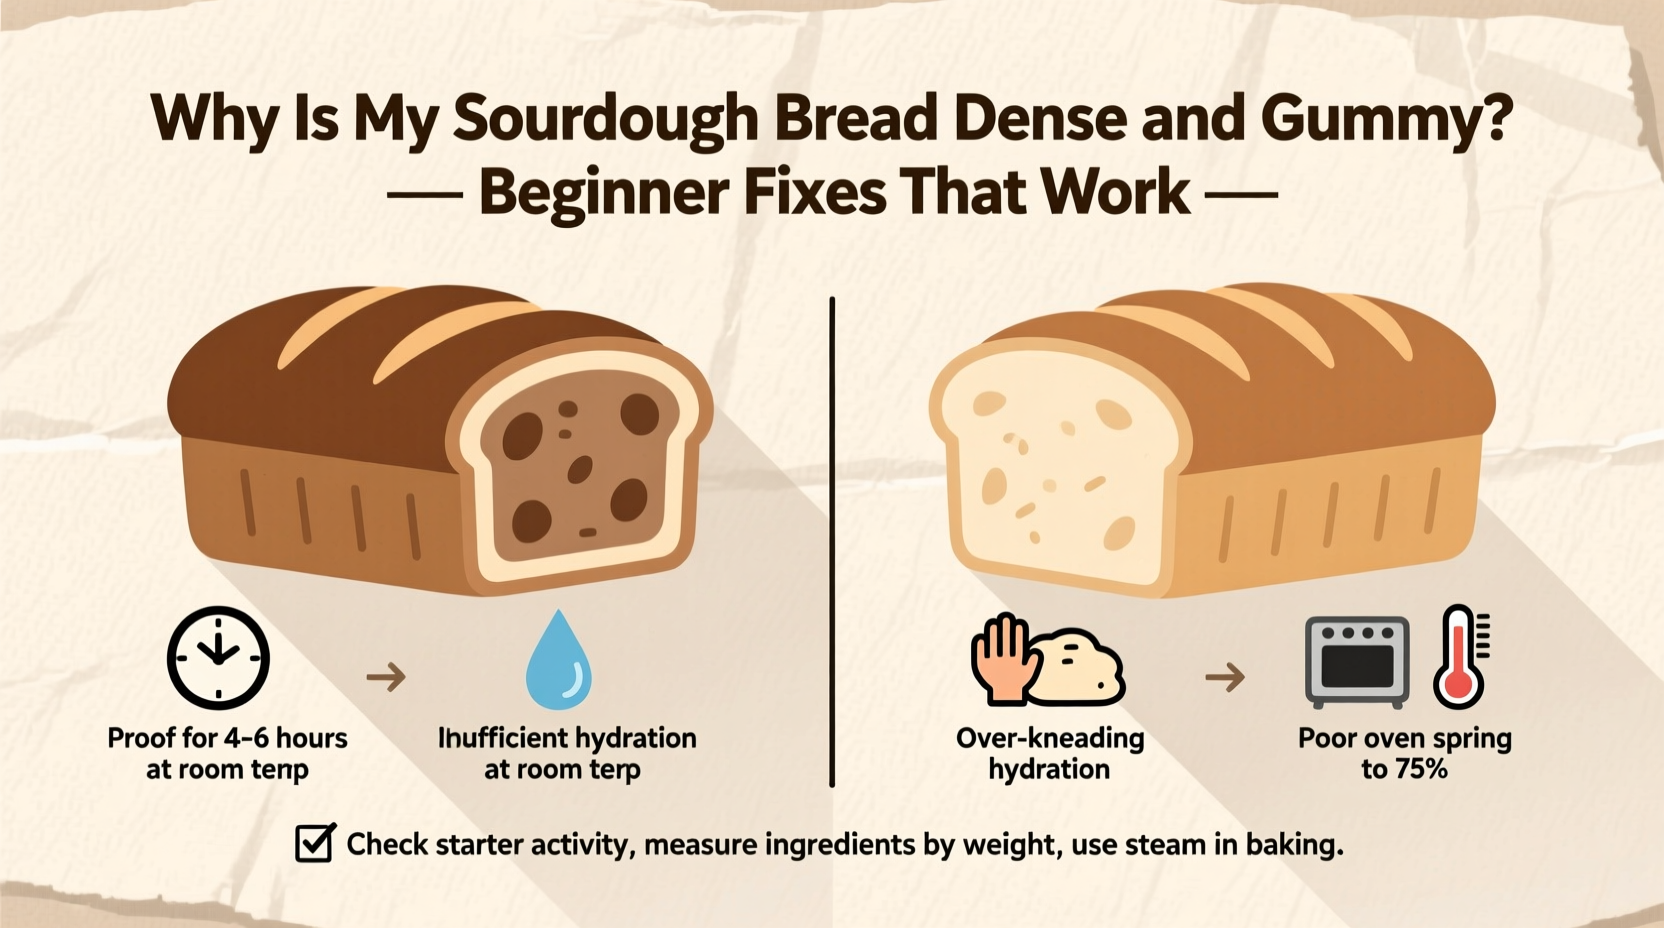
Underproofing is the leading cause of dense sourdough. When dough hasn’t fermented long enough, the gluten hasn’t relaxed, and gas production hasn’t peaked. The loaf can’t expand properly in the oven, leading to poor oven spring and a compact crumb.
Beginners often follow recipes that suggest a 4-hour bulk ferment or an 8-hour cold proof without considering ambient temperature or starter strength. Cooler kitchens slow fermentation, while weak starters may never reach peak activity. Instead of relying on time, observe the dough: it should rise by about 50–75%, feel airy, and jiggle slightly when shaken.
2. Weak Starter or Poor Feeding Routine
Your starter is the engine of your sourdough. If it’s sluggish or underfed, it won’t produce enough carbon dioxide to leaven the dough. Signs of a weak starter include lack of bubbles, separation with dark liquid (hooch), or failure to double within 4–6 hours after feeding.
To ensure starter vitality:
- Feed it 8–12 hours before baking using equal parts flour and water by weight (1:1 ratio).
- Use unbleached all-purpose or whole grain flour for feedings—whole rye or whole wheat can boost microbial activity.
- Keep it at room temperature (72–78°F) during activation. Cold starters react slowly.
3. Inadequate Gluten Development
Gluten forms the scaffold that traps gas during fermentation. Without sufficient strength, the dough collapses instead of rising. Hand-mixed doughs often suffer from under-developed gluten, especially if mixing is brief or folding is skipped.
During bulk fermentation, perform 3–4 sets of stretch-and-folds spaced 30 minutes apart in the first two hours. This builds strength gradually without overworking the dough. Alternatively, mix the dough for 5–6 minutes using a stand mixer on medium speed, then allow autolyse (rest) for 30 minutes before adding salt and starter.
4. Excessive Hydration for Your Skill Level
High-hydration doughs (above 75%) create beautiful open crumbs but are harder to handle and more prone to spreading or collapsing. Beginners often jump into 80%+ hydration recipes without mastering dough handling, resulting in flat, dense loaves.
If you're new to sourdough, start with a hydration level of 65–70%. This range offers manageability and still delivers a tender crumb. As your skills improve, gradually increase water content.
5. Slicing Too Soon
One of the most overlooked mistakes: cutting into the loaf while it’s still warm. Sourdough continues to cook internally during cooling due to residual heat. Slicing early releases steam that should be retained, resulting in a gummy texture.
Wait at least 2–3 hours before cutting. Use this time to admire the crust and let flavors develop. Impatience leads to regret.
Step-by-Step Fix: A Reliable Process for Lighter Loaves
Follow this adjusted process to troubleshoot and improve your next bake:
- Activate your starter 12 hours before mixing: Feed 1 part starter with 2 parts flour and 2 parts water (e.g., 25g starter, 50g flour, 50g water). Let sit at 75°F until bubbly and doubled.
- Weigh ingredients precisely: Use a digital scale. Typical beginner-friendly formula: 500g flour (70% white, 30% whole wheat), 350g water (70% hydration), 100g active starter, 10g salt.
- Autolyse: Mix flour and water, rest 30–60 minutes. This improves gluten formation and extensibility.
- Add starter and salt: Incorporate starter, then salt. Mix until shaggy, then knead briefly or use slap-and-fold technique for 5 minutes.
- Bulk ferment: 4–6 hours at 75°F with 3–4 sets of stretch-and-folds in the first 2 hours. Dough should rise ~60%, feel aerated, and pass the jiggle test.
- Shape and cold proof: Pre-shape, rest 20 minutes, final shape, place in lined banneton. Refrigerate 10–14 hours.
- Bake: Preheat Dutch oven at 450°F for 45 minutes. Score loaf deeply, transfer to pot, cover. Bake 20 minutes covered, then 25 minutes uncovered at 425°F.
- Cool completely: Wait 2+ hours. Never skip this step.
Troubleshooting Table: Diagnose Your Loaf
| Symptom | Likely Cause | Solution |
|---|---|---|
| Dense crumb, no holes | Underproofed, weak starter | Extend bulk ferment; confirm starter peaks before use |
| Gummy texture, sticky inside | Sliced too soon, underbaked | Cool longer; increase uncovered bake time |
| Flat loaf, poor oven spring | Overproofed or underdeveloped gluten | Shorten proof time; add folds during bulk |
| Crust too thick or burnt | Oven too hot, covered too long | Reduce initial temp; uncover earlier |
| Dough spreads during proof | Too wet or poorly shaped | Lower hydration; tighten shaping technique |
Real Example: Maria’s Turnaround Loaf
Maria, a home baker in Portland, struggled for weeks with gummy, pancake-flat sourdough. Her starter bubbled but didn’t double. She followed a popular online recipe with 78% hydration and a 4-hour bulk ferment. Each loaf emerged dense and gluey inside.
After reviewing her process, she made three changes: she began feeding her starter with whole rye flour, extended her bulk ferment to 5.5 hours with four stretch-and-folds, and reduced hydration to 68%. She also started cooling her bread fully before slicing. On her fourth attempt, she pulled out a golden, crackling boule with an airy crumb and no gumminess. “I realized I was rushing the process,” she said. “Once I stopped watching the clock and started watching the dough, everything changed.”
Essential Checklist for Success
Use this checklist before every bake to avoid common pitfalls:
- ✅ Starter is fed 8–12 hours prior and has doubled with strong bubbles
- ✅ All ingredients are weighed (no cups)
- ✅ Autolyse completed (flour + water rested 30–60 min)
- ✅ 3–4 sets of stretch-and-folds performed during bulk ferment
- ✅ Bulk ferment duration based on dough look/feel, not time
- ✅ Final proof is cold (refrigerated 10–14 hours) or at room temp if passing float test
- ✅ Oven and Dutch oven preheated for at least 45 minutes
- ✅ Bread cooled completely (2–3 hours) before slicing
Frequently Asked Questions
Can I bake sourdough without a Dutch oven?
Yes, but you’ll need to mimic steam. Place a metal tray on the oven floor and pour 1 cup of boiling water into it just after loading the dough. Close the door quickly to trap steam. However, a Dutch oven remains the most reliable method for home bakers.
Why does my sourdough smell overly sour or alcoholic?
An excessively sour or wine-like aroma usually indicates overfermentation. This happens when the dough proofs too long or the starter is past its peak. Reduce bulk or cold proof time. Also, feed your starter closer to baking time to ensure it’s active but not exhausted.
Is whole grain flour causing my dense bread?
Pure whole grain flours absorb more water and contain less gluten, which can lead to denser loaves. However, they also enhance flavor and nutrition. For better rise, blend 70% all-purpose flour with 30% whole wheat or spelt. Adjust water slightly as needed.
Final Thoughts: Patience, Observation, and Practice
Dense and gummy sourdough doesn’t mean you’ve failed—it means you’re learning. Every flat loaf teaches you something about temperature, timing, or technique. The key is to stop treating sourdough like a rigid recipe and start seeing it as a living process. Watch how your dough behaves in different seasons, how your starter responds to feedings, and how subtle changes affect the final crumb.
With consistent practice and attention to detail, you’ll move from frustration to confidence. Don’t aim for perfection on the first try. Aim for progress. Track your bakes in a notebook—note the weather, starter condition, and bake times. Over time, patterns will emerge, and so will beautiful, airy loaves.


 浙公网安备
33010002000092号
浙公网安备
33010002000092号 浙B2-20120091-4
Comments
No comments yet. Why don't you start the discussion?