
If you’ve ever pulled a loaf of sourdough from the oven only to find it heavy, compact, and unpleasantly sticky in the center, you’re not alone. This frustrating outcome is one of the most common complaints among home bakers experimenting with natural fermentation. Despite hours of effort—feeding your starter, shaping, proofing, and baking—you end up with a brick instead of an open-crumbed, springy boule. The good news? Dense and gummy sourdough isn’t inevitable. It’s usually the result of predictable missteps that can be corrected with precise adjustments.
Density and gumminess stem from issues in fermentation, hydration, gluten development, or baking technique. When any part of the sourdough process is off—even slightly—the structure collapses, moisture doesn’t evaporate properly, or starches fail to gelatinize fully. Understanding the root causes allows you to troubleshoot systematically and achieve consistent results.
Understanding Gummy Texture: What’s Actually Happening?
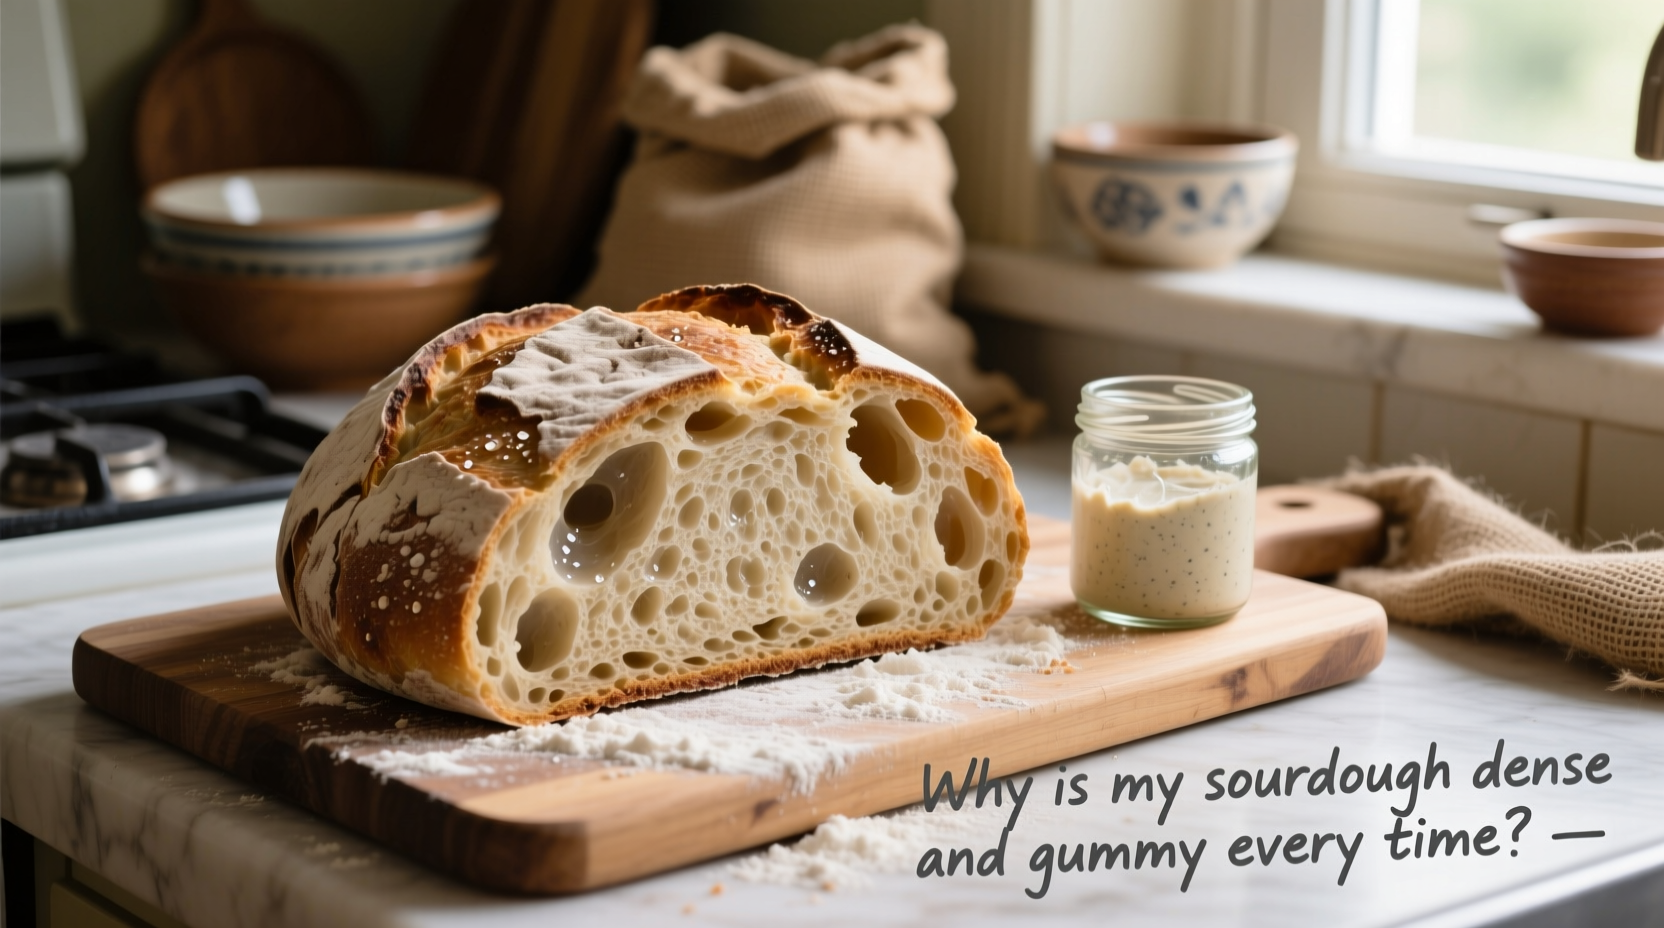
A gummy crumb in sourdough bread means the interior feels sticky, moist, and underbaked—even if the crust looks golden and crisp. This texture typically indicates that the starches in the flour didn’t fully gelatinize during baking, or that excess moisture was trapped inside due to inadequate oven spring or improper cooling.
Gelatinization occurs when starch granules absorb water and swell under heat, creating a stable crumb structure. If the internal temperature of the loaf doesn’t reach at least 205°F (96°C), this process remains incomplete. Additionally, over-fermentation or weak gluten networks can cause the dough to collapse during baking, trapping steam and creating pockets of uncooked dough.
Density, on the other hand, refers to lack of volume and airiness. A dense loaf often results from poor gas retention—meaning the CO₂ produced by your starter escapes instead of being held within a strong gluten matrix. Without sufficient lift, the bread bakes flat and tight.
Common Causes of Dense and Gummy Sourdough
The problem rarely lies in just one step. More often, multiple factors compound into a failed bake. Below are the primary culprits behind consistently dense and gummy results.
1. Underdeveloped Gluten Structure
Gluten is the protein network that traps gas bubbles during fermentation. Without proper development, the dough lacks elasticity and strength, leading to poor oven spring and collapse.
This commonly happens when bakers skip or rush stretch-and-folds, use low-protein flour, or mix dough too briefly. Whole grain flours also require more mechanical development because bran particles interfere with gluten formation.
2. Inactive or Weak Starter
Your sourdough starter must be vigorous and ripe—ideally peaking or just past its peak—when added to the dough. A sluggish starter won’t produce enough gas to leaven the bread effectively.
Signs of an inactive starter include slow rise after feeding, lack of bubbles, or a flat, deflated appearance. Using it at the wrong time (too early or too late in its cycle) leads to under-fermentation or over-fermentation, both of which compromise texture.
3. Over- or Under-Fermentation
Fermentation balance is critical. Under-fermented dough hasn’t produced enough gas, resulting in poor volume. Over-fermented dough loses structural integrity as acids break down gluten, causing collapse and gumminess.
Room temperature, hydration, and flour type all affect fermentation speed. A dough left too long may appear puffy but will spread rather than rise in the oven.
4. Improper Hydration for Your Flour
High hydration (e.g., 75% and above) creates an open crumb—but only if your flour and technique support it. Many bakers increase water without adjusting mixing, folding, or flour type, leading to slack, unstable dough that bakes wet and gummy.
Whole wheat, rye, and ancient grains absorb more water than white flour, so hydration percentages aren’t directly comparable across blends.
5. Inadequate Baking Time or Temperature
Sourdough needs high heat and sufficient duration to set the crumb and drive out moisture. Baking at too low a temperature or removing the loaf too soon leaves the center undercooked.
Additionally, skipping steam in the first phase of baking prevents proper oven spring, while failing to finish with a dry oven hinders crust development and moisture escape.
6. Cutting the Loaf Too Soon After Baking
This is one of the most overlooked mistakes. Sourdough continues to cook internally via residual heat after leaving the oven. Cutting into it before it cools completely (at least 2–3 hours) releases trapped steam and condenses moisture into a gummy texture.
“Letting sourdough cool fully isn’t optional—it’s part of the baking process.” — Ken Forkish, artisan baker and author of *Flour Water Salt Yeast*
Step-by-Step Fix: How to Bake Light, Non-Gummy Sourdough
Follow this timeline-based approach to eliminate density and gumminess from your loaves.
- Feed your starter 8–12 hours before baking. Use equal parts flour and water (by weight). It should double in size and show fine bubbles throughout before use.
- Mix dough using autolyse. Combine flour and water; let rest 30–60 minutes before adding salt and starter. This improves gluten development and water absorption.
- Knead minimally, fold strategically. Perform 4–6 sets of stretch-and-folds during bulk fermentation (every 30 minutes for the first 2 hours). This builds strength without overworking.
- Monitor bulk fermentation closely. It should last 3–5 hours at room temperature (72–78°F). The dough is ready when it’s domed, jiggly, and has increased by ~50–75%.
- Pre-shape and final proof wisely. Pre-shape for tension, rest 20–30 minutes, then shape tightly. Proof either at room temp for 2–3 hours or refrigerated for 8–16 hours (retarding enhances flavor).
- Bake with steam and full heat. Preheat oven and Dutch oven to 450–475°F. Bake covered for 20 minutes (steam phase), then uncovered for 20–25 minutes until deeply browned.
- Cool completely. Wait at least 2 hours before slicing. This allows starch retrogradation and moisture redistribution.
Do’s and Don’ts: Quick Reference Table
| Do | Don't |
|---|---|
| Use a ripe, active starter that doubles within 6–8 hours of feeding | Use a starter straight from the fridge without testing activity |
| Autolyse flour and water before adding salt and starter | Mix everything at once and skip resting phases |
| Perform stretch-and-folds every 30 minutes during early bulk fermentation | Over-handle or punch down the dough |
| Proof in a banneton to support shape and control spread | Let shaped dough sit on a flat surface without support |
| Bake in a preheated Dutch oven with lid on for first 20 minutes | Bake on a tray without steam or vessel containment |
| Check internal temp: aim for 205–210°F (96–99°C) | Assume doneness based on color alone |
| Cool loaf on a wire rack for 2+ hours before slicing | Cut into hot bread immediately after baking |
Mini Case Study: From Brick to Bakery-Quality Loaf
Sarah, a home baker in Portland, had been making the same sourdough recipe weekly for three months. Each loaf rose beautifully in the banneton but emerged from the oven dense and gummy, especially near the center. She used a 100% hydration starter fed with whole wheat and white flour blend, mixed her dough in the evening, and did a 12-hour room-temperature bulk ferment.
After reviewing her process, two key issues stood out: her starter wasn’t peaking at mix time (it peaked 4 hours earlier), and she was cutting the bread within 45 minutes of pulling it from the oven. She also baked at 425°F without verifying internal temperature.
Adjustments made:
- She began feeding her starter in the morning and waited for peak activity before mixing dough at night.
- She reduced bulk fermentation to 4 hours and introduced four stretch-and-folds.
- She started baking at 475°F in a preheated Dutch oven and checked internal temp before removing.
- She committed to waiting 3 full hours before slicing.
The next loaf had an open crumb, crisp crust, and no gumminess. Sarah realized timing and patience were her missing ingredients—not skill.
Essential Checklist for Flawless Sourdough
Before every bake, run through this checklist to avoid recurring issues:
- ✅ Is my starter bubbly, domed, and at its peak (or just past)?
- ✅ Did I autolyse flour and water for at least 30 minutes?
- ✅ Did I perform 4–6 sets of stretch-and-folds during bulk fermentation?
- ✅ Has the dough increased by ~50–75% and feel aerated but structured?
- ✅ Is my Dutch oven preheated to 475°F with the lid on?
- ✅ Am I baking covered for 20 minutes, then uncovered for 20–25?
- ✅ Does the internal temperature read at least 205°F?
- ✅ Will I wait at least 2 hours before cutting?
Frequently Asked Questions
Can I fix a gummy loaf after baking?
No—if the bread is already gummy, it cannot be salvaged. However, you can repurpose it: toast thick slices, make breadcrumbs, or use in strata or bread pudding. For future bakes, extend uncovered baking time by 5–10 minutes and ensure full cooling.
Does flour type affect gumminess?
Yes. High-extraction and whole grain flours absorb more water and contain enzymes that can increase stickiness if over-fermented. They also require longer fermentation and stronger gluten development. For beginners, start with 100% unbleached bread flour or all-purpose flour before experimenting with blends.
Why does my sourdough look great but feel dense inside?
Appearance can be deceiving. A well-risen dough might still lack internal strength due to insufficient folds or weak starter. Also, if the oven isn’t hot enough or lacks steam, the dough may expand initially but collapse as the crust sets too slowly. Ensure your oven and vessel are fully preheated.
Final Thoughts: Consistency Beats Perfection
Perfect sourdough isn’t achieved in a single bake—it’s built through observation, adjustment, and repetition. Density and gumminess are symptoms, not failures. Each dense loaf teaches you something about your starter’s rhythm, your flour’s behavior, or your environment’s influence.
Focus on mastering one variable at a time: starter health, fold frequency, proofing window, or baking method. Keep notes. Measure temperatures. Respect cooling time. These small disciplines compound into transformative results.


 浙公网安备
33010002000092号
浙公网安备
33010002000092号 浙B2-20120091-4
Comments
No comments yet. Why don't you start the discussion?