
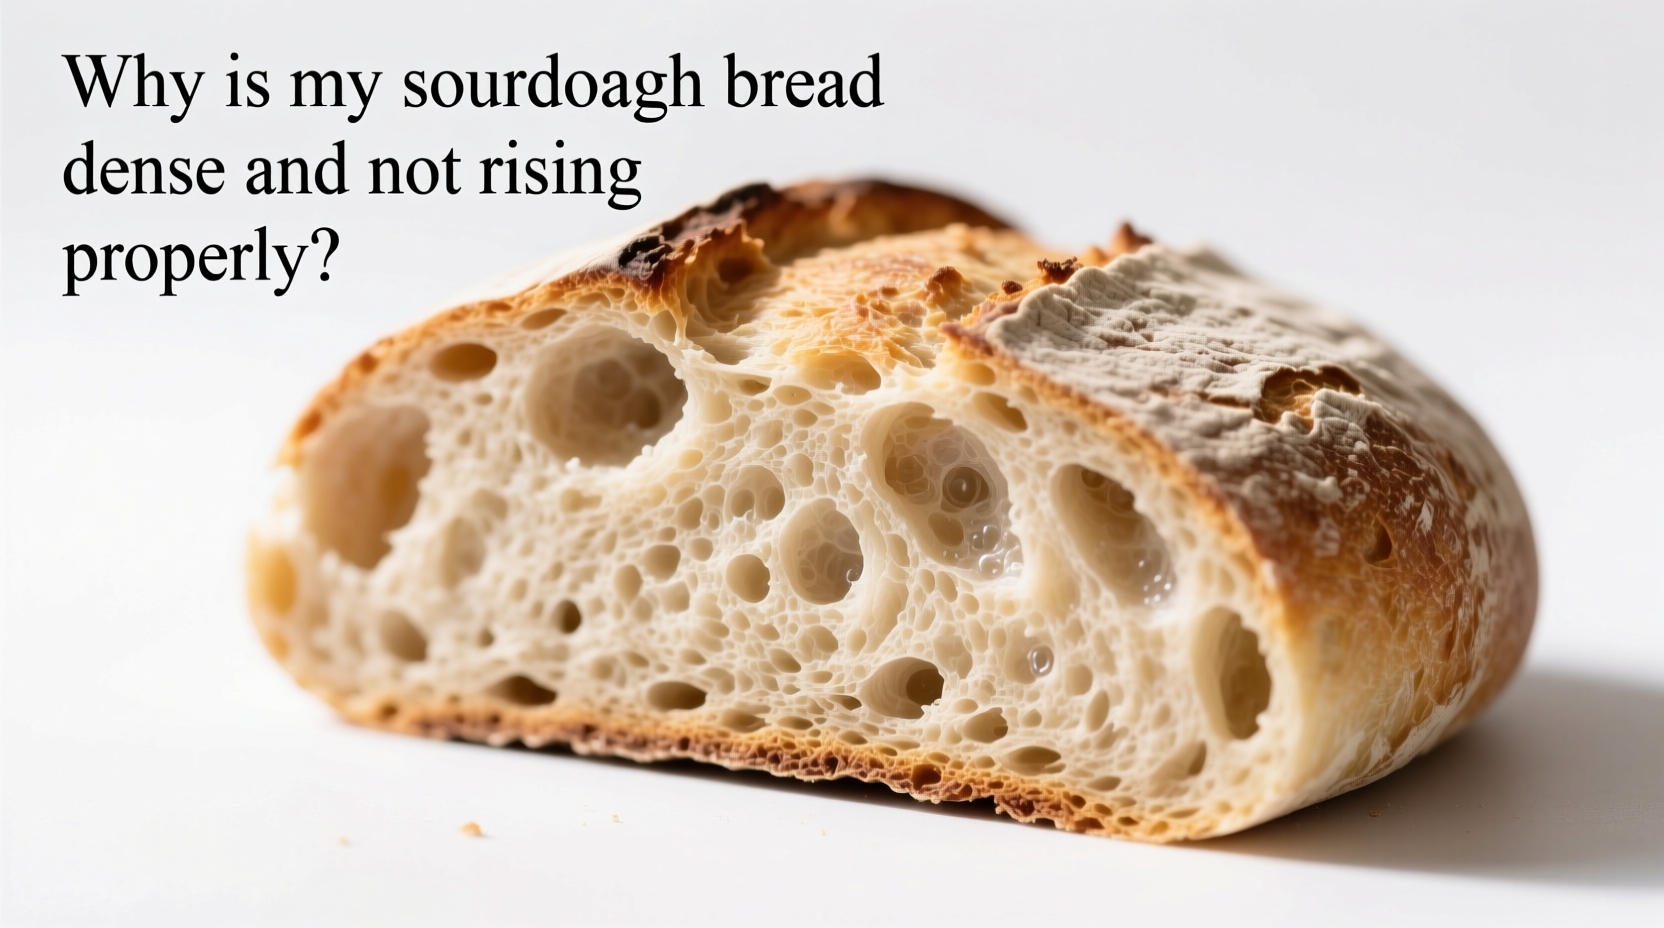
Sourdough baking is as much a science as it is an art. When your loaf comes out of the oven flat, heavy, or with a tight crumb, it’s frustrating—especially after hours of effort. A dense sourdough loaf often signals that something went wrong in fermentation, gluten development, or shaping. The good news? Most issues are fixable with a few targeted adjustments. Understanding the root causes behind poor rise and density can transform your next bake from disappointing to spectacular.
The Role of Fermentation in Sourdough Rise
Fermentation is the engine of sourdough. It’s where wild yeast and lactic acid bacteria convert flour starches into carbon dioxide and organic acids. This gas production creates the bubbles that give sourdough its open crumb structure. If fermentation is underdeveloped, there won’t be enough gas to lift the dough during proofing or baking.
Under-fermentation occurs when the starter isn’t active enough or when bulk fermentation time is too short. Signs include a dough that feels tight, lacks air pockets, and doesn’t visibly rise. Over-fermentation, on the other hand, weakens gluten and collapses the structure, also leading to a dense result. Finding the sweet spot requires attention to temperature, hydration, and timing.
Starter Strength and Maturity
Your sourdough starter must be vibrant and peaking at its highest activity when added to the dough. A sluggish starter lacks the yeast population needed for proper leavening. Feed your starter 4–8 hours before baking, depending on room temperature, and ensure it doubles in size within 6–12 hours.
Cool kitchens slow fermentation dramatically. If your home is below 70°F (21°C), consider using a proofing box, oven with light on, or warm water bath to boost starter activity.
Gluten Development: The Hidden Structure Builder
Gluten forms the elastic network that traps gas bubbles during fermentation. Without sufficient gluten development, the dough can’t hold onto the CO₂ produced by the yeast, resulting in collapse or poor oven spring.
Hand-kneading may not provide enough tension, especially with high-hydration doughs. Instead, use stretch-and-folds during bulk fermentation—typically 3–4 sets spaced 30 minutes apart—to build strength gradually. Alternatively, autolyse (mixing flour and water and letting it rest for 30–60 minutes before adding salt and starter) allows gluten to form naturally, reducing mechanical work later.
“Proper gluten development isn’t about force—it’s about timing and technique. Let the dough work for you.” — Daniel Leader, author of *Bread Alone*
Hydration and Flour Type Matter
Higher hydration doughs (75% and above) create more open crumb but require stronger gluten networks. Using a high-protein bread flour or adding a small percentage of vital wheat gluten can improve structure without sacrificing moisture.
All-purpose flour works, but its lower protein content (around 10–11%) may struggle to support full expansion. For beginners, a blend of 80% all-purpose and 20% bread flour offers a balanced compromise between manageability and performance.
Proofing: Timing, Temperature, and Technique
Even with strong fermentation and good gluten, incorrect proofing can doom your loaf. There are two key stages: bulk fermentation (the first rise) and final proof (after shaping).
Bulk fermentation typically takes 3–5 hours at room temperature. Look for visible bubbles, a domed surface, and jiggly consistency. Use the “poke test”: gently press the dough. If it slowly springs back, it’s ready. If it snaps back quickly, it needs more time; if it doesn’t rebound at all, it’s over-proofed.
The final proof is equally critical. Under-proofed dough lacks gas volume and won’t expand in the oven. Over-proofed dough collapses because the gluten has degraded. Cold retardation in the refrigerator (12–16 hours) slows fermentation and enhances flavor, but only if the dough is shaped correctly and not already over-fermented.
Shaping Matters More Than You Think
Poor shaping leads to weak surface tension, causing the dough to spread instead of rise upward. After preshaping, let the dough bench-rest for 15–20 minutes to relax the gluten. Then, shape tightly by pulling the surface taut and sealing the seam underneath.
A loose or torn surface will rupture during proofing or baking, releasing trapped gas. Practice consistent tension and avoid excessive handling, which degasses the dough.
Oven Spring: Unlocking the Final Rise
Oven spring—the rapid expansion during the first 15 minutes of baking—is crucial for achieving height and openness. Several factors influence this phase:
- Steam: Introducing steam keeps the crust soft initially, allowing the loaf to expand freely.
- Oven temperature: Bake at 450–475°F (230–245°C). Lower heat slows spring and risks premature crust hardening.
- Scoring: Make decisive cuts ¼ to ½ inch deep just before baking. Poor scoring restricts expansion and causes blowouts on the sides.
Preheat your Dutch oven for at least 30 minutes. The thick walls retain heat and generate steam naturally from the dough’s moisture. Remove the lid after 20 minutes to allow browning.
Why Cold Dough Performs Better
Dough straight from the fridge has firmer structure and slower initial heat absorption, delaying crust formation and maximizing oven spring. Baking cold retards fermentation slightly and gives you more control over timing.
Troubleshooting Checklist: Why Your Bread Is Dense
Use this checklist to diagnose and correct common issues:
- ✅ Is your starter fully active and peaking?
- ✅ Did you perform stretch-and-folds or adequate kneading?
- ✅ Was bulk fermentation long enough—but not too long?
- ✅ Did you shape the loaf with proper surface tension?
- ✅ Was the final proof timed correctly (not under or over)?
- ✅ Did you preheat your oven and baking vessel thoroughly?
- ✅ Did you score the loaf deeply and confidently?
- ✅ Did you use steam during the first phase of baking?
Common Mistakes and How to Avoid Them
| Mistake | Effect on Bread | How to Fix |
|---|---|---|
| Using inactive starter | No rise, dense crumb | Feed starter 6–8 hrs before use; confirm doubling and bubbles |
| Skipping stretch-and-folds | Weaker structure, less oven spring | Add 3–4 fold sessions during bulk fermentation |
| Over-proofing | Collapsed loaf, gummy texture | Reduce time or use cold proof; check with poke test |
| Under-scoring | Blowouts, uneven rise | Score ½ inch deep with sharp blade at 30° angle |
| No steam in oven | Thick crust, limited expansion | Use Dutch oven or add water tray |
Real Example: From Dense Loaf to Open Crumb
Jessica, a home baker in Portland, struggled for months with consistently dense sourdough. Her starter bubbled but didn’t double, and her loaves barely rose in the oven. She followed recipes exactly but saw no improvement.
After tracking her process, she realized three issues: her kitchen was 66°F (19°C), slowing fermentation; she wasn’t doing stretch-and-folds; and she baked immediately after shaping instead of refrigerating overnight.
She began feeding her starter with warm water (85°F), performed four sets of stretch-and-folds, and started cold-proofing for 14 hours. Her next loaf had a 2-inch rise, an open crumb, and audible crackle as it cooled. The changes were simple—but precise.
Step-by-Step Guide to a Lighter Sourdough Loaf
Follow this sequence to increase your chances of success:
- Prepare starter: Feed 8–12 hours before mixing. Confirm it’s doubled and passes the float test.
- Autolyse: Mix flour and water; rest 30–60 minutes.
- Combine dough: Add starter and salt. Mix until shaggy, then rest 30 minutes.
- Develop gluten: Perform 3–4 sets of stretch-and-folds over 2 hours.
- Bulk ferment: Let rise at 72–78°F (22–26°C) for 3–5 hours, until puffy and bubbly.
- Shape: Preshape, rest 20 minutes, then shape tightly with tension.
- Final proof: Place in banneton, cover, and proof at room temp for 1–2 hours or refrigerate overnight.
- Bake: Preheat Dutch oven at 450°F for 30+ minutes. Score, transfer, bake covered 20 min, uncovered 20–25 min.
Frequently Asked Questions
Can I bake sourdough straight after shaping?
You can, but it increases the risk of over-proofing. Immediate baking skips flavor development and structural control. Cold fermentation is preferred for consistent results and better oven spring.
Why does my sourdough have big holes only near the crust?
This \"ear\" effect usually means under-proofing. The internal dough hasn’t expanded fully, so gas migrates outward during baking. Extend bulk fermentation slightly and ensure even fermentation throughout.
Does whole grain flour make denser bread?
Yes. Whole wheat, rye, and other whole grains contain bran, which cuts gluten strands and absorbs more water. To compensate, increase hydration, extend autolyse, and consider blending with white flour (e.g., 70% white, 30% whole grain).
Conclusion: Mastery Through Observation and Adjustment
Dense sourdough isn’t a failure—it’s feedback. Each loaf tells you something about your starter, environment, and technique. The path to airy, well-risen bread lies in patience, precision, and willingness to adapt. Track your variables: time, temperature, flour, and handling. Small tweaks compound into dramatic improvements.


 浙公网安备
33010002000092号
浙公网安备
33010002000092号 浙B2-20120091-4
Comments
No comments yet. Why don't you start the discussion?