
Sourdough bread should be a balance of tangy flavor, open crumb, and chewy crust. When your loaf turns out dense, heavy, or gummy, it’s often not the recipe at fault—it’s usually rooted in starter health, hydration levels, or fermentation timing. Understanding these factors transforms troubleshooting from guesswork into a precise science. This guide dives deep into the biological and technical reasons behind dense sourdough and delivers actionable steps to revive your starter and bake consistently better bread.
The Role of Starter Health in Bread Texture
Your sourdough starter is a living culture of wild yeast and lactic acid bacteria. Its vitality directly influences how well your dough rises and sets during baking. A weak or underperforming starter lacks the gas-producing strength to aerate the dough, resulting in poor oven spring and a compact crumb.
Signs of an unhealthy starter include:
- Failure to double within 4–6 hours after feeding
- A layer of dark liquid (hooch) forming too quickly
- Lack of bubbles or a flat surface post-feeding
- Unpleasant, acetone-like smell instead of fruity or yogurty aroma
These symptoms suggest microbial imbalance—often due to infrequent feeding, incorrect temperature, or contaminated flour. Wild yeast colonies need consistent nourishment. If left unfed for too long, they exhaust available sugars and produce excess acetic acid, which can inhibit rising.
Hydration: How Water Content Affects Dough Structure
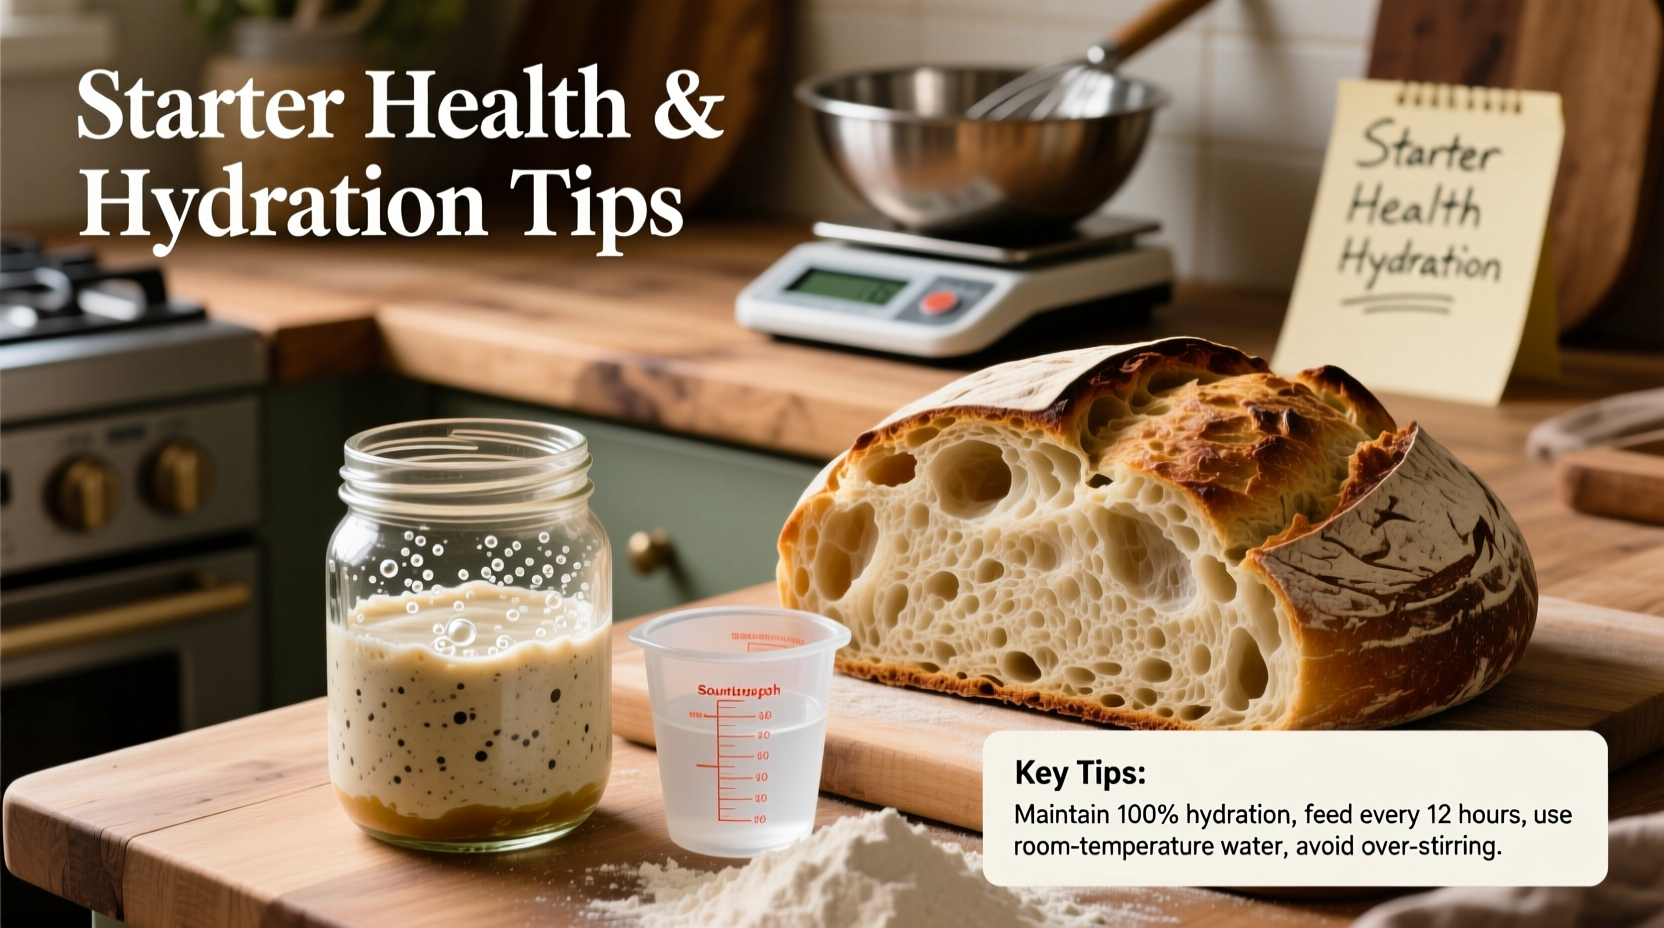
Hydration refers to the ratio of water to flour in your starter and final dough, expressed as a percentage. For example, a starter with 100g water and 100g flour is 100% hydration. Many beginners use overly stiff starters (e.g., 50–75% hydration), which slow fermentation and reduce enzymatic activity.
Higher hydration starters (100% or more) tend to ferment faster and produce more carbon dioxide, contributing to a lighter loaf. However, too much hydration without proper gluten development leads to slack dough that can't hold gas, also causing density.
The key is balance. Your starter should be fluid enough to bubble actively but thick enough to retain structure. Adjust hydration gradually based on flour type—whole grain flours absorb more water than white, so you may need extra liquid.
“Starter hydration isn’t just about consistency—it’s about microbial accessibility. More water means easier movement for microbes and faster breakdown of starches.” — Dr. Laura Chen, Microbial Fermentation Researcher
Common Causes of Dense Sourdough Loaves
Density rarely stems from a single mistake. It’s usually a combination of factors. Below are the most frequent culprits:
1. Underproofed Dough
If dough hasn’t fermented long enough, yeast doesn’t produce sufficient gas. The result is minimal rise and tight crumb. Perform the \"poke test\": gently press the dough. If it springs back slowly and leaves a slight indentation, it’s ready. If it snaps back fast, it needs more time.
2. Overproofed Dough
Paradoxically, overproofing also causes density. When dough proofs too long, gluten breaks down and can’t trap gas. The loaf collapses in the oven, creating a gummy, compact interior.
3. Inactive Starter
Baking with a starter that hasn’t peaked leads to sluggish fermentation. Always use your starter when it’s at its highest volume—usually 4–8 hours after feeding, depending on temperature.
4. Poor Gluten Development
Without strong gluten networks, dough can’t hold air. Kneading, stretch-and-folds, and autolyse (resting flour and water before adding salt and starter) help build structure. Low-protein flours like all-purpose may require longer development.
5. Incorrect Baking Temperature or Steam
Oven spring—the final burst of rise in the first 15 minutes of baking—requires high heat (450°F/230°C or higher) and steam. Without steam, the crust sets too early, trapping gases inside and preventing expansion.
| Cause | Symptom | Solution |
|---|---|---|
| Underproofed Dough | Tight crumb, no large holes | Extend bulk fermentation; use warm environment |
| Overproofed Dough | Flat loaf, sticky crumb | Reduce proof time; monitor temperature |
| Inactive Starter | No rise, sour taste | Feed starter 4–6 hrs before use; keep at 75–80°F |
| Poor Gluten | Dough spreads, tears easily | Add stretch-and-folds; use higher protein flour |
| Low Oven Heat | Pale crust, dense center | Preheat 45+ minutes; use Dutch oven |
Step-by-Step Guide to Reviving a Weak Starter
If your starter isn’t bubbling or rising reliably, follow this 3-day revival protocol:
- Day 1 Morning: Discard all but 25g of starter. Feed with 50g whole rye flour and 50g lukewarm water (100% hydration). Stir well, cover loosely.
- Day 1 Evening: Repeat the same feeding. Rye flour boosts microbial diversity.
- Day 2 Morning: Switch to unbleached all-purpose flour. Feed 25g starter with 50g flour and 50g water.
- Day 2 Evening: Repeat AP flour feeding. Observe for bubbles and rise.
- Day 3: Continue twice-daily feedings. By now, your starter should double predictably within 6 hours.
Keep the jar in a warm spot (75–80°F). Cold kitchens slow fermentation. Consider placing it near a refrigerator motor or using a seedling mat for consistent warmth.
Optimizing Hydration for Better Rise
Adjusting hydration starts with your starter and extends to your dough. Here’s how to get it right:
For the starter, aim for 100% hydration unless you’re working with specific recipes calling for stiffer cultures. This ensures balanced acidity and active fermentation. Once your starter is healthy, adjust dough hydration based on your skill level:
- Beginners: Start with 65–70% hydration dough (e.g., 700g water per 1000g flour). Easier to handle and shape.
- Intermediate: Try 75% hydration for more open crumb.
- Advanced: Experiment with 80%+ hydration using high-gluten flour and advanced folding techniques.
Remember: Higher hydration requires stronger gluten development. Incorporate 3–4 sets of stretch-and-folds during bulk fermentation, spaced 30 minutes apart. This builds structure without over-kneading.
Real Example: Maria’s Turnaround Loaf
Maria had been baking sourdough for months with disappointing results—dense, gummy interiors despite following recipes exactly. She used a 75% hydration starter fed once daily with all-purpose flour. Her kitchen was cool (65°F), and she baked in a standard oven without steam.
After switching to twice-daily feedings with rye flour for two days, her starter began doubling in 5 hours. She then adjusted her dough to 70% hydration, performed four stretch-and-folds, and preheated a Dutch oven for 60 minutes. The next loaf had a 2-inch oven spring and an open, airy crumb. “I didn’t change the recipe,” she said. “I changed how I treated the starter.”
Essential Checklist for Lighter Sourdough
Use this checklist before every bake to avoid density:
- ✅ Starter peaks within 6–8 hours of feeding and doubles in volume
- ✅ Dough passes the poke test (slow springback)
- ✅ At least 3–4 stretch-and-folds completed during bulk fermentation
- ✅ Final dough temperature between 78–82°F
- ✅ Oven fully preheated with Dutch oven inside for 45+ minutes
- ✅ Steam created via Dutch oven or water pan
- ✅ Adequate cooling time (at least 2 hours) before slicing
Frequently Asked Questions
Can I use my starter if it has hooch?
Yes, but it’s a sign of hunger. Pour off excess hooch or stir it in, then feed immediately. Regular feeding prevents hooch buildup.
Why does my sourdough taste sour but still turn out dense?
Acidity doesn’t equal activity. A very sour starter may have high lactic acid but low yeast strength. Refresh it with two consecutive feedings before baking.
Does whole wheat starter behave differently than white flour starter?
Yes. Whole grain starters ferment faster due to nutrients in bran but may weaken gluten over time. They often perform best when used in blends with white flour doughs.
Final Thoughts: Consistency Over Perfection
Dense sourdough is rarely a one-time error—it’s a signal from your process. Addressing starter health and hydration isn’t a quick fix but a foundational shift toward better baking. The wild microbes in your jar respond to routine, temperature, and care. Treat them well, and they’ll reward you with loaves that rise confidently, crackle when cooled, and slice with a delicate, open texture.
Better bread begins with observation. Watch your starter’s behavior, note room temperature, track fermentation times. Small adjustments compound into dramatic improvements. Don’t aim for perfection on the first try. Aim for learning with each bake.


 浙公网安备
33010002000092号
浙公网安备
33010002000092号 浙B2-20120091-4
Comments
No comments yet. Why don't you start the discussion?