
Sourdough bread that turns out dense can be deeply frustrating—especially when you’ve invested hours into the process. You feed your starter religiously, wait through long fermentation windows, and still end up with a brick instead of a boule. The good news? Dense crumb is rarely due to one single flaw. It’s usually a combination of factors involving starter strength, dough development, temperature, and timing. Understanding these elements—and how they interact—is the key to diagnosing and fixing the issue.
Dense sourdough isn’t a failure; it’s feedback. Your loaf is telling you something about your process. By systematically evaluating your starter health, mixing method, bulk fermentation, shaping, and final proof, you can identify where things went off track and adjust accordingly.
Understanding Sourdough Structure: Why Bread Rises (or Doesn’t)
Sourdough relies entirely on natural fermentation. Unlike commercial yeast, which delivers predictable rise in a few hours, sourdough uses wild yeast and lactic acid bacteria that work more slowly and are sensitive to environment, flour type, and feeding schedule. For bread to rise properly, two conditions must be met: strong gluten development and active gas production from fermentation.
Gluten forms when flour and water hydrate and are worked—either through kneading or stretch-and-folds. This network traps carbon dioxide produced by your starter during fermentation. If either the gluten structure is weak or the fermentation is insufficient, gas escapes or isn’t produced at all, leading to a compact, heavy crumb.
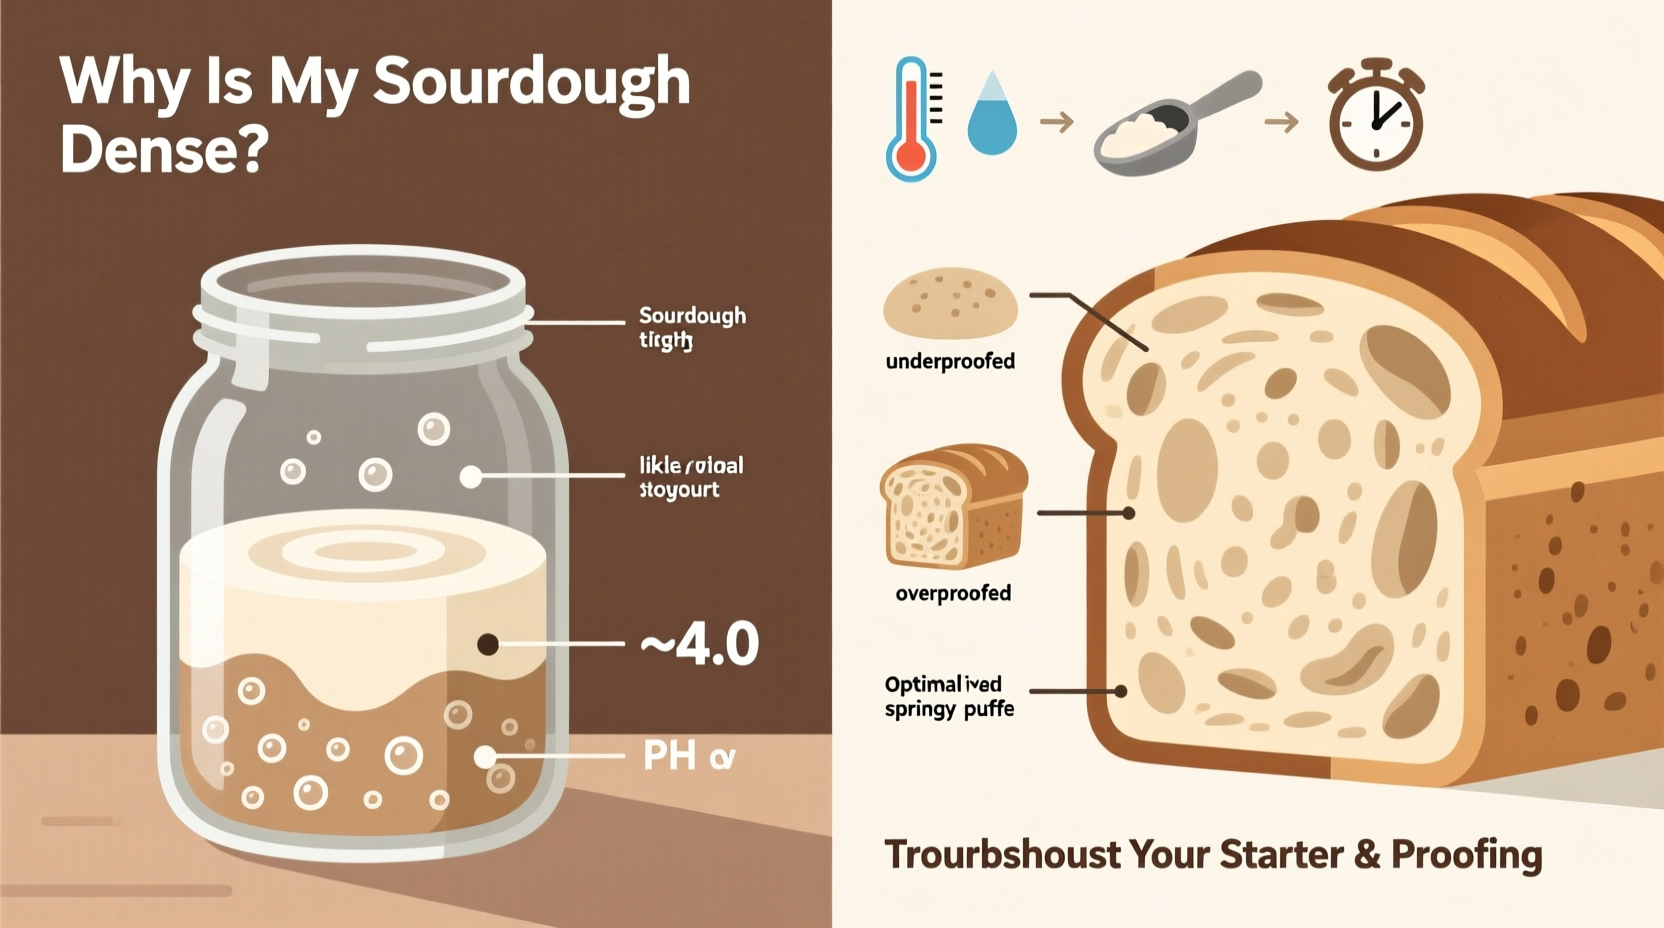
Another critical factor is oven spring—the final burst of expansion when dough hits the hot oven. This requires both sufficient gas buildup and a well-timed bake. Under-proofed dough lacks gas; over-proofed dough collapses. Both result in poor volume.
Diagnosing Starter Problems: Is Your Leaven Weak?
Your starter is the engine of your sourdough. If it’s sluggish or imbalanced, no amount of perfect technique will save your loaf. A healthy starter should double predictably within 4–8 hours of feeding, have a pleasant tangy aroma (not rotten), and be full of bubbles throughout.
Common signs of a weak starter include:
- Slow rise (takes longer than 12 hours to peak)
- Foul or acetone-like smell (a sign of starvation)
- Liquid separation with dark layer on top (hooch)
- No visible bubbles after several hours
If your starter struggles to become active, consider these adjustments:
- Feed more frequently: Twice-daily feedings at room temperature rebuild microbial populations.
- Use whole grain flour: Rye or whole wheat provides more nutrients for microbes. Try a 50/50 mix with white flour.
- Maintain warmer temperatures: Yeast thrives between 70–78°F (21–26°C). A cold kitchen slows everything down.
- Discard and refresh consistently: Never let your starter go more than 48 hours without food if kept at room temp.
“Many bakers mistake acidity for strength. A sour smell doesn’t mean your starter is powerful—it might just be exhausted.” — Dr. Debra Wink, Microbiologist & Fermentation Specialist
To build a robust leaven, try this 12-hour build:
- At Hour 0: Mix 20g mature starter, 100g water, 100g flour (preferably rye or whole wheat).
- At Hour 4: Add 100g water, 100g flour.
- At Hour 8: Add another 100g water, 100g flour.
- By Hour 12: The leaven should be bubbly, domed, and pass the finger press test (poke gently—if it holds the indentation slightly and doesn’t collapse, it’s ready).
This multi-feed approach builds population density and metabolic balance, giving your dough a stronger fermentation kick.
Proofing Pitfalls: Timing, Temperature, and Dough Maturity
Even with a strong starter, improper proofing leads to dense bread. Proofing includes both bulk fermentation (first rise) and final proof (second rise). Each stage affects texture, flavor, and volume.
Bulk fermentation develops flavor and strengthens gluten through enzymatic activity and gas production. Signs of proper bulk fermentation:
- Dough has increased by 30–50% in volume
- Surface is domed and slightly jiggly
- Bubbles visible beneath the surface
- Dough feels aerated and lifts easily from the bowl
Under-fermented dough hasn’t developed enough gas or gluten strength. Over-fermented dough loses structure and collapses when shaped.
Final proof determines oven spring. It’s typically shorter than bulk fermentation—1–4 hours at room temperature or overnight in the fridge. The dough should feel soft and puffy but still resilient. Press lightly: if it springs back slowly, it’s ready. If it doesn’t spring back, it’s over-proofed.
| Proofing Stage | Ideal Duration | Signs of Readiness | Common Mistakes |
|---|---|---|---|
| Bulk Fermentation | 3–6 hours (RT) or 10–14 hrs (cold) | 30–50% rise, bubbly, jiggly | Rushing, ignoring temperature cues |
| Final Proof (Room Temp) | 1–3 hours | Puffy, slow spring-back | Over-proofing due to warm kitchen |
| Final Proof (Cold) | 12–18 hours | Firm but risen, chilled crust | Using weak starter before retarding |
Case Study: From Brick to Boule – Sarah’s Sourdough Turnaround
Sarah had been baking sourdough for three months with consistent disappointment. Her loaves were flat, gummy inside, and required a hammer to slice. She followed recipes exactly but couldn’t understand why her results didn’t match the airy crumb photos online.
She started keeping a sourdough journal, tracking starter behavior, room temperature, hydration, and proof times. Within a week, patterns emerged: her starter was fed only once daily, and she used it straight from the fridge. Her kitchen stayed around 66°F (19°C), slowing fermentation. Bulk fermentation lasted 8 hours, but the dough never truly expanded.
Adjustments she made:
- Switched to twice-daily starter feedings at room temperature
- Warmed her starter overnight in a turned-off oven with the light on (~75°F)
- Extended bulk fermentation to 5 hours with four sets of stretch-and-folds
- Used the “poke test” instead of the clock for final proof
On her fourth attempt, her loaf doubled in the oven and had an open, tender crumb. The change wasn’t in the recipe—it was in understanding timing as a variable, not a rule.
Step-by-Step Troubleshooting Guide for Dense Sourdough
If your loaf came out dense, follow this diagnostic sequence to isolate the cause:
- Check starter vitality: Did it double within 6–8 hours of feeding? Was it used at peak activity? If not, focus on rebuilding starter strength before baking again.
- Review bulk fermentation: Was the dough noticeably expanded and aerated? Did you perform folds to strengthen gluten? Under-developed dough won’t trap gas.
- Evaluate shaping technique: Was the dough pre-shaped and given bench rest? Was surface tension created during final shape? Poor shaping leads to spreading, not rising.
- Analyze final proof: Was the dough under- or over-proofed? Under-proofed dough resists expansion; over-proofed dough collapses.
- Assess bake execution: Was the oven hot enough (ideally 450–500°F)? Was steam used for the first 20 minutes? Lack of steam prevents crust formation and limits oven spring.
Keep a baking log noting each variable. Over time, you’ll recognize how changes affect outcomes. Temperature alone can shift fermentation by hours—tracking helps you adapt.
Essential Checklist for Lighter Sourdough Loaves
✅ Sourdough Success Checklist
- Starter doubles within 6–8 hours of feeding
- Leaven used at peak—domed, bubbly, not collapsing
- Bulk fermentation shows 30–50% volume increase
- Performed 3–4 sets of stretch-and-folds during bulk
- Dough properly pre-shaped and bench-rested
- Final proof passes the poke test (slow rebound)
- Oven preheated for at least 45 minutes with Dutch oven inside
- Steam used during first 20 minutes of bake
Frequently Asked Questions
Can I use my starter straight from the fridge?
It’s not recommended. Cold, dormant starter lacks the necessary yeast activity to leaven dough effectively. Always refresh and allow it to peak at room temperature before incorporating into your dough. If you must use it cold, extend bulk fermentation significantly and expect less oven spring.
Why does my bread rise in the oven but then collapse?
This often indicates over-proofing. The dough exhausts its gas-producing capacity before baking. When heat hits, the remaining structure expands briefly but can’t sustain it, causing collapse. Next time, shorten the final proof and look for subtle puffiness rather than dramatic rise.
Does high hydration make bread denser?
Not inherently. Higher hydration (75% and above) can actually improve openness by allowing gluten to expand more freely. However, wetter doughs require better strength development through folds and may be harder to handle. If your high-hydration loaf is dense, the issue is likely under-fermentation or weak gluten, not water content.
Conclusion: Mastering the Art of Airy Sourdough
Dense sourdough isn’t a dead end—it’s a starting point for deeper understanding. Every failed loaf teaches you more about your starter, your kitchen environment, and your technique. The path to light, open crumb isn’t about perfection; it’s about observation, adjustment, and patience.
Start by ensuring your starter is truly strong, not just alive. Then refine your proofing judgment using visual and tactile cues over the clock. Incorporate consistent folds, proper shaping, and a blazing-hot, steamy oven. Track your variables, celebrate small improvements, and remember: even professional bakers produce misfires.


 浙公网安备
33010002000092号
浙公网安备
33010002000092号 浙B2-20120091-4
Comments
No comments yet. Why don't you start the discussion?