
Sourdough baking is a rewarding craft that blends tradition, science, and patience. Yet for many beginners, the dream of a light, airy loaf with an open crumb often ends in disappointment: a dense, gummy, or flat result. If your sourdough isn’t rising as expected or feels more like a doorstop than a delicacy, you're not alone. The good news? Density is rarely due to one single mistake—it's usually a combination of factors that can be diagnosed and corrected.
Dense sourdough typically stems from underdeveloped gluten, insufficient fermentation, improper shaping, or inaccurate temperature control. Understanding these elements—and how they interact—can transform your next bake from heavy to heavenly.
Understanding the Ideal Sourdough Structure
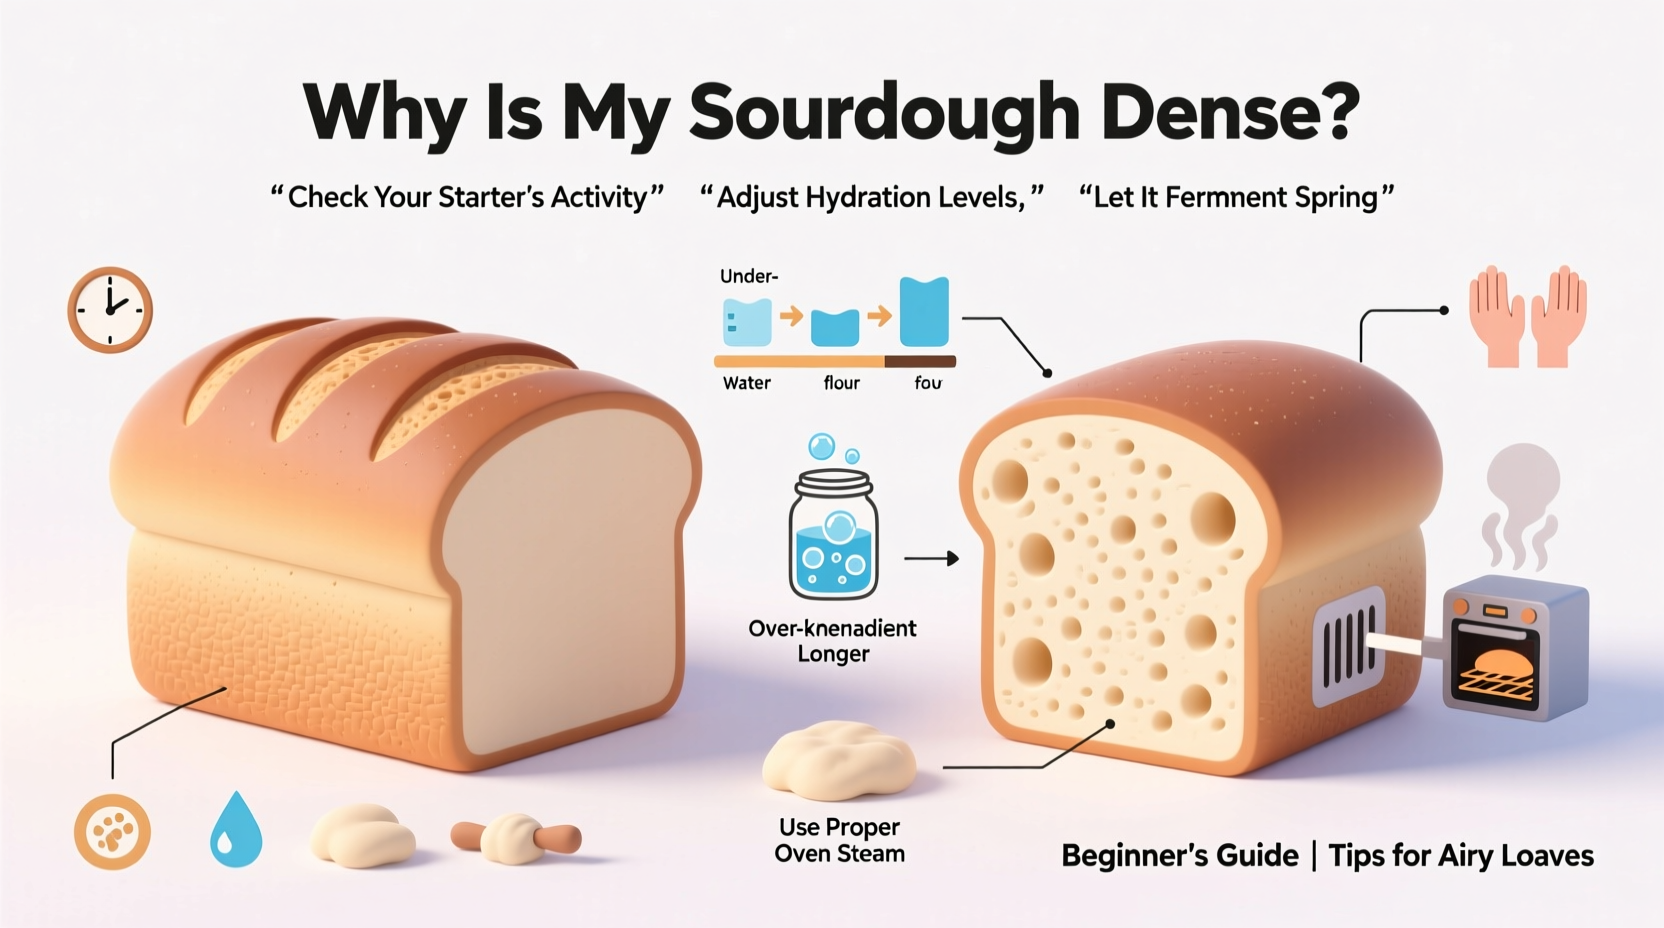
An airy sourdough loaf depends on two critical components: gas production and gas retention. Yeast and bacteria in your starter produce carbon dioxide during fermentation. For those bubbles to create lift, the dough must have enough strength—provided by well-developed gluten—to trap them. Without both, the structure collapses, resulting in density.
The ideal sourdough has:
- An open, irregular crumb with visible holes
- A crisp, blistered crust
- A springy yet chewy texture
- A slight tang without excessive sourness
Density doesn't mean failure—it’s feedback. Each loaf tells you something about your process. By adjusting technique rather than ingredients, most bakers can achieve dramatic improvements within just a few tries.
Common Causes of Dense Sourdough (and How to Fix Them)
1. Underdeveloped Gluten Network
Gluten is the scaffolding of your dough. If it's weak or underdeveloped, it can't hold gas. This leads to poor oven spring and a compact crumb.
Signs of underdeveloped gluten include:
- Dough tears easily when stretched
- Lacks elasticity and jiggles like pudding
- Spreads out instead of holding shape during proofing
To strengthen gluten, focus on proper mixing and autolyse. Mix flour and water first and let it rest for 30–60 minutes before adding salt and starter. This allows hydration and initial gluten formation. Then, use stretch-and-fold techniques every 30 minutes during bulk fermentation (4–6 times total) to build strength gradually.
2. Inactive or Weak Starter
Your sourdough starter is the engine of fermentation. If it's sluggish, your dough won’t rise properly.
A healthy starter should:
- Rise predictably within 4–8 hours of feeding
- Double or triple in volume
- Have a pleasant, tangy aroma (not rotten or alcoholic)
- Be bubbly throughout, not just on top
Baking with a starter at its peak—or just past peak—is crucial. Using it too early (before full rise) means less yeast activity. Using it too late (after collapse) means the yeast have consumed most food and acidity may weaken gluten.
“Timing your bake around your starter’s peak ensures maximum leavening power. Never assume it’s ready—watch for visual cues.” — Ken Forkish, author of *Flour Water Salt Yeast*
3. Underproofing or Overproofing
Fermentation time is not fixed—it depends on temperature, flour type, starter strength, and hydration. Both underproofing and overproofing cause density, but in different ways.
Underproofed dough hasn't produced enough gas. It may look tight and feel firm. When baked, it lacks expansion and results in a dense center.
Overproofed dough has exhausted its strength. Gas pockets grow too large and rupture, causing the structure to collapse. The loaf spreads sideways and bakes up dense despite high rise during proofing.
The best way to judge readiness is the \"poke test\": lightly press a floured finger into the dough. If it springs back slowly and leaves a slight indentation, it's ready. If it snaps back immediately, it needs more time. If it doesn’t spring back at all, it’s overproofed.
4. Poor Shaping Technique
Shaping isn’t just about appearance—it creates surface tension that helps the loaf hold its structure during proofing and baking. A loosely shaped dough spreads out and loses vertical lift, leading to flattening and denser crumb.
When shaping, aim to create a taut outer skin. Use the bench scraper to gather the dough, then cup your hand around it and rotate while applying gentle pressure against the counter. This smooths the surface and traps air inside.
5. Inadequate Oven Spring
Oven spring—the final burst of rise during the first 15–20 minutes of baking—is essential for an airy crumb. Poor oven spring results in premature crust formation and trapped gases, which deflate instead of expand.
To maximize oven spring:
- Preheat your Dutch oven or baking steel for at least 45 minutes
- Bake at high heat (450°F–475°F / 230°C–245°C)
- Create steam by sealing the Dutch oven or using a steam pan
- Score the loaf deeply (½ inch) to allow controlled expansion
Scoring too shallowly restricts expansion. Scoring too late—after the surface has dried—can cause tearing instead of clean opening.
Troubleshooting Checklist: Is Your Process On Track?
Use this checklist to evaluate your sourdough routine and identify where things might be going wrong:
✅ Sourdough Readiness Checklist
- Is my starter active, bubbly, and peaking 4–8 hours after feeding?
- Did I perform an autolyse (mix flour + water, rest 30–60 min)?
- Did I do 4–6 sets of stretch-and-folds during bulk fermentation?
- Does the dough pass the windowpane test?
- Did I shape the dough tightly to create surface tension?
- Is the final proof complete? (Passed poke test, slightly jiggly)
- Was my baking vessel preheated for at least 45 minutes?
- Did I score the loaf deeply and confidently before baking?
- Did I bake with steam for the first 20 minutes?
- Did I fully cool the loaf (2+ hours) before slicing?
If three or more items are unchecked, revisit those steps in your next bake. Small adjustments compound into major improvements.
Step-by-Step Guide to Lighter Sourdough
Follow this refined process to increase your chances of success:
- Feed your starter 8–12 hours before baking. Use equal parts flour and water (e.g., 50g each). Keep it warm (75°F–80°F / 24°C–27°C).
- Autolyse: Mix 350g water and 500g bread flour. Rest 30–60 minutes.
- Add starter and salt: Mix in 100g active starter and 10g salt. Pinch until fully incorporated.
- Stretch and fold: Every 30 minutes for 2–3 hours (4–6 rounds). Let rest between sets.
- Bulk ferment: Let rise at room temperature until ~50% increase, jiggly, and gassy (typically 4–6 hours).
- Pre-shape: Turn out dough, shape into a loose round, rest 20–30 minutes (bench rest).
- Final shape: Shape tightly into a boule or batard. Transfer to lined banneton.
- Proof: Cover and refrigerate overnight (12–16 hours) or proof at room temp (2–4 hours) until poke test passes.
- Bake: Preheat Dutch oven at 450°F (230°C) for 45 minutes. Score, transfer, cover, bake 20 minutes. Uncover, bake 20–25 more minutes.
- Cool: Wait at least 2 hours before slicing. Cutting too early releases trapped steam and causes gumminess.
This method emphasizes time, temperature, and technique over precision. Adjust based on your environment—your kitchen is unique.
Real Example: From Brick to Breakthrough
Meet Sarah, a home baker in Portland who struggled for months with dense sourdough. Her loaves were edible but heavy, with little oven spring and tiny crumb holes. She followed recipes exactly but saw no improvement.
After reviewing her process, she realized her starter was being used straight from the fridge—never fed or brought to peak activity. She also skipped stretch-and-folds, relying only on long bulk fermentation. Her shaping was loose, and she baked in a cold ceramic dish.
She made three key changes:
- Fed her starter 8 hours before baking and waited for full rise
- Added four sets of stretch-and-folds during bulk fermentation
- Started preheating her Dutch oven for 45 minutes
On her next attempt, the difference was immediate. The dough felt stronger, held its shape better, and rose higher in the oven. The crumb opened up dramatically—larger holes, lighter texture, better flavor. One adjustment at a time had unlocked the transformation she’d been chasing.
Do’s and Don’ts: Quick Reference Table
| Do | Don’t |
|---|---|
| Use active, bubbly starter at peak rise | Use starter straight from the fridge or after collapse |
| Perform stretch-and-folds every 30 minutes | Mix once and walk away |
| Preheat baking vessel for 45+ minutes | Bake in a cold or poorly heated pot |
| Wait 2+ hours before slicing | Cut into hot bread right out of the oven |
| Shape with tension to create a tight surface | Plop dough into banneton without shaping |
FAQ: Common Questions About Dense Sourdough
Why is my sourdough dense even though I followed the recipe?
Recipes provide guidelines, but sourdough responds to environment. Temperature, humidity, flour freshness, and starter health vary daily. Focus on signs—not schedules. Dough should be judged by feel and appearance, not the clock.
Can I fix dense sourdough after it’s baked?
No. Once baked, the structure is set. However, dense loaves make excellent toast, breadcrumbs, or strata. Learn from the outcome and adjust your next bake. Density is diagnostic, not defeat.
Does whole wheat flour make sourdough denser?
Yes. Whole wheat contains bran, which cuts gluten strands and limits gas retention. If using whole grains, blend with bread flour (e.g., 50/50) and extend bulk fermentation slightly to improve enzymatic activity and flavor development.
Conclusion: Your Airier Loaf Is Within Reach
Dense sourdough isn’t a dead end—it’s a signal pointing you toward mastery. Every failed loaf teaches you more than a perfect one ever could. The path to airy, open-crumbed bread lies in observation, consistency, and incremental refinement.
You don’t need fancy tools or decades of experience. You need attention to detail: watch your starter, feel your dough, respect timing, and trust the process. With each bake, you’ll grow more attuned to the subtle language of fermentation.


 浙公网安备
33010002000092号
浙公网安备
33010002000092号 浙B2-20120091-4
Comments
No comments yet. Why don't you start the discussion?