
A sourdough starter is a living culture of wild yeast and lactic acid bacteria that transforms flour and water into a powerful leavening agent. When it's active, you'll see bubbles, expansion, and a tangy aroma—signs that fermentation is thriving. But what happens when your starter lies flat, silent, and unresponsive? If your sourdough starter isn’t bubbling, it doesn’t mean it’s dead. More often than not, it’s simply stressed, underfed, or out of balance. The good news: with the right approach, you can revive it quickly and reliably.
Understanding What Bubbling Means (and Why It Matters)
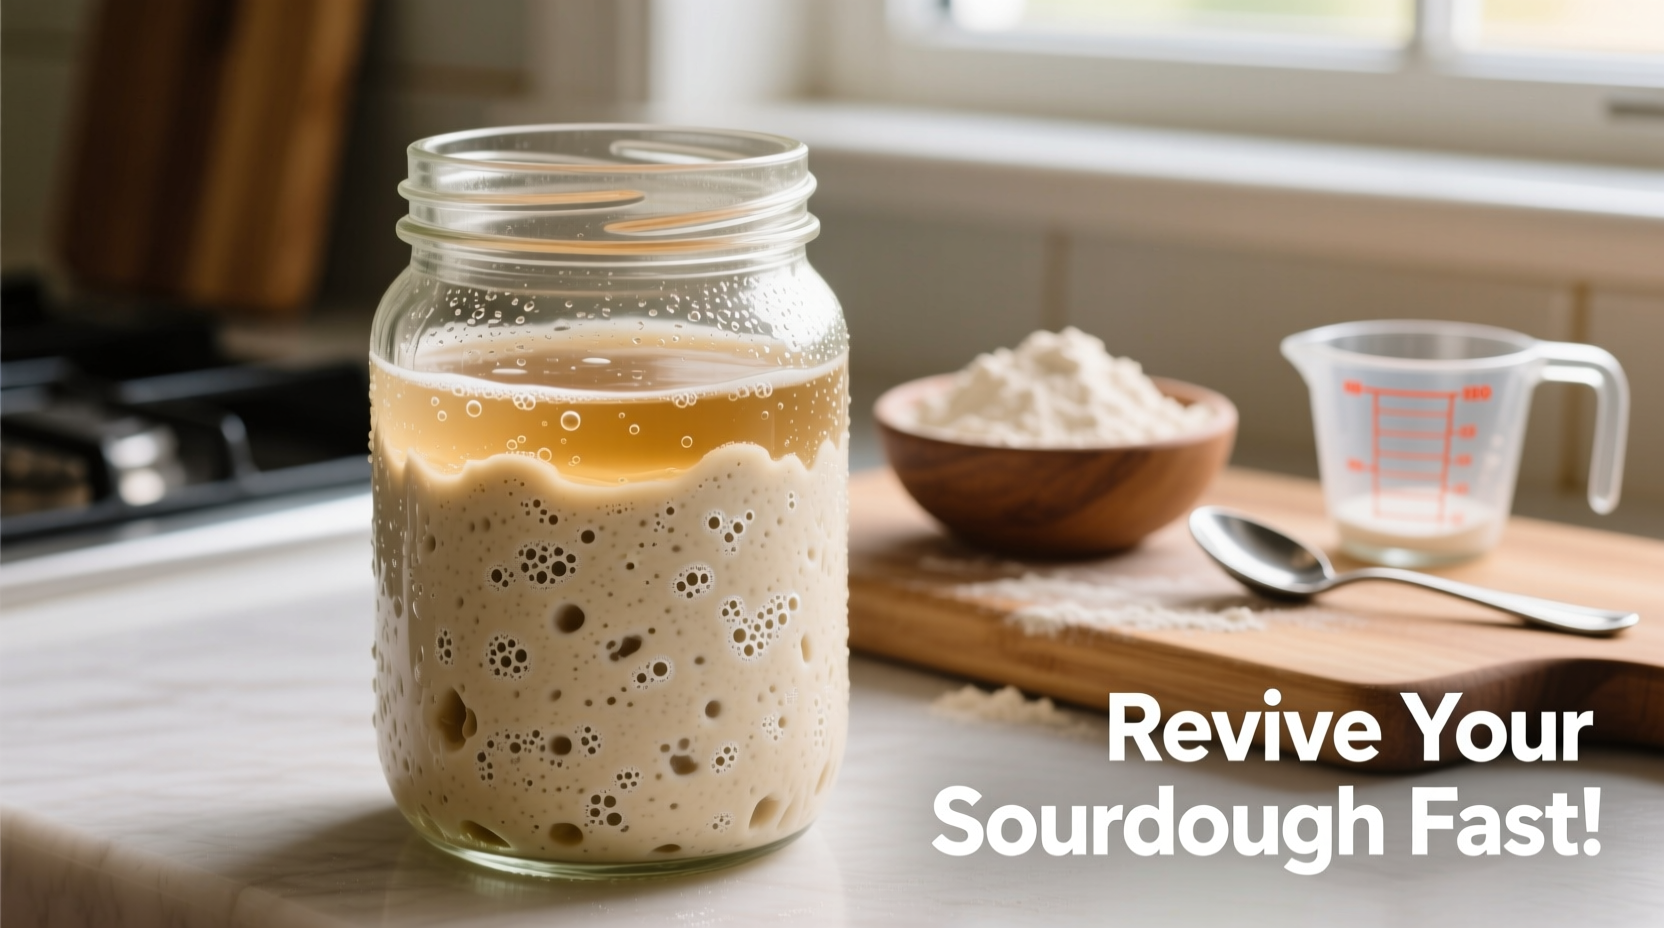
Bubbles in a sourdough starter are visual proof of fermentation. As wild yeast consumes the sugars in flour, it produces carbon dioxide gas—those bubbles—and alcohol as byproducts. A healthy, active starter should double in volume within 4–8 hours after feeding and exhibit a steady stream of bubbles throughout.
When bubbling stops or never starts, it signals one or more underlying issues: insufficient food, incorrect temperature, poor flour choice, or contamination. Identifying the root cause is essential before attempting revival.
Common Reasons Your Sourdough Starter Isn’t Bubbling
Before diving into revival techniques, rule out these frequent culprits:
- Infrequent feeding: Yeast and bacteria need regular nourishment. Going too long between feedings starves the culture.
- Cold environment: Temperatures below 68°F (20°C) slow microbial activity significantly.
- Poor flour quality: Bleached or low-protein flours lack the nutrients wild microbes need.
- Chlorinated water: Tap water with chlorine or chloramine can inhibit or kill beneficial microbes.
- Overfermentation: Leaving a starter too long after peak rise leads to acid buildup, weakening yeast.
- Inactive initial culture: Some starters take longer to establish, especially in cooler climates.
“Many people assume no bubbles means dead starter. In reality, most sluggish starters are just hungry or cold.” — Dr. Karl DeSaulniers, Microbial Fermentation Researcher, Bread Lab at Washington State University
How to Revive a Dormant Sourdough Starter Fast (Step-by-Step)
Revival hinges on consistency, warmth, and high-quality inputs. Follow this structured timeline to bring your starter back to life in as little as 24–72 hours.
- Discard all but 25g of starter. Remove any dark liquid (hooch), which indicates hunger. Keep only a small portion of the original culture.
- Feed with 25g whole grain flour and 25g lukewarm filtered water. Whole rye or whole wheat flour boosts microbial diversity and jumpstarts activity.
- Place in a warm spot (75–80°F / 24–27°C). Use a proofing box, oven with light on, or near a radiator—but avoid direct heat.
- Repeat every 12 hours. Feed twice daily using a 1:1:1 ratio (starter:flour:water). Stick to the same time intervals.
- Switch to unbleached all-purpose flour after 48 hours. Once bubbling begins, transition to your preferred baking flour for stability.
- Observe for signs of life: Look for bubbles, domed surface, slight expansion, and a clean sour smell (not rotten).
If no change occurs after 72 hours, repeat the process with fresh rye flour and ensure your water is chlorine-free. Patience and precision matter—each feeding resets the microbial ecosystem.
Optimal Conditions for Rapid Revival
| Factor | Optimal Condition | What to Avoid |
|---|---|---|
| Temperature | 75–80°F (24–27°C) | Cold kitchens, drafts, refrigeration during revival |
| Flour Type | Whole rye or whole wheat (first 2 days), then AP flour | Bleached flour, cake flour, gluten-free blends |
| Water | Filtered or bottled, room temperature | Chlorinated tap water |
| Feeding Ratio | 1:1:1 (starter:flour:water) every 12 hours | Irregular feeding or skipping discard |
| Vessel | Glass jar with loose lid or cloth cover | Airtight containers or metal jars |
Real Example: Reviving a 3-Week Neglected Starter
Sarah, a home baker in Portland, forgot about her starter during a family trip. When she returned, the jar had a thick layer of grayish hooch and no bubbles. She poured off the liquid, discarded down to 25g of the thick paste at the bottom, and began feeding it 25g rye flour and 25g spring water every 12 hours. She placed it on top of her refrigerator, where ambient heat kept it around 77°F.
After 36 hours, tiny bubbles appeared. By the 60-hour mark, the starter doubled in size within six hours of feeding and developed a balanced tangy scent. Within four days, she successfully baked a loaf of sourdough bread with excellent oven spring and crumb structure. Her takeaway: “Even if it looks dead, don’t throw it out. Just feed it consistently with good flour.”
Pro Tips to Prevent Future Sluggishness
Once revived, maintain your starter’s health with these best practices:
- Stick to a feeding schedule—even if storing at room temperature, feed every 12–24 hours.
- Use a digital scale for precise measurements. Volume-based measuring leads to inconsistency.
- Keep a backup: Store a portion of active starter in the freezer for emergencies.
- Smell test regularly: A healthy starter smells like yogurt, ripe fruit, or vinegar—not moldy cheese or acetone.
- Refresh with whole grain flour once a week to boost microbial resilience.
When to Consider Starting Over
While most starters can be revived, there are rare cases where starting fresh is wiser:
- Pink or orange mold growth
- Foul, rotting odor (like spoiled eggs or sewage)
- No response after 5 days of proper feeding with quality ingredients
If mold appears, discard immediately. Mold spores can penetrate deep into the culture, making safe revival impossible. However, a dark layer of hooch, even if smelly, is usually harmless and a sign of hunger—not spoilage.
Essential Checklist: How to Bring Your Starter Back to Life
Follow this actionable checklist to ensure nothing is missed during revival:
- □ Discard down to 25g of starter (remove hooch)
- □ Use filtered or dechlorinated water
- □ Feed with 25g whole rye or whole wheat flour
- □ Maintain temperature between 75–80°F
- □ Feed every 12 hours without skipping
- □ Use glass or food-safe container with breathable cover
- □ Monitor for rise and bubbles over 4–6 hours post-feed
- □ Transition to all-purpose flour after signs of activity
- □ Wait until consistent doubling before baking
Frequently Asked Questions
Can I use tap water for my sourdough starter?
Not ideal. Municipal tap water often contains chlorine or chloramine, both of which can harm beneficial microbes. Let tap water sit uncovered for 24 hours to allow chlorine to evaporate, or use filtered or bottled water instead.
How long does it take to revive a sourdough starter?
Most dormant starters show signs of life within 24–72 hours when fed consistently with whole grain flour and kept warm. Full recovery—consistent doubling within 6–8 hours—may take 3–5 days.
Why does my starter rise slightly but not double?
Partial rise suggests weak yeast activity. This could be due to cold temperatures, poor flour, or accumulated acidity from infrequent feeding. Continue feeding every 12 hours with whole rye flour and warmth. Double rise should return within 2–3 days.
Final Thoughts: Trust the Process
A sourdough starter is resilient. Even when it appears lifeless, the microbes are often merely dormant, waiting for the right conditions to reawaken. The key to fast revival lies in consistency: regular feedings with nutrient-rich flour, stable warmth, and patience. Avoid jumping between flours or irregular schedules, as these disrupt microbial balance.
Remember, every failed rise is a learning opportunity. Track your feeding times, note environmental changes, and pay attention to aroma and texture. These observations build intuition—the hallmark of an experienced sourdough baker.


 浙公网安备
33010002000092号
浙公网安备
33010002000092号 浙B2-20120091-4
Comments
No comments yet. Why don't you start the discussion?