
A healthy sourdough starter should be lively, bubbly, and double in size within 4–8 hours after feeding. When it doesn’t bubble, it’s a clear signal that something is off in the fermentation process. Many home bakers assume their starter has died or is beyond saving—but more often than not, the issue lies in one of several preventable mistakes. Understanding the science behind wild yeast and lactic acid bacteria activity can help diagnose and correct problems quickly.
Sourdough starters rely on a delicate balance of hydration, food (flour), temperature, and time. Disrupt any of these elements, and fermentation slows or stops altogether. This guide breaks down the most common reasons your starter isn’t bubbling, how to identify them, and—most importantly—how to fix them.
Understanding Sourdough Fermentation Basics
Fermentation in a sourdough starter is driven by naturally occurring yeasts and bacteria from the environment and flour. These microorganisms consume starches and sugars in flour, producing carbon dioxide (which causes bubbles) and organic acids (which give sourdough its tang).
The key players are:
- Wild yeast – Responsible for leavening; produces CO₂.
- Lactobacillus bacteria – Produces lactic and acetic acid, contributing flavor and acidity.
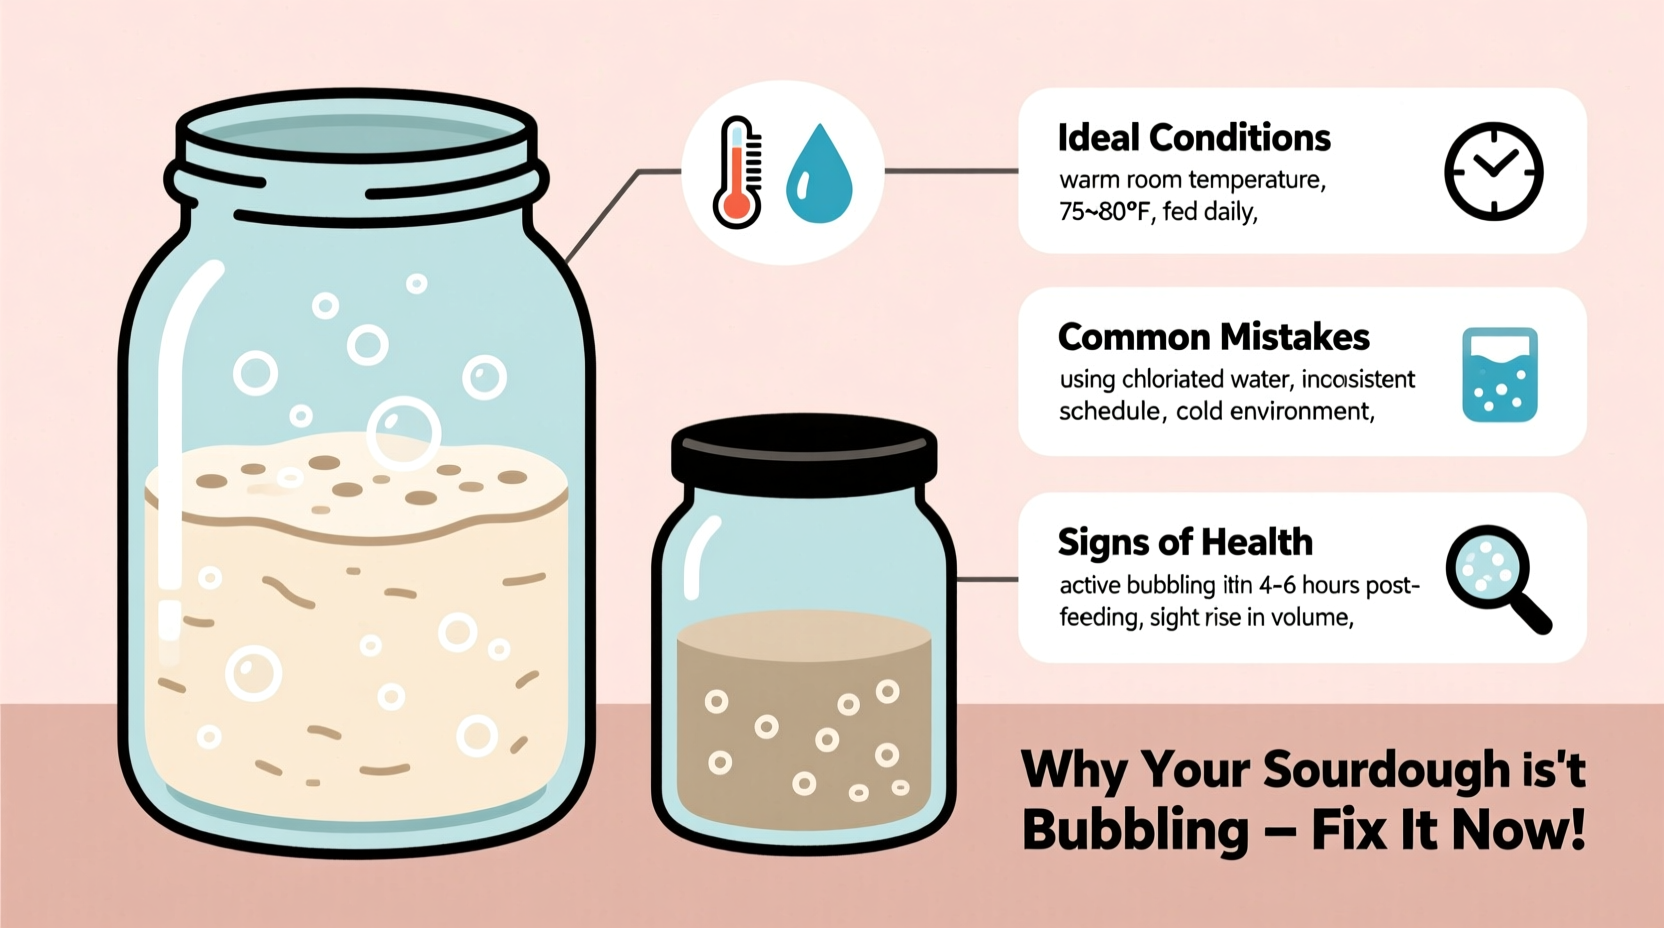
For both to thrive, they need three essentials: food (fresh flour), moisture (water), and warmth (ideally between 70°F–78°F or 21°C–26°C). Without optimal conditions, microbial activity stalls, leading to a sluggish or dormant starter.
“Sourdough is as much about consistency as it is about chemistry. A daily rhythm of feeding and observation builds resilience in your culture.” — Dr. Karl De Smedt, microbiologist and sourdough preservation specialist at the Sourdough Library in Belgium.
Common Reasons Your Starter Isn’t Bubbling
1. Inconsistent or Incorrect Feeding Schedule
One of the top reasons for lack of bubbling is an irregular feeding routine. Wild microbes require fresh food every 12–24 hours when kept at room temperature. If you feed too infrequently, the population crashes due to starvation. Overfeeding without discarding leads to dilution and weak microbial concentration.
2. Using Chlorinated Tap Water
Chlorine and chloramines in municipal tap water are designed to kill microbes—which includes the beneficial ones in your starter. While small amounts may not destroy a mature culture, they can inhibit development in young or sensitive starters.
To avoid this, use filtered, spring, or boiled (then cooled) water. Letting tap water sit out overnight can also allow chlorine to evaporate, though chloramines remain stable.
3. Cold Kitchen Temperatures
Temperature is critical. Below 65°F (18°C), yeast activity slows dramatically. At 50°F (10°C) or lower, fermentation nearly stops. If your kitchen is drafty or air-conditioned, your starter may simply be too cold to bubble.
Place your starter in a warmer spot: near the oven (when not in use), inside a turned-off microwave with a warm cup of water, or use a fermentation mat set to 75°F (24°C).
4. Poor Flour Quality or Type
Not all flours are equal when it comes to feeding a starter. Highly processed white flours lack the nutrients wild microbes need. Conversely, whole grain flours like rye or whole wheat are rich in minerals and bran, which support robust fermentation.
New starters especially benefit from whole grain flours. Once established, they can transition to all-purpose or bread flour, but occasional whole grain feedings boost vitality.
5. Contamination or Unsanitary Conditions
Mold, soap residue, or foreign bacteria can disrupt your starter’s ecosystem. Always use clean jars and utensils. Avoid using antibacterial soap on tools that touch the starter. If you see pink, orange, or black spots, discard immediately—these indicate harmful contamination.
A healthy starter should smell pleasantly sour, yogurty, or fruity. Rotten, fecal, or overly vinegary odors suggest imbalance or spoilage.
Troubleshooting Checklist: What to Do When Your Starter Is Inactive
- Check the temperature: Is your starter below 68°F? Move it to a warmer location.
- Review your feeding schedule: Have you fed it within the last 12–24 hours?
- Verify your flour: Are you using bleached or low-nutrient flour? Switch to unbleached all-purpose or whole grain.
- Test your water: Try filtered or bottled water to rule out chlorine issues.
- Smell and inspect: Does it have off-putting odors or visible mold? Discard if contaminated.
- Feed consistently for 3–5 days: Use a 1:1:1 ratio with whole grain flour and observe changes.
- Reduce hooch: Pour off excess liquid before feeding to prevent acidity buildup.
Step-by-Step Revival Plan for a Dormant Starter
If your starter hasn’t bubbled in days—or weeks—follow this structured revival protocol:
- Day 1: Discard all but 20g of starter. Feed with 20g whole wheat or rye flour and 20g lukewarm water (around 75°F). Cover loosely and place in a warm spot.
- Day 2: Repeat the same feeding. You may notice small bubbles or a slightly sour aroma.
- Day 3: Continue feeding twice daily (every 12 hours). If no rise, switch entirely to rye flour for enhanced microbial stimulation.
- Day 4: Observe for signs of doubling within 6–8 hours. If rising slowly, maintain the routine.
- Day 5: Transition back to all-purpose flour if desired, keeping the same feeding ratio. Test for float: Place a spoonful in a glass of water. If it floats, it’s ready to bake with.
This method works even for neglected refrigerated starters. Patience is essential—some cultures take up to 7 days to regain full vigor.
Do’s and Don’ts of Sourdough Starter Care
| Do’s | Don’ts |
|---|---|
| Feed regularly with unbleached flour | Use chlorinated tap water |
| Keep in a warm, draft-free area | Store near strong-smelling foods (absorbs odors) |
| Discard and refresh before each feeding | Let hooch accumulate for days without stirring or pouring off |
| Use a breathable lid (cloth, paper towel, loose cap) | Seal tightly with an airtight lid—pressure can build up |
| Label jars with feeding times | Introduce metal utensils frequently (can react with acid over time) |
Real Example: Sarah’s Struggling Rye Starter
Sarah, a home baker in Portland, Oregon, started her sourdough journey in winter. She mixed rye flour and water and waited eagerly for bubbles. After three days with only a faint sour smell and no rise, she considered giving up.
She reviewed her process: using cold tap water, feeding once daily, and storing the jar on a chilly windowsill. After switching to filtered water, moving the jar to a cupboard above her stove, and feeding twice daily with whole rye flour, she saw tiny bubbles by day five. By day seven, her starter doubled in four hours and passed the float test.
Her mistake wasn’t failure—it was environmental neglect. Once she adjusted temperature and feeding frequency, her starter thrived.
When to Worry: Signs of a Truly Dead Starter
Most inactive starters aren’t dead—just stressed. However, certain signs indicate irreversible damage:
- Mold growth: Pink, orange, green, or black fuzzy patches mean discard immediately.
- Foul odor: Rotting eggs, sewage, or acetone (nail polish remover) smells may suggest harmful bacterial overgrowth.
- No response after 7 days of proper feeding: Even stubborn cultures usually show minimal activity within a week under ideal care.
If none of the revival steps work and there's no sign of life—no bubbles, no rise, no pleasant sourness—it may be time to start over. But remember: true death is rare. Most issues are reversible with patience and correction.
FAQ: Common Questions About Non-Bubbling Starters
Can I use my starter if it’s not bubbling?
No. A non-bubbling starter lacks active yeast and won’t leaven bread. Using it will result in dense, flat loaves. Wait until it shows vigorous activity—bubbles throughout, domed surface, and ability to double—before baking.
Why does my starter rise but not bubble?
Rising without visible bubbles can happen if gas production is trapped in a thick matrix, especially with high-protein or whole grain flours. Stir gently after feeding to release trapped air and check for fine bubbles beneath the surface. If it rises and falls predictably, it may still be active despite fewer visible bubbles.
How long does it take for a new starter to bubble?
Most new starters begin showing small bubbles by day 3–4. Full bubbling and doubling typically occur between days 5–7, depending on temperature and flour type. Cooler environments may extend this timeline to 10–14 days.
Final Thoughts and Next Steps
A sourdough starter is a living ecosystem, not a static ingredient. Its behavior reflects your environment, ingredients, and care routine. Lack of bubbling is rarely a terminal issue—it’s feedback. Listen to what your starter is telling you.
Adjust one variable at a time: temperature, flour, water, or feeding frequency. Track changes and outcomes. Within days, most starters respond positively to corrected conditions. The key is persistence and attention to detail.
With the right approach, even the most sluggish starter can regain its strength and become the heart of your baking routine. Don’t rush, don’t force, and don’t give up too soon. Nature works on its own timeline.


 浙公网安备
33010002000092号
浙公网安备
33010002000092号 浙B2-20120091-4
Comments
No comments yet. Why don't you start the discussion?