
Creating a healthy sourdough starter from scratch is equal parts science and patience. When your starter isn’t bubbling as expected, it’s easy to assume failure—but in most cases, the issue is fixable. Lack of visible activity doesn’t always mean your culture is dead; it may simply be dormant, underfed, or reacting to environmental conditions. Understanding the root causes behind poor bubbling allows you to adjust care practices and revive your starter effectively.
Sourdough starters rely on wild yeast and lactic acid bacteria that thrive under specific conditions. These microorganisms ferment flour and water, producing carbon dioxide (the bubbles) and organic acids (the tang). If any part of this ecosystem is out of balance—whether due to incorrect feeding, cold temperatures, or poor flour choice—your starter may appear lifeless. The key is to diagnose the problem systematically and apply targeted solutions.
Understanding Sourdough Fermentation Basics
Fermentation in a sourdough starter is driven by naturally occurring microbes captured from the environment and flour. When fed regularly with fresh flour and water, these microbes multiply and produce gas, causing the starter to rise and bubble. Bubbling indicates active fermentation, but its absence doesn't automatically signal death. Microbial activity can slow dramatically without visible signs, especially during early development or in suboptimal conditions.
The two primary types of microbes involved are:
- Wild yeast – responsible for leavening through CO₂ production.
- Lactic acid bacteria (LAB) – contribute flavor and acidity, helping suppress harmful microbes.
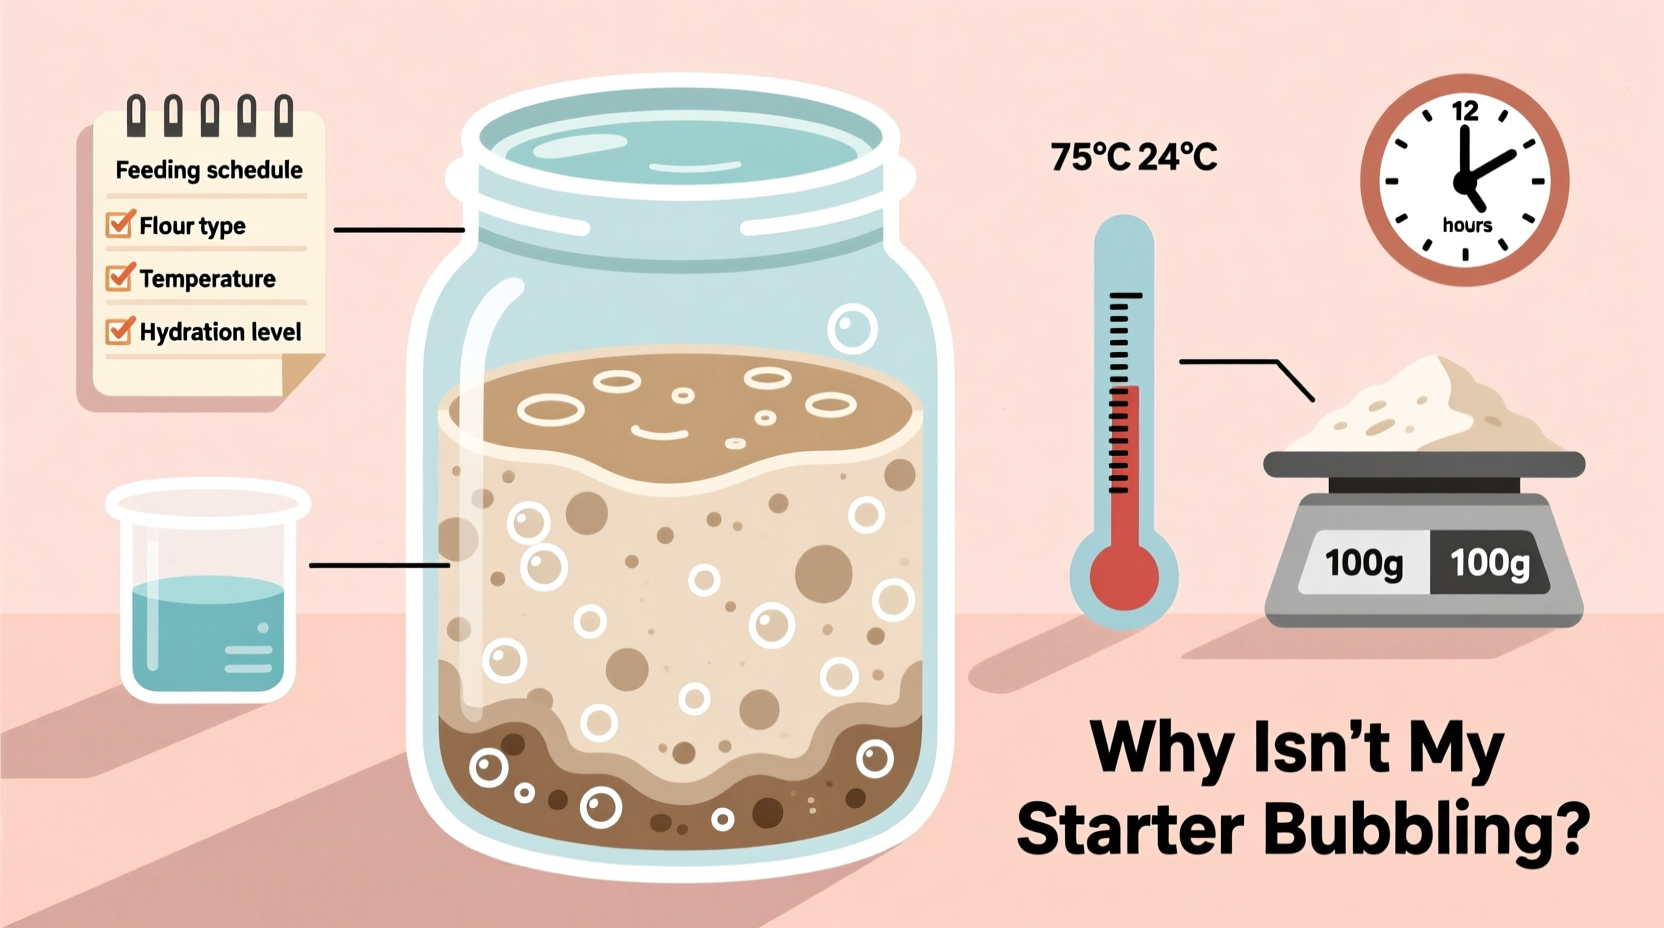
For both to flourish, they need consistent food (starch from flour), moisture, and a favorable temperature range. Temperatures below 65°F (18°C) significantly slow microbial metabolism, while above 85°F (29°C) risks killing sensitive strains. The ideal window is between 70–78°F (21–26°C).
“Many beginners mistake dormancy for failure. A sluggish starter often just needs time, warmth, and regular feeding.” — Dr. Karl DeSautel, Microbial Fermentation Researcher, University of Oregon
Common Causes of a Non-Bubbling Starter
When your starter shows no signs of life, consider these frequent culprits before assuming it’s beyond saving.
1. Inconsistent or Incorrect Feeding Schedule
Irregular feedings starve the microbes. If more than 48 hours pass between feedings—especially in warm environments—the culture may exhaust its food supply, crash, and become inactive. Overfeeding dilutes microbial concentration, while underfeeding leads to starvation.
2. Cold Environment
Temperature is one of the most influential factors. A kitchen at 60°F will yield far slower fermentation than one at 75°F. Refrigeration halts activity almost entirely. Even drafty countertops near windows or AC units can chill the jar enough to stall progress.
3. Poor Flour Quality or Type
Highly processed flours like bleached all-purpose lack the nutrients wild microbes need. Chlorinated tap water can also inhibit growth. Whole grain flours (rye, whole wheat) contain more minerals and enzymes, making them superior for jumpstarting or reviving a weak starter.
4. Contamination or Imbalance
Mold, hooch accumulation, or foul odors suggest contamination or over-acidification. While a little hooch (the gray liquid on top) is normal, persistent alcohol layers indicate underfeeding. Pink or orange tints mean discard and restart.
5. New Starter Still Developing
In days 3–6 of creation, many starters enter a “lag phase” where bacterial competition peaks and visible activity drops. This dip is normal. Pushing through with daily feedings usually restores bubbling within 24–48 hours.
Troubleshooting Checklist: Revive Your Starter in 5 Steps
If your starter isn’t bubbling, follow this step-by-step plan to assess and correct the issue.
- Check temperature: Move the jar to a consistently warm spot (70–78°F). Avoid cold counters or fluctuating drafts.
- Switch to whole grain flour: Feed with rye or whole wheat for 2–3 cycles. Their higher enzyme and nutrient content boost microbial vitality.
- Adjust feeding ratio: Try a 1:2:2 ratio (starter:water:flour) every 12 hours. For example: 25g starter + 50g water + 50g flour.
- Use filtered or bottled water: Eliminate chlorine exposure by avoiding tap water unless dechlorinated (left out overnight).
- Be patient and consistent: Continue feeding twice daily for 3–5 days, even if no bubbles appear. Signs of life often return suddenly after several quiet days.
Signs of Recovery to Watch For
- Small bubbles forming throughout the paste
- A pleasant, yogurty or fruity aroma
- Volume increase within 6–8 hours post-feeding
- Surface expansion and doming
Do’s and Don’ts for Maintaining Starter Health
| Do’s | Don’ts |
|---|---|
| Feed consistently every 12 hours if kept at room temperature | Go more than 48 hours without feeding an active starter |
| Use unbleached, preferably whole-grain flour | Use chlorinated tap water directly from the faucet |
| Store in a loosely covered jar to allow gas exchange | Seal tightly with a screw-on lid—risk of pressure buildup |
| Discard and refresh before each feeding to prevent acidity overload | Keep adding flour without discarding—leads to massive volume and imbalance |
| Label feeding times to track activity patterns | Assume no bubbles = dead culture without testing further |
Real Example: Recovering a Dormant Starter After Two Weeks
Sarah, a home baker in Portland, left her sourdough starter unattended during a family trip. Returning, she found a layer of dark hooch and no bubbles. She poured off the liquid, discarded 80% of the remaining paste, and fed it with equal parts rye flour and filtered water. She placed the jar in her oven with the light on overnight. By morning, small bubbles dotted the surface. She repeated the feeding every 12 hours for three days. On day four, the starter doubled in size within six hours and passed the float test—ready for baking again.
This case illustrates that even after extended neglect, revival is possible with aggressive feeding and environmental control. Sarah’s use of rye flour provided a microbial boost, while consistent warmth accelerated recovery.
How to Test If Your Starter Is Truly Active
Bubbling is helpful but not definitive proof of readiness. Use these tests to confirm viability:
Float Test
Place a teaspoon of starter in a glass of room-temperature water. If it floats, it has produced enough gas to leaven bread. If it sinks, continue feeding.
Rise Test
After feeding, mark the jar’s level and observe over 6–12 hours. A healthy starter should double in volume. Slower rise indicates weakness; no rise suggests inactivity.
Aroma Check
A vibrant starter smells pleasantly tangy, like yogurt or ripe fruit. Sharp vinegar notes mean it’s overdue for feeding. Rotten or putrid odors indicate spoilage.
Preventative Maintenance for Long-Term Success
Once your starter is active, maintain its health with routine care:
- Weekly feeding schedule: If stored in the fridge, feed once a week. Always bring to room temperature, feed, wait for peak rise, then return to cold storage.
- Refresh before baking: Take starter out 24–48 hours before baking. Feed every 12 hours until vigorous and doubling reliably.
- Keep a backup: Dry a portion of active starter on parchment, crumble, and store in a sealed container. Rehydrate with water and flour if needed.
- Record observations: Track feeding times, temperature, rise time, and smell. Patterns help predict behavior and catch issues early.
Frequently Asked Questions
Can I revive a starter that hasn’t been fed in months?
Yes, in many cases. Discard most of the old starter, save a tablespoon, and begin feeding 1:2:2 with whole grain flour twice daily. It may take 5–7 days to regain strength, but many dormant cultures rebound fully.
Why does my starter bubble at first but then stop?
This often happens in newly created starters. Initial bubbles come from aerobic bacteria that die off as acidity increases. True yeast colonies take over shortly after. Continue feeding—activity typically resumes by day 6–7.
Is it safe to use a starter with hooch?
Yes. Hooch (alcohol byproduct) forms when the starter runs out of food. Pour it off or stir it in, then feed promptly. Only discard if the liquid is pink, orange, or moldy.
Conclusion: Trust the Process and Take Action
A sourdough starter that isn’t bubbling isn’t necessarily broken. More often, it’s signaling a need for better conditions or consistency. With attention to temperature, feeding quality, and timing, most sluggish starters respond quickly. The journey of sourdough is one of observation, adjustment, and resilience—much like the microbes themselves.
Don’t give up after a few quiet days. Instead, apply the steps outlined here: switch to whole grain flour, stabilize the temperature, and commit to a strict feeding rhythm. Within days, you’ll likely see renewed activity. Once revived, establish a sustainable maintenance routine to keep your culture thriving for years.


 浙公网安备
33010002000092号
浙公网安备
33010002000092号 浙B2-20120091-4
Comments
No comments yet. Why don't you start the discussion?