
A sourdough starter is a living ecosystem of wild yeast and lactic acid bacteria. When it’s thriving, it bubbles vigorously, doubles in size predictably, and fills the room with a tangy, fermented aroma. But when it stalls—refusing to rise despite regular feedings—it can be deeply frustrating. Among the most common culprits behind a sluggish or inactive starter is temperature. Many home bakers overlook how dramatically ambient and water temperatures affect microbial activity. This article dives deep into why temperature matters, how to diagnose problems, and what practical steps you can take to revive your starter.
The Role of Temperature in Sourdough Fermentation
Sourdough starters rely on microorganisms that are highly sensitive to their environment. Yeast and lactobacilli—the two primary players—function optimally within specific temperature ranges. Outside those ranges, their metabolism slows or halts entirely.
Yeast responsible for gas production (which causes rising) become significantly less active below 65°F (18°C). Below 60°F (15°C), fermentation may nearly stop. On the other end, temperatures above 85°F (29°C) can favor acidic bacteria over yeast, leading to an overly sour starter that doesn’t rise well. Above 95°F (35°C), many beneficial microbes begin to die off.
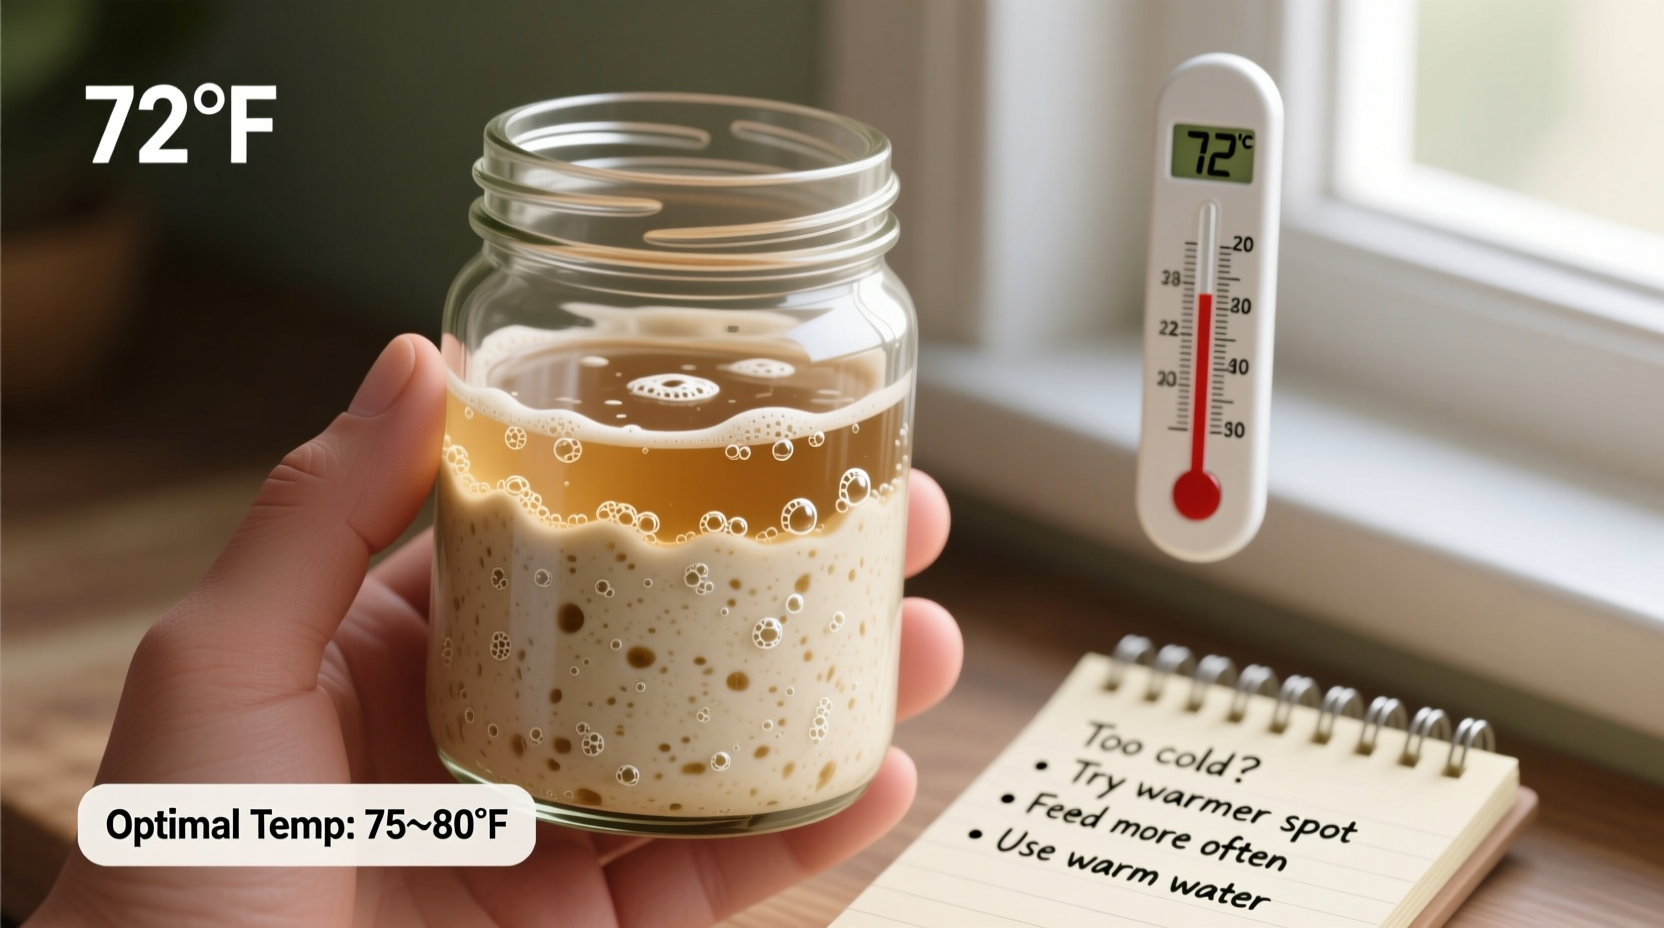
The ideal range for balanced sourdough activity is between 70°F and 78°F (21°C–26°C). Within this window, both yeast and bacteria work in harmony: yeast produce carbon dioxide to leaven bread, while bacteria contribute flavor and acidity.
Common Signs of Temperature-Related Starter Issues
Recognizing the symptoms of temperature stress helps you intervene early. Here are telltale signs your starter is struggling due to improper temperature:
- No rise after 8–12 hours post-feeding: Even in cooler environments, a healthy starter should show some expansion within this timeframe.
- Weak bubbling or only surface activity: Indicates low microbial activity, often from cold conditions.
- Foul or acetone-like smell: Can signal stressed microbes in too-cold or neglected starters.
- Rapid hooch formation: A layer of liquid on top appearing quickly suggests slow consumption of food due to cold temps.
- Inconsistent performance: Works well one day, fails the next—often due to fluctuating kitchen temperatures.
“Temperature stability is more important than hitting an exact number. Consistency allows microbes to establish rhythm.” — Dr. Karl DeSaulniers, Artisan Baking Scientist
Step-by-Step Guide to Diagnosing and Fixing Temperature Problems
Follow this structured approach to assess and correct temperature-related issues with your sourdough starter.
- Confirm current temperature: Measure the ambient temperature where your starter is stored. Don’t rely on thermostat readings—kitchens, countertops, and windowsills can vary widely.
- Check feeding temperature: Mix equal parts flour and water at around 75°F (24°C). Water straight from the tap is often too cold in winter.
- Move to a warmer spot: Ideal locations include near a refrigerator (top), inside a turned-off oven with the light on, or on a shelf away from drafty windows.
- Use a proofing box or DIY solution: Place the jar in a cooler with a mason jar of warm water, or use a reptile heating mat set to low.
- Feed consistently every 12 hours: At cooler temps, extend to 24-hour cycles; at optimal temps, twice-daily feeding supports peak activity.
- Monitor for 48 hours: After adjusting temperature and feeding routine, observe for consistent doubling within 6–8 hours.
- Adjust hydration if needed: A stiffer starter (50% hydration) retains heat better and may perform more reliably in cooler homes.
Do’s and Don’ts: Temperature Management Table
| Do’s | Don’ts |
|---|---|
| Keep starter between 70°F–78°F (21°C–26°C) | Leave starter near drafty windows or exterior walls |
| Use lukewarm water (75°F / 24°C) for feedings | Use ice-cold or hot tap water |
| Place in insulated container with warm water jar | Put directly on cold granite or metal counters |
| Use a clear jar with markings to track rise | Assume no bubbles = dead starter without testing temp first |
| Feed at consistent times daily | Feed sporadically or skip days during cold snaps |
Real Example: Reviving a Winter-Weary Starter
Sarah, a home baker in Vermont, struggled each winter with her once-reliable starter. Despite using organic rye and precise feedings, her jar showed minimal activity and never doubled. She kept it on a granite countertop near an old window. One January morning, she measured the counter temperature at just 62°F (17°C)—too cold for robust fermentation.
She moved the starter to the top of her refrigerator, wrapped the jar in a tea towel, and began using water warmed to 75°F. Within 24 hours, small bubbles appeared. By the second day, the starter doubled in 7 hours. She now uses a small heating pad during sub-zero weeks and maintains a log of daily temperature and rise height. Her sourdough boules have regained their oven spring and complex flavor.
Other Factors That Interact With Temperature
While temperature is critical, it doesn’t act alone. Several variables compound its effects:
- Flour type: Whole grain flours like rye or whole wheat contain more nutrients and microbes, boosting activity—especially helpful in cooler environments.
- Hydration level: A 100% hydration starter (equal flour and water by weight) ferments faster but is more temperature-sensitive than a stiffer 50–60% hydration starter.
- Feeding ratio: Increasing the amount of fresh flour and water relative to discard (e.g., 1:2:2 instead of 1:1:1) can jumpstart a sluggish culture.
- Altitude: At higher elevations, lower atmospheric pressure can reduce rise volume and alter fermentation speed, compounding temperature challenges.
For example, a 100% hydration white flour starter kept at 64°F may barely rise, while a 60% hydration rye starter in the same spot could double reliably. Adjusting multiple factors together often yields better results than focusing on temperature alone.
Troubleshooting Checklist: Is Your Starter Cold-Stressed?
Use this checklist to evaluate whether temperature is holding back your starter:
- ✅ Is your kitchen below 68°F (20°C)?
- ✅ Are you using cold tap water for feedings?
- ✅ Is your starter jar placed on a cold surface (stone, metal, floor-level shelf)?
- ✅ Does the starter rise slowly or only partially (e.g., 50% increase vs. doubling)?
- ✅ Do you see hooch forming within 12 hours?
- ✅ Has activity declined seasonally (e.g., worse in winter)?
- ✅ Have you ruled out expired flour or contamination?
If you answered “yes” to three or more, temperature is likely a key factor. Implement warming strategies and re-evaluate after two full feeding cycles.
Frequently Asked Questions
Can I use an oven with the light on to warm my starter?
Yes, but monitor closely. Turn off the oven and place a bowl of warm water inside with the starter. The light alone may not provide enough heat, but combined with residual warmth and steam, it creates a stable microclimate. Avoid turning the oven on unless using a proof setting below 85°F.
My starter rises but then collapses—could temperature be the cause?
Absolutely. If your kitchen exceeds 80°F (27°C), fermentation accelerates, causing the starter to peak and fall before you notice. This often leads to underripe discard or weak leaven. Try feeding earlier or moving to a cooler spot to extend the window of optimal ripeness.
How long does it take for a cold starter to recover after warming?
Typically 24–48 hours. One feeding may show slight improvement, but full metabolic recovery requires consistent warmth and feeding. Be patient—microbes need time to repopulate and rebalance after cold stress.
When Temperature Isn’t the Issue: Other Causes of Poor Rise
While temperature is the most frequent offender, other problems can mimic its symptoms:
- Old or chlorinated water: Chlorine can inhibit microbial growth. Use filtered or bottled water if your tap is heavily treated.
- Expired or bleached flour: Overly processed flours lack nutrients. Switch to fresh, unbleached all-purpose or add 20% whole grain.
- Infrequent feeding: Going longer than 48 hours without feeding depletes food supply, weakening the culture.
- Contamination: Mold or pink slime indicates harmful bacteria—discard immediately and sterilize equipment.
- Immature starter: New starters (under 2 weeks) often rise inconsistently as microbial colonies stabilize.
If temperature adjustments fail, review these areas systematically. A truly healthy starter fed with quality ingredients in a stable environment should double within 6–12 hours.
Conclusion: Take Control of Your Starter’s Environment
Your sourdough starter doesn’t just respond to what you feed it—it reacts to every degree of temperature change, every variation in routine, and every shift in season. Understanding the science behind fermentation empowers you to troubleshoot confidently. More often than not, a starter that won’t rise is simply too cold, not dead. With minor adjustments—warmer water, a cozier spot, consistent feedings—you can restore vitality and bake with confidence year-round.


 浙公网安备
33010002000092号
浙公网安备
33010002000092号 浙B2-20120091-4
Comments
No comments yet. Why don't you start the discussion?