
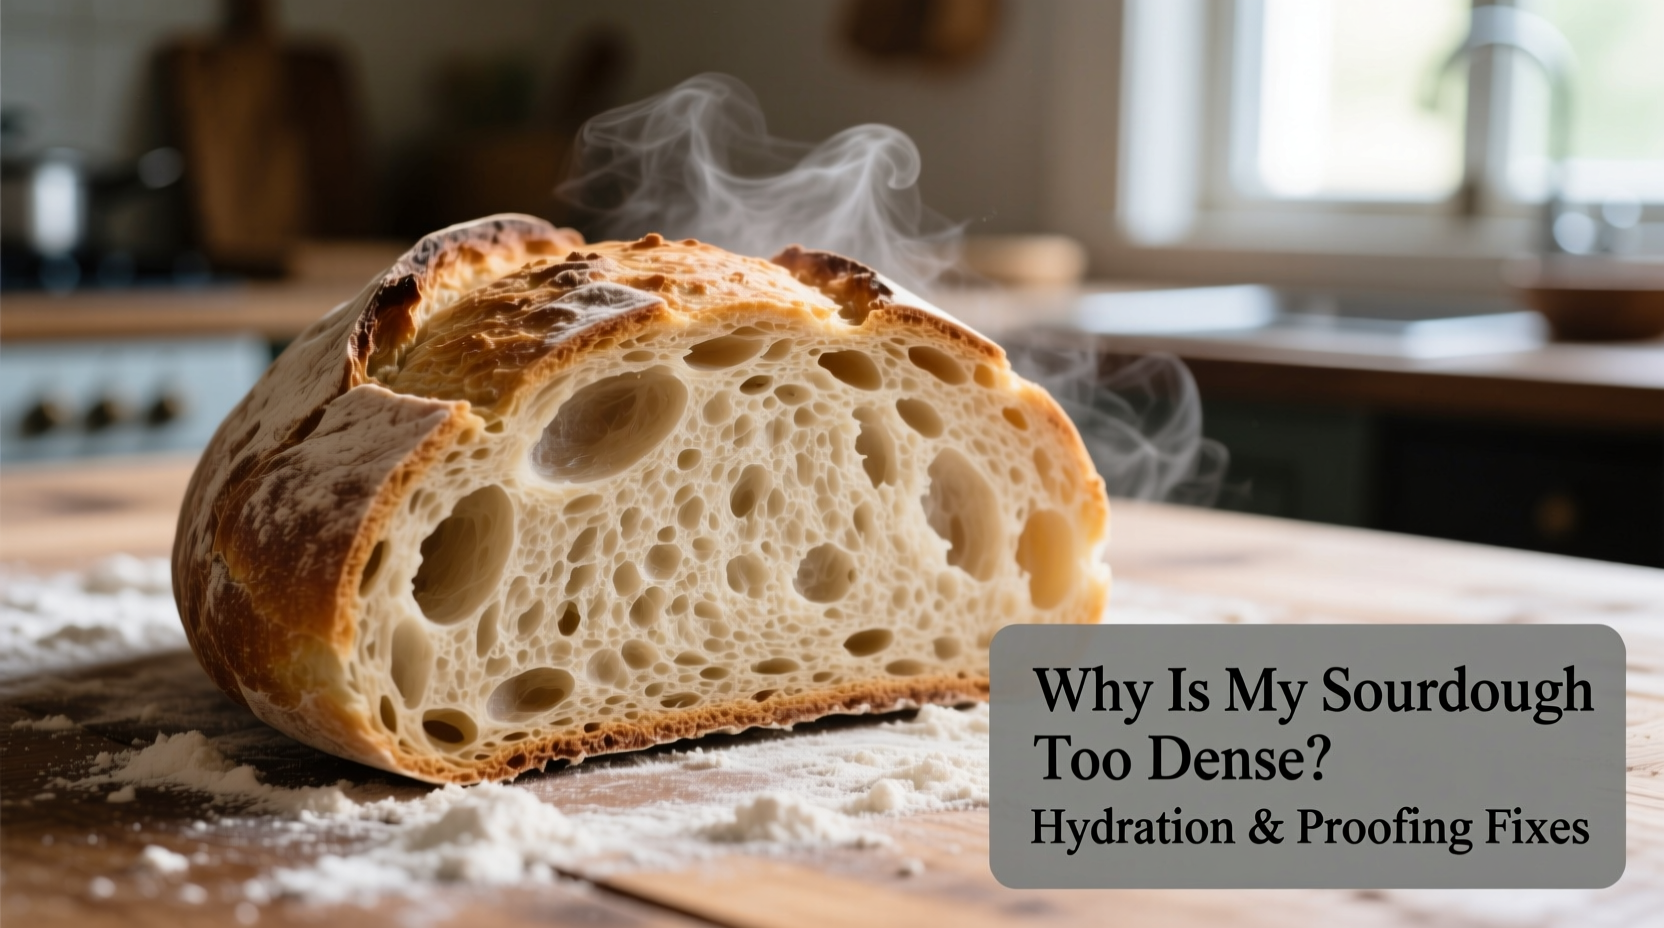
Sourdough bread should have an open crumb, a crisp crust, and a satisfying chew—qualities that come from proper fermentation, gluten development, and steam during baking. But if your loaf consistently turns out dense, heavy, or gummy in the center, something has gone wrong in the process. While many factors contribute to poor rise and tight structure, two of the most common culprits are hydration levels and proofing technique.
Understanding how water content affects dough strength and how fermentation timing influences gas production can transform your results. This guide breaks down the science behind dense sourdough and offers actionable solutions focused on hydration balance and proofing control—two foundational pillars of successful artisan bread.
The Role of Hydration in Sourdough Structure
Hydration refers to the ratio of water to flour in your dough, expressed as a percentage. For example, a dough with 750g of water and 1000g of flour has a hydration level of 75%. Higher hydration generally leads to more open crumb and better oven spring, but only if the gluten network is strong enough to hold the extra moisture.
Too little water—below 65% hydration—can result in a stiff, dry dough that doesn’t expand well during baking. The lack of liquidity restricts enzyme activity and yeast mobility, slowing fermentation and limiting gas retention. On the other hand, too much water—above 80% without sufficient strength-building—leads to a slack dough that collapses under its own weight, trapping bubbles unevenly and creating dense zones.
The ideal hydration range for beginner-friendly sourdough is between 70% and 78%, depending on flour type. Whole grain flours absorb more water than all-purpose or bread flour, so adjustments are necessary when substituting ingredients.
How Flour Type Affects Water Absorption
Different flours interact uniquely with water. Bread flour has high protein (12–14%), forming a robust gluten matrix that supports higher hydration. All-purpose flour works well at moderate hydration (around 70%). Whole wheat, rye, and ancient grains like spelt absorb significantly more water due to bran and fiber content, but they also cut gluten strands, weakening structure.
If you're using 100% whole grain flour and experiencing density, try increasing hydration by 5–10% while reducing bulk fermentation time. Bran particles interfere with gluten development, so over-fermenting can cause structural failure even if the dough feels strong initially.
Proofing: The Hidden Factor Behind Dense Crumb
Proofing—both bulk fermentation and final proof—is where flavor develops and gas builds up inside the dough. Under-proofed or over-proofed loaves both end up dense, but for different reasons.
- Under-proofed dough hasn't produced enough carbon dioxide. When baked, it lacks internal pressure to expand, resulting in a compact crumb and poor oven spring.
- Over-proofed dough has exhausted its food supply. Yeast and bacteria produce alcohol and acids that weaken gluten. The structure collapses during baking, leading to flat, gummy bread.
The key is finding the sweet spot: fully fermented but still elastic. This requires attention to time, temperature, and visual cues—not just the clock.
“Proofing isn’t about hours; it’s about readiness. Your dough should feel alive—jiggly, inflated, and full of bubbles.” — Daniel Leader, author of *Local Breads*
Bulk Fermentation vs. Final Proof: What Each Does
Bulk fermentation happens after mixing and before shaping. It’s responsible for most of the flavor development and gluten maturation. During this phase, the dough should rise by 50–100%, become bubbly, and pass the \"jiggle test\"—a gentle shake of the bowl should make the dough wobble like jelly.
Final proof occurs after shaping and lasts until the dough goes into the oven. Its purpose is to re-inflate the dough gently after degassing during shaping. Over-proofing here is especially dangerous because the surface tension created during shaping begins to break down.
Common Mistakes That Lead to Dense Sourdough
Even experienced bakers fall into traps that sabotage their loaves. Below are frequent errors tied directly to hydration and proofing:
| Mistake | Effect on Loaf | Solution |
|---|---|---|
| Using low hydration (under 65%) | Dry, tight crumb; limited rise | Increase hydration gradually to 70–75% |
| Over-handling whole grain doughs | Gluten breakdown; dense texture | Use gentle folds; shorten bulk fermentation |
| Relying solely on time for proofing | Under- or over-proofed results | Check dough condition, not just clock |
| Shaping too tightly or too loosely | Collapse or restricted expansion | Practice tension control; watch tutorials |
| Baking cold dough straight from fridge | Poor oven spring; dense base | Let dough warm slightly before baking |
Step-by-Step Fix: Adjusting Hydration and Proofing
If your last loaf was disappointingly dense, follow this structured approach to diagnose and correct the issue:
- Review your recipe’s hydration. Calculate total water divided by total flour (excluding salt). If below 68%, consider increasing water by 5% next bake. Use a kitchen scale for accuracy.
- Assess dough consistency after mixing. It should be tacky but not stick aggressively to clean hands. Add small amounts of water during autolyse if too dry. <3> Perform stretch and folds every 30 minutes during first 2 hours of bulk fermentation. This builds strength without kneading. Aim for 4 sets.
- Monitor bulk fermentation closely. Look for volume increase, bubbles at surface and sides, and jiggly texture. At room temperature (~72°F), this typically takes 4–5 hours.
- Shape gently with moderate tension. Avoid tearing; preserve gas pockets. Let rest 15–20 minutes after preshape before final shape.
- Control final proof environment. If proofing overnight in the fridge (retarded proof), let dough sit at room temp for 30–60 minutes before baking to reactivate yeast.
- Test readiness with the finger poke method. Don’t rush to the oven. Wait until the dough responds correctly.
- Bake with adequate steam. Steam delays crust formation, allowing maximum oven spring. Use a Dutch oven or add ice cubes to a preheated tray.
Mini Case Study: Recovering a Dense Loaf Pattern
Sarah, a home baker in Portland, had been making sourdough weekly for six months. Despite following recipes exactly, her loaves were consistently dense with minimal oven spring. She used a popular online recipe calling for 68% hydration with all-purpose flour, bulk fermenting for 4 hours, then refrigerating overnight.
After analyzing her process, she realized two issues: first, her starter was peaking too early during bulk fermentation, causing over-acidification and weakened gluten. Second, her dough felt stiff after mixing—likely due to inaccurate measuring (she was using cups).
She switched to weighing ingredients, increased hydration to 74%, reduced bulk fermentation to 3.5 hours, and began monitoring dough volume rather than relying on time. Her next loaf showed visible improvement: a 30% increase in oven spring and a noticeably more open crumb. By adjusting one variable at a time, she isolated the real causes and built confidence in her technique.
Expert Checklist: Prevent Dense Sourdough
Use this checklist before every bake to ensure optimal hydration and proofing:
- ✅ Weigh all ingredients (flour, water, starter, salt)
- ✅ Confirm starter is active and peaked (not collapsed)
- ✅ Target hydration: 70–78% for white flour, +5% for whole grains
- ✅ Perform 3–4 sets of stretch and folds during bulk fermentation
- ✅ Check dough readiness: risen 50–100%, jiggly, bubbly
- ✅ Shape with even tension; avoid deflating
- ✅ Use the finger poke test before baking
- ✅ Preheat Dutch oven thoroughly (450°F for 45+ minutes)
- ✅ Bake with steam (covered for first 20–25 minutes)
Frequently Asked Questions
Can I fix an under-hydrated dough after mixing?
Yes, but carefully. During the first hour of bulk fermentation, perform wet stretch and folds by dipping your fingers in water before folding. Alternatively, do a “water windowpane” adjustment: reserve 5–10% of water during mix, then incorporate it in small increments during early folds.
Why does my sourdough deflate when I score it?
This usually indicates over-proofing. The gluten structure has lost elasticity and can’t withstand the release of pressure from scoring. Next time, shorten final proof time and use the finger poke test. Also, ensure your blade (lame) is sharp—dragging causes tearing and collapse.
Does cold fermentation reduce density?
When done correctly, yes. Retarding the dough in the fridge slows fermentation, enhancing flavor and improving texture. However, if the dough is already over-proofed before chilling, cold temperatures won’t save it. Always shape and refrigerate promptly after bulk fermentation ends.
Conclusion: Master Texture Through Precision and Observation
Dense sourdough isn’t a dead end—it’s feedback. Every heavy loaf tells you something about hydration, fermentation, or handling. By tuning into your dough’s behavior rather than rigidly following recipes, you gain the intuition needed to produce consistent, airy bread.
Start by measuring accurately, adjusting hydration within safe ranges, and learning what properly proofed dough feels like. Small changes compound into dramatic improvements. Don’t fear experimentation; some of the best sourdough insights come from failed bakes analyzed with curiosity.


 浙公网安备
33010002000092号
浙公网安备
33010002000092号 浙B2-20120091-4
Comments
No comments yet. Why don't you start the discussion?