
If your outdoor or indoor lighting system relies on a timer but the lights aren’t turning on as scheduled, frustration can set in quickly. You’ve programmed the device, checked the bulbs, and still—nothing happens at dusk or dawn. While it might seem like a faulty unit or electrical failure, most issues stem from simple setup oversights. In many cases, the timer itself works perfectly; it’s the configuration, wiring, or environmental factors that interfere with performance.
Timers are essential for energy efficiency, security, and convenience. Whether mechanical, digital, or smart-enabled, they’re designed to automate lighting without constant manual input. But when automation fails, it defeats the purpose. Understanding the root causes behind a non-responsive lighting timer allows you to diagnose and resolve the issue efficiently—often without calling an electrician.
1. Verify Power Supply and Electrical Connections
The first and most fundamental step is confirming that power is actually reaching both the timer and the light fixture. A surprising number of timer failures are due to interrupted power flow rather than defects in the device itself.
Begin by checking your home’s circuit breaker panel. Has the circuit tripped? If so, reset it and observe whether the timer powers up. Some digital timers have LED indicators that glow when receiving electricity. If there's no sign of life, the issue may be upstream—possibly a GFCI outlet cutting power due to moisture exposure or overload.
Next, inspect the physical connections. For hardwired timers (common in permanent installations), loose wire nuts or improperly seated terminals can break continuity. Even a slightly loose neutral wire can prevent the timer from functioning correctly, especially if it requires a complete circuit to operate its internal logic board.
For plug-in timers used with lamps or string lights, ensure the outlet is functional. Plug in another device—a phone charger or small appliance—to verify power delivery. Also, avoid using extension cords rated below the load requirement, as undervoltage can cause erratic behavior or complete shutdown.
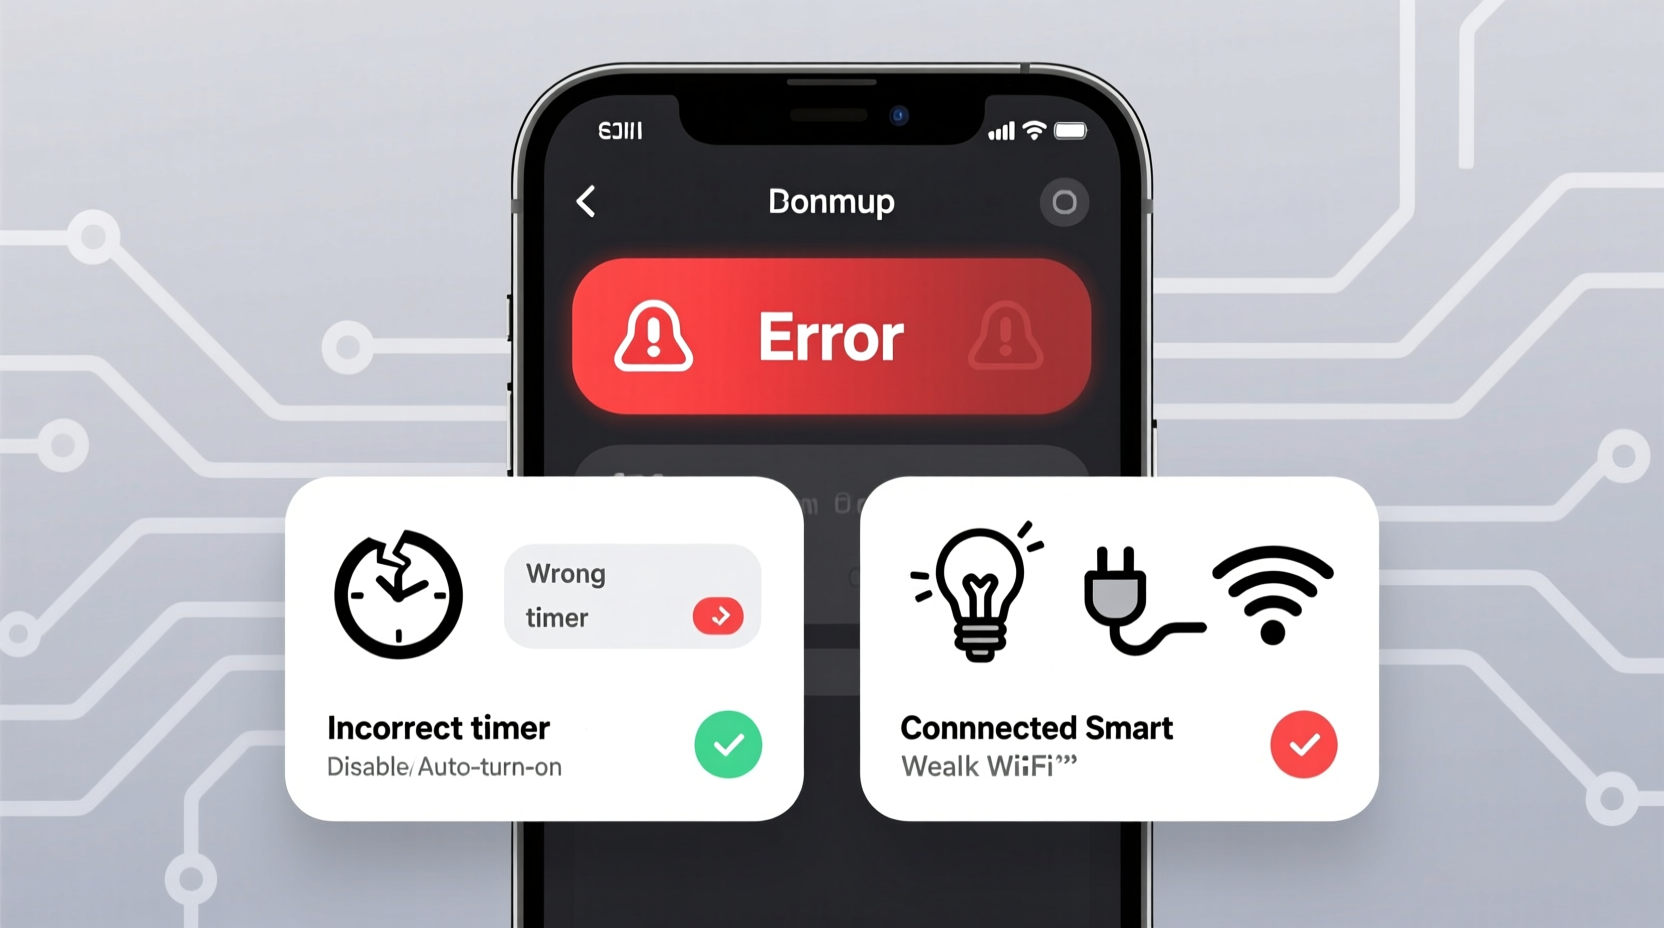
2. Review Timer Programming and Settings
One of the most frequent reasons timers fail to activate lights is incorrect programming. This is especially true with digital or programmable models that offer multiple modes such as “on/off,” “dusk-to-dawn,” or “random vacation” settings.
Double-check the current mode. It’s easy to accidentally switch into “manual override” or “test” mode, which disables automatic scheduling. Similarly, some timers default to “off” after a power outage unless configured otherwise. If your area experienced a brief blackout, the timer may have reset to factory defaults.
Ensure the time of day and AM/PM setting are accurate. A clock set two hours ahead will trigger lights too early—or not at all, depending on your schedule. Many users overlook daylight saving adjustments, leading to confusion about why lights come on at 5 PM in winter instead of 7 PM.
Also, examine the programmed on/off times. Are they set outside expected darkness hours? For example, scheduling lights from 10 PM to 6 AM during summer months might miss peak evening activity, giving the impression the timer isn’t working—even though it technically is.
“Over 60% of service calls for ‘broken’ lighting timers are resolved simply by reprogramming or resetting the device.” — Carlos Mendez, Residential Electrician with 18 years of field experience
Step-by-Step Guide: Resetting Your Timer
- Turn off power to the timer at the circuit breaker (for hardwired units).
- Remove the faceplate or access cover.
- Press and hold the reset button (if available) for 10 seconds.
- Restore power and wait for startup sequence.
- Re-enter current time, date, and desired on/off schedules.
- Test operation manually using the override function.
3. Confirm Compatibility with Light Type and Load
Not all timers work with every kind of lighting technology. Mismatches between the timer’s specifications and the connected load are a major source of malfunction.
Incandescent and halogen bulbs generally pose no compatibility issues. However, LED and CFL bulbs draw significantly less power, which can confuse older electromechanical timers designed for higher wattage loads. These timers rely on minimum load thresholds—typically 20–40 watts—to maintain proper internal switching. Below this threshold, the contacts may not engage reliably, resulting in flickering or no activation.
Similarly, electronic dimmers and smart switches often require neutral wires for stable operation. If your timer lacks a neutral connection but the instructions call for one, it won’t power up consistently, particularly in three-way switch setups or multi-location controls.
| Light Type | Compatible Timers | Common Issues |
|---|---|---|
| Incandescent | All types | Heat buildup in enclosed timers |
| LED | Digital or LED-rated mechanical timers | Failure to trigger under low-load conditions |
| CFL | Timers with soft-start features | Shortened bulb lifespan due to rapid cycling |
| HID / Fluorescent | Heavy-duty industrial timers | Inrush current damage to standard relays |
4. Evaluate Sensor Interference in Photocell Timers
Some timers combine scheduling with ambient light sensing (photocells). These dual-function devices aim to provide flexibility—activating only during dark hours within a defined time window. But problems arise when the sensor misreads lighting conditions.
A photocell blocked by dirt, paint, snow, or nearby artificial light can prevent activation. For instance, a porch light shining directly onto the sensor may trick it into thinking it’s still daytime, even at night. Similarly, mounting the timer inside a shaded enclosure or behind glass reduces light exposure and delays response.
To test sensor functionality, cover the photocell with tape or your hand while the timer is powered. The light should turn on within 30 seconds if the sensor is operational. Uncover it, and the light should shut off after a short delay. No reaction suggests a defective sensor or incorrect calibration.
Additionally, some hybrid timers allow you to disable the photocell and run on time-only mode. Switching to this setting temporarily can help isolate whether timing or sensing is the root issue.
Mini Case Study: The Garage Light That Wouldn’t Turn On
Sarah installed a new digital timer for her garage lights, programming it to turn on at 6 PM daily. Despite correct time settings, the lights remained off each evening. After ruling out tripped breakers and blown bulbs, she noticed the timer had a small lens near the top. She realized it was covered in spider webs and dust. Cleaning the sensor restored normal operation immediately. The timer wasn't broken—it just couldn't detect darkness.
5. Address Environmental and Installation Factors
Location matters. Timers installed outdoors or in unconditioned spaces face temperature extremes, humidity, and pest intrusion—all of which degrade performance over time.
Extreme cold can slow down mechanical gears in analog timers, delaying contact closure. High heat, especially in enclosed metal boxes, accelerates capacitor aging in digital units, leading to memory loss or erratic behavior. Moisture ingress causes corrosion on terminals and short circuits, particularly in coastal or high-humidity regions.
Ensure the timer is rated for its environment. Look for NEMA 3R or IP65 ratings on outdoor models. Use conduit seals and drip loops in exposed runs. Avoid installing near sprinkler heads, AC condensate lines, or areas prone to flooding.
Pests also play a role. Rodents and insects sometimes nest inside junction boxes, chewing through insulation or creating conductive debris. Inspect regularly for signs of infestation, including frayed wires or droppings.
“Environmental stress accounts for nearly a third of premature timer failures in humid climates.” — National Electrical Manufacturers Association (NEMA), 2023 Field Reliability Report
Checklist: Troubleshooting Your Lighting Timer
- ✅ Confirm power is reaching the timer (breaker, outlet, voltage test)
- ✅ Check for tripped GFCI outlets on the same circuit
- ✅ Verify correct time, date, and AM/PM settings
- ✅ Ensure the timer is not in manual or override mode
- ✅ Test bulb and fixture independently
- ✅ Review load compatibility (especially for LED/CFL)
- ✅ Inspect wiring connections for tightness and corrosion
- ✅ Clean and expose photocell sensors if applicable
- ✅ Assess environmental conditions (heat, moisture, pests)
- ✅ Reset to factory defaults and reprogram if needed
Frequently Asked Questions
Why do my lights turn on but not turn off at the scheduled time?
This usually indicates a programming error or a failing internal relay. Double-check the “off” time entry. If the lights stay on indefinitely, the relay may be stuck closed due to overheating or age. Replace the timer if recalibration doesn’t resolve it.
Can I use a timer with smart bulbs?
Yes, but caution is advised. Cutting power via a timer resets most smart bulbs, forcing them to reconnect to Wi-Fi each cycle. This creates delays and potential connectivity issues. For best results, keep smart bulbs powered continuously and control them through their native app or voice assistant instead of a timer.
Do timers wear out over time?
Yes. Mechanical timers typically last 3–7 years depending on usage. Digital models may fail sooner due to capacitor degradation or software glitches. Signs of wear include inconsistent timing, unresponsive buttons, or failure to retain settings after power loss.
Conclusion: Take Control of Your Lighting Automation
A timer that doesn’t turn lights on isn’t necessarily broken—it’s likely misconfigured, mismatched, or misunderstood. By systematically evaluating power supply, programming, compatibility, sensors, and installation conditions, you can identify and correct the underlying issue in most cases. Many fixes take less than 15 minutes and cost nothing beyond your attention to detail.
Don’t accept unreliable lighting as inevitable. With the right knowledge, you can restore full automation, enhance home security, and enjoy the convenience you originally intended. Apply these insights today, and never wonder again why your lights aren’t coming on when they should.


 浙公网安备
33010002000092号
浙公网安备
33010002000092号 浙B2-20120091-4
Comments
No comments yet. Why don't you start the discussion?