
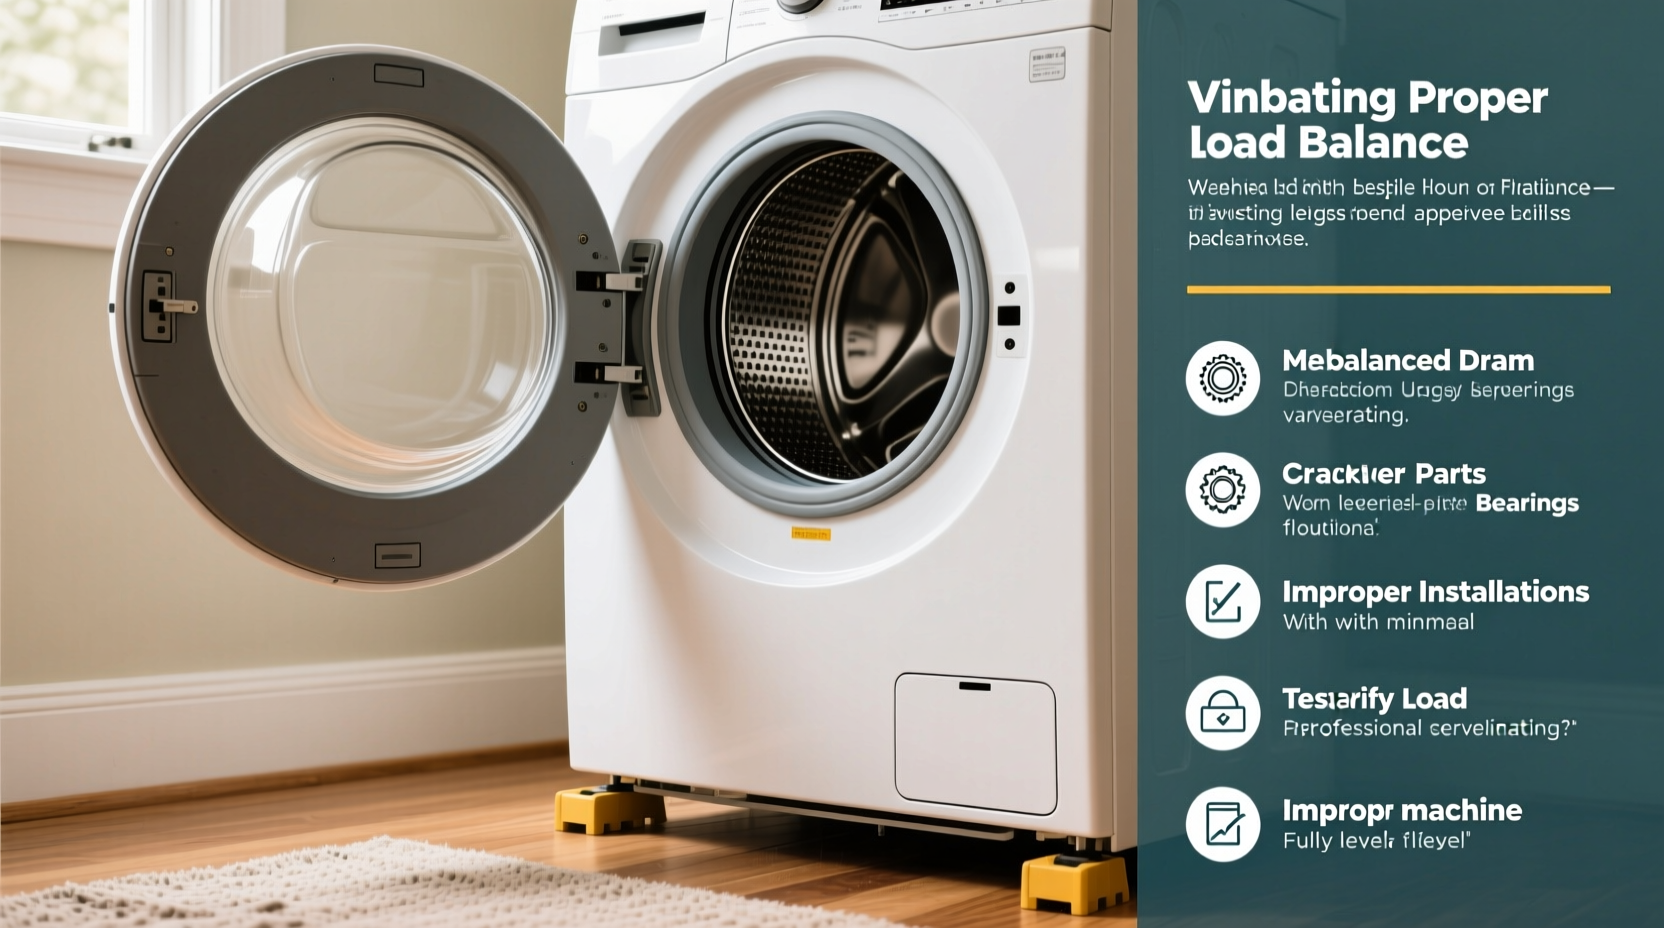
A washing machine that vibrates excessively during operation isn’t just annoying—it can signal underlying issues that may lead to costly repairs or premature failure. While modern machines are engineered for stability, factors like improper installation, uneven loads, worn components, or floor conditions can disrupt balance and cause violent shaking. Understanding the root causes and knowing how to correct them ensures quieter operation, extends appliance lifespan, and protects your flooring.
Vibration typically peaks during the spin cycle when the drum rotates at high speeds—any imbalance is amplified dramatically. The good news: most vibration problems are preventable and often fixable without professional help. This guide breaks down the science behind washer movement, walks through practical troubleshooting steps, and offers long-term strategies to keep your machine running smoothly.
Understanding Why Washing Machines Vibrate
Washing machines rely on internal suspension systems—springs, dampers, and shock absorbers—to counteract forces generated during the wash and spin cycles. When these systems function correctly and the machine is properly installed, vibrations remain minimal. However, several mechanical and environmental factors can compromise stability:
- Unbalanced loads: Clumped clothing creates uneven weight distribution, causing the drum to wobble.
- Improper leveling: If the washer isn't level front-to-back or side-to-side, it will rock during operation.
- Floor instability: Weak subfloors, uneven tiles, or carpeted surfaces reduce support and increase movement.
- Transport bolts still in place: New washers often come with shipping bolts that must be removed before use.
- Worn suspension components: Over time, shocks, springs, or dampers degrade, reducing their ability to absorb motion.
According to appliance engineers at the Association of Home Appliance Manufacturers (AHAM), up to 70% of reported vibration issues stem from incorrect installation rather than mechanical defects. “The first thing a technician checks is whether the machine is level and securely positioned,” says David Lin, senior service engineer at LG’s technical support division. “Many customers overlook simple fixes that solve the problem instantly.”
“Most loud vibrations aren’t signs of major failure—they’re early warnings that something basic needs adjustment.” — David Lin, Senior Service Engineer, LG
Step-by-Step Guide to Leveling Your Washing Machine
Proper leveling is the single most effective way to eliminate vibration. Even a slight tilt can cause rocking during high-speed spins. Follow this methodical process to ensure your washer sits perfectly level:
- Turn off and unplug the machine. Safety first—disconnect power before making adjustments.
- Move the washer away from the wall to access the front and sides easily.
- Place a bubble level on top of the washer, front to back and then side to side. Rotate the level 90 degrees between checks.
- Adjust the front leveling legs. Most washers have threaded front feet. Use a wrench or pliers to turn them clockwise to raise or counterclockwise to lower.
- Check stability after each adjustment. Gently rock the machine by pushing from each corner. There should be no movement.
- Recheck the level in both directions. Aim for zero deviation in the bubble indicator.
- Secure any locking nuts. Once leveled, tighten the locknuts against the base to prevent drift over time.
- Slide the washer back into position, ensuring hoses and cords aren’t kinked.
For front-load models, especially those with direct-drive motors, precision leveling is critical. These machines spin faster and generate more centrifugal force than top-loaders, making them more sensitive to imbalance.
Load Balancing: How to Prevent Drum Imbalance
Even a perfectly leveled washer can vibrate if the laundry inside is unevenly distributed. During the spin cycle, heavy clumps of fabric shift to one side of the drum, creating a lopsided mass that throws off balance.
To minimize load-related vibration:
- Alternate large and small items (e.g., towels with shirts) to distribute weight evenly.
- Avoid washing single bulky items like comforters or rugs unless using a commercial-sized machine.
- Don’t overload the drum—leave about 3–4 inches of space at the top.
- Pause and redistribute if you hear sudden thumping mid-cycle.
Modern washers often feature automatic imbalance detection. If the control system senses excessive vibration, it may add water to rebalance the load or reduce spin speed. While helpful, this doesn’t eliminate the need for user awareness. Consistently imbalanced loads strain motors and bearings over time.
Mini Case Study: The Weekend Laundry Disaster
Sarah in Portland bought a new front-loading washer and noticed intense shaking every Sunday evening. After multiple service calls, a technician discovered she routinely washed two king-sized comforters together—doubling the recommended bulk for her model. The machine couldn’t compensate, leading to constant imbalance alarms and structural stress. Switching to one comforter per cycle and adding a few bath towels for weight distribution reduced vibration by over 80%. Sarah also learned to check the manufacturer’s capacity chart, avoiding future issues.
Common Installation Mistakes That Cause Vibration
Many vibration problems originate at setup. Whether you moved into a home with an existing washer or installed one yourself, overlooked details can have lasting consequences. Below are frequent errors and their solutions:
| Mistake | Consequence | Solution |
|---|---|---|
| Leaving transport or shipping bolts installed | Internal suspension locked; extreme vibration and damage risk | Remove all bolts (usually 3–4 at the back) and save for future moves |
| Installing on carpet or uneven flooring | Machine sinks or rocks; poor weight distribution | Use a rigid plywood or metal base platform; avoid carpet entirely |
| Not checking water supply line tension | Hoses pull machine forward during operation | Ensure hoses are snug but not taut; allow slight slack |
| Ignoring clearance requirements | Contact with walls amplifies noise and restricts airflow | Leave at least 2–3 inches on all sides, including rear |
When to Suspect Internal Mechanical Failure
If leveling and load management don’t resolve the issue, internal wear may be the culprit. Over thousands of cycles, key components degrade. Common failing parts include:
- Worn shock absorbers: Found on many top-loaders, these dampen drum movement. If leaking oil or loose, they need replacement.
- Broken suspension springs: Support the tub assembly. Stretching or breakage leads to erratic drum motion.
- Failing snubber ring or damping pad: A rubber component that cushions tub oscillation. Deterioration increases vibration.
- Unbalanced drive pulley or damaged motor mounts: More advanced issues requiring diagnostic tools.
Diagnosing internal faults requires removing panels and visual inspection. For example, if the drum drops noticeably when lifted from the top (more than ½ inch), springs or shocks are likely compromised. Similarly, visible oil residue near base brackets indicates leaking dampers.
While DIY repairs are possible, they void warranties if done incorrectly. Unless you’re experienced with appliance mechanics, consult a certified technician for internal assessments.
Preventative Maintenance Checklist
Regular upkeep prevents minor issues from escalating. Use this checklist monthly or quarterly to maintain optimal performance:
- ✅ Check leveling with a bubble level
- ✅ Inspect floor condition for warping or soft spots
- ✅ Examine hoses for kinks or tension
- ✅ Clean drain pump filter to prevent error-induced imbalance
- ✅ Verify no foreign objects (coins, buttons) are trapped in the drum seal
- ✅ Listen for unusual noises during startup and spin-up phases
- ✅ Wipe down anti-vibration pads if equipped
Additionally, avoid placing the washer near heat sources or in humid environments like unvented basements, which accelerate rubber and plastic degradation.
FAQ
Can I use wood blocks to level my washing machine?
Yes, but only as temporary shims under the machine’s base—not as substitutes for adjustable legs. For permanent solutions, use manufacturer-approved leveling accessories or install a reinforced platform.
Why does my washer vibrate only during the spin cycle?
The spin cycle operates at high RPMs (often 800–1400), magnifying any imbalance. If vibration occurs only then, the issue is likely related to load distribution, leveling, or worn suspension components designed to manage rotational forces.
Is some vibration normal?
Minor vibration is expected, especially with heavy loads. However, if the machine moves across the floor, makes banging noises, or shakes walls, intervention is required. Persistent strong vibration risks damaging the unit and surrounding structures.
Final Steps and Long-Term Stability
Eliminating loud washing machine vibration starts with fundamentals: correct installation, consistent leveling, and mindful loading habits. Addressing these areas resolves the majority of cases without costly repairs. For persistent issues, investigate mechanical wear or consider environmental factors like flooring integrity.
Remember, today’s high-efficiency machines spin faster to extract more water, making balance even more critical. Investing 15 minutes to level your washer and inspect its foundation pays dividends in quiet operation and longevity. Small adjustments yield significant improvements in daily convenience and appliance health.


 浙公网安备
33010002000092号
浙公网安备
33010002000092号 浙B2-20120091-4
Comments
No comments yet. Why don't you start the discussion?