
Walking from room to room and watching your Wi-Fi signal drop from full bars to a frustrating crawl is more than just inconvenient—it disrupts work, streaming, gaming, and smart home functionality. You're not alone. Millions of homeowners face inconsistent Wi-Fi coverage, often assuming the issue lies with their internet provider or router age. In reality, signal weakness is usually the result of environmental interference, structural obstacles, and outdated networking strategies. The good news? With the right understanding and tools, you can fix weak Wi-Fi permanently—not just mask the symptoms.
The Hidden Causes Behind Weak Wi-Fi Signals
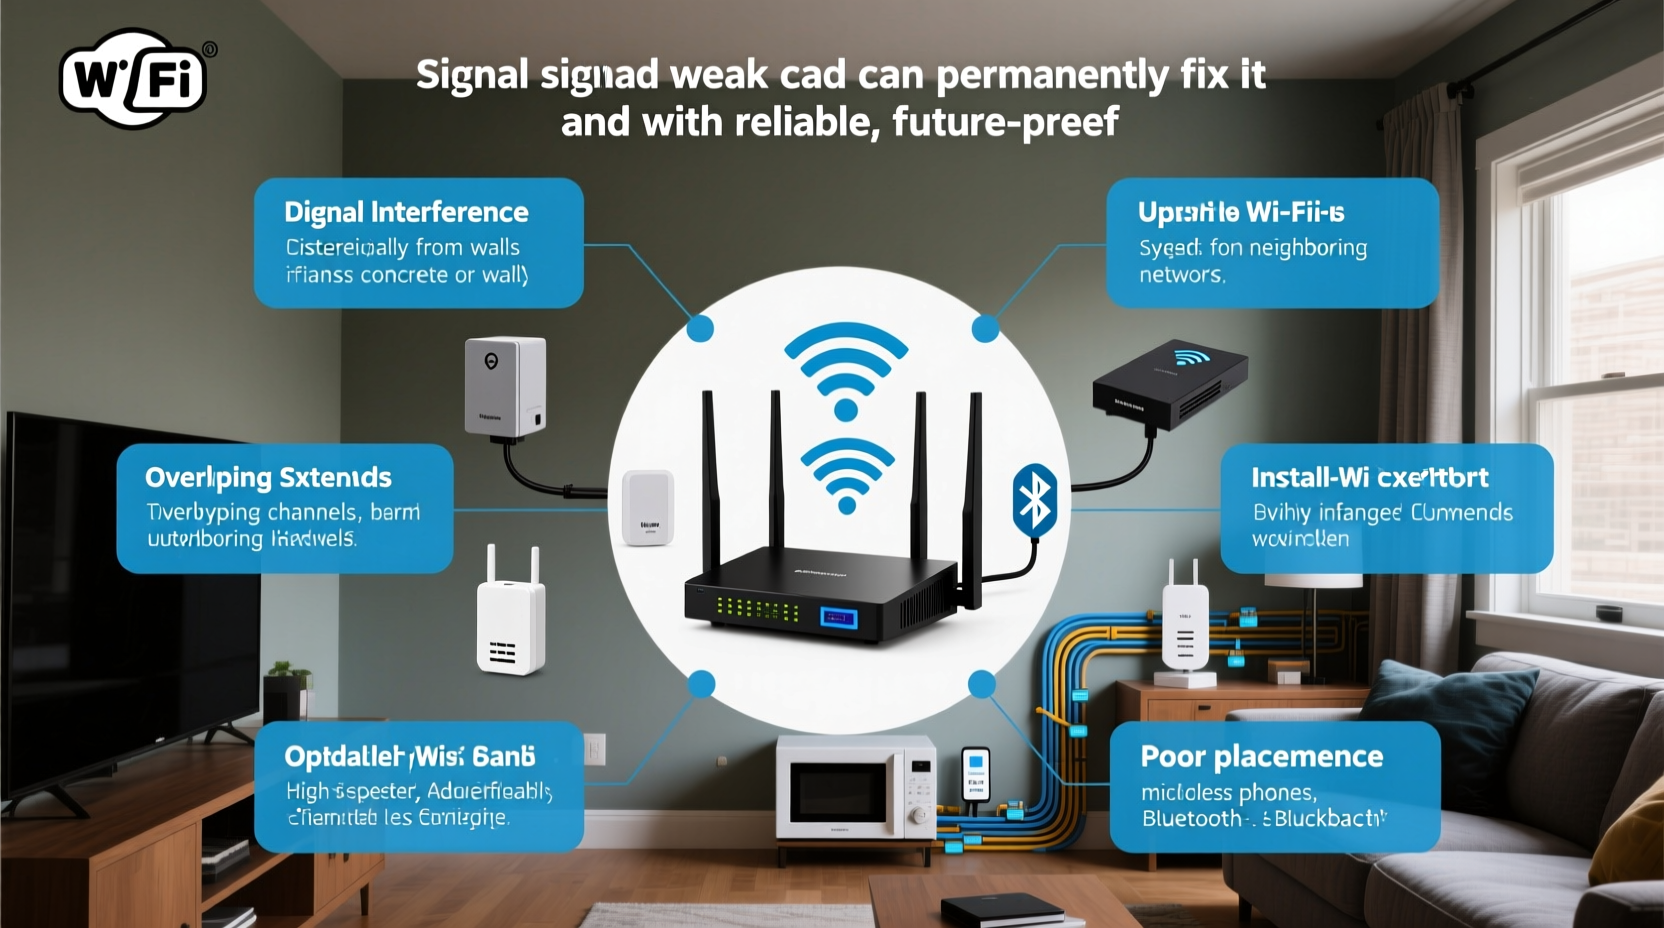
Wi-Fi operates using radio waves, much like FM radio or Bluetooth, but at higher frequencies—typically 2.4 GHz and 5 GHz. These signals are sensitive to physical and electronic interference. While your router may be broadcasting strongly, several factors can degrade or block the signal before it reaches certain rooms:
- Building materials: Concrete walls, brick, metal studs, and even thick plaster absorb or reflect Wi-Fi signals. A basement or bathroom with tile and pipes can act as a signal shield.
- Distance and layout: Large homes or multi-story buildings create natural distance gaps. Wi-Fi strength diminishes with range, especially when forced to navigate multiple floors or long hallways.
- Electronic interference: Microwaves, cordless phones, baby monitors, and even poorly shielded electrical wiring emit electromagnetic noise on the 2.4 GHz band, causing congestion.
- Router placement: Placing your router in a closet, behind furniture, or near appliances reduces its effective reach. Routers need open space and elevation for optimal dispersion.
- Network congestion: Too many connected devices—especially those streaming 4K video or downloading large files—can overwhelm older routers, creating lag even if the signal appears strong.
How to Diagnose Your Home’s Wi-Fi Weakness
Before investing in new equipment, confirm where and why your signal drops. A targeted diagnosis prevents wasted spending and identifies whether the problem is fixable through configuration or requires hardware upgrades.
- Walk-test your network: Carry your smartphone or laptop through each room and note the signal strength (measured in dBm). Most operating systems show this under Wi-Fi settings. Below -70 dBm is considered poor; below -80 dBm is likely unusable.
- Use a Wi-Fi analyzer app: Tools like NetSpot (Windows/Mac), Wi-Fi Analyzer (Android), or AirPort Utility (iOS) map channel congestion and signal strength visually. These reveal if neighboring networks are overcrowding your channel.
- Test wired vs. wireless speeds: Connect a device directly to your router via Ethernet. Run a speed test (e.g., speedtest.net). Then repeat wirelessly in a weak-signal room. If wired speeds are strong but wireless are slow, the issue is signal propagation—not your ISP.
- Check for firmware updates: Log into your router’s admin panel (usually via 192.168.1.1 or similar) and verify the firmware is up to date. Outdated firmware can cause instability and reduced performance.
“Most Wi-Fi issues aren’t about bandwidth—they’re about signal integrity. It’s not how fast your internet is, but how reliably it reaches your devices.” — Dr. Lena Torres, Network Engineer at OpenMesh Systems
Premium Solutions for Permanent Wi-Fi Coverage
Temporary fixes like repositioning your router help, but only systemic changes deliver lasting results. Consider these proven, scalable solutions based on your home’s size and structure.
1. Upgrade to a Mesh Wi-Fi System
Traditional extenders rebroadcast the signal but halve bandwidth and often create separate networks. Mesh systems use multiple nodes that communicate seamlessly, forming a single, unified network. Nodes automatically route traffic through the strongest path, ensuring consistent performance.
Top-performing mesh systems include Google Nest Wifi, Eero Pro 6, and TP-Link Deco XE75. These support Wi-Fi 6 or Wi-Fi 6E, offering faster speeds, better device handling, and reduced interference.
2. Install Access Points with Ethernet Backhaul
For maximum stability, hardwire access points (APs) to your router using Ethernet cables. This eliminates reliance on wireless backhaul, which can bottleneck performance. Each AP broadcasts a strong local signal, ideal for basements, garages, or distant wings of the house.
This method requires running cables through walls or ceilings—best done during renovations—but offers enterprise-grade reliability. Use managed switches and VLAN-capable APs for advanced control.
3. Optimize Router Settings and Channels
Your router’s default settings may not suit your environment. Log in and:
- Switch the 2.4 GHz band to channels 1, 6, or 11 (least overlapping).
- Use 5 GHz for high-speed tasks—less range but far less interference.
- Enable Quality of Service (QoS) to prioritize video calls or gaming over background downloads.
- Change your SSID naming convention so 2.4 GHz and 5 GHz bands have distinct names—this lets you manually connect devices to the best band.
4. Replace an Outdated Router
If your router is more than four years old, it likely lacks modern standards like beamforming (which directs signals toward devices) or MU-MIMO (allowing simultaneous data streams). Upgrading to a Wi-Fi 6 or Wi-Fi 7 router improves efficiency, range, and device management.
| Solution | Best For | Installation Difficulty | Cost Range | Long-Term Value |
|---|---|---|---|---|
| Mesh Wi-Fi System | Medium to large homes, renters | Easy | $150–$400 | ★★★★★ |
| Ethernet-Backed Access Points | Larger homes, permanent setups | Moderate to High | $200–$600+ | ★★★★★ |
| Wi-Fi Range Extender | Small spaces, tight budgets | Easy | $40–$100 | ★★☆☆☆ |
| Router Reboot & Reposition | Mild signal issues | Very Easy | Free | ★★★☆☆ |
| New Wi-Fi 6/7 Router | Aging equipment, high-device households | Easy | $120–$500 | ★★★★☆ |
Real-World Example: Fixing a Two-Story Home's Dead Zone
Sarah lives in a 2,200 sq ft two-story colonial with hardwood floors and brick interior walls. Her router was tucked in a basement office, resulting in nearly no signal upstairs—especially in the master bedroom and kids’ playroom. Video calls dropped, and smart speakers frequently disconnected.
She tried a range extender first, but streaming quality remained poor. After testing signal levels with Wi-Fi Analyzer, she discovered her 2.4 GHz band was on channel 9—overlapping heavily with three neighbors’ networks.
Sarah upgraded to a tri-band Eero Pro 6 mesh system. She placed the main node near the modem in the basement and added two satellites: one on the first-floor living room shelf and another in the upstairs hallway. She also switched to non-overlapping channels and enabled QoS for Zoom and Netflix.
Result: Full, stable coverage throughout the house. Upload speeds improved by 30% due to better backhaul routing. Sarah now controls everything via a single app and hasn’t had a disconnect since.
Step-by-Step Plan to Eliminate Weak Wi-Fi Permanently
Follow this structured approach to ensure long-term success:
- Map your current coverage: Use a Wi-Fi analyzer to identify weak spots and interference sources.
- Reposition your router: Center it in your home, elevate it, and keep it away from obstructions and electronics.
- Update firmware and settings: Secure your network, optimize channels, and enable QoS.
- Choose your solution: Decide between mesh systems, access points, or a new router based on home size and budget.
- Install and test: Set up new hardware, then walk through each room to validate signal strength and speed.
- Monitor and maintain: Reassess every 6–12 months, especially after adding new devices or making structural changes.
Frequently Asked Questions
Can thick walls really block Wi-Fi?
Yes. Materials like concrete, brick, stone, and metal lath significantly attenuate Wi-Fi signals. Even insulated drywall or floor joists can reduce strength. The 5 GHz band, while faster, penetrates walls worse than 2.4 GHz—making dual-band systems essential for balanced coverage.
Is powerline networking a good alternative?
Powerline adapters use your home’s electrical wiring to transmit data. They work well in homes with stable, modern wiring and can reach areas where Wi-Fi struggles. However, performance varies by circuit, breaker panels, and appliance load. They’re best used as a supplement—not a primary solution—for extending connectivity to isolated rooms.
Do Wi-Fi extenders make things worse?
Some do. Cheap extenders operate on the same frequency they receive from the router, cutting available bandwidth in half. They also create a second network name (SSID), forcing manual switching. Modern mesh systems avoid these flaws by using dedicated backhaul bands and seamless roaming.
Final Checklist: Ensure Permanent Wi-Fi Success
✅ Test signal strength in all key rooms ✅ Reposition router to a central, elevated location ✅ Update router firmware and optimize channel settings ✅ Choose a mesh system or wired access points for full coverage ✅ Use Ethernet backhaul when possible for maximum speed ✅ Monitor network health monthly using diagnostic tools
Take Control of Your Home Network Today
Weak Wi-Fi isn’t inevitable. It’s a solvable engineering challenge—one that affects productivity, entertainment, and daily convenience. By understanding the physics of signal propagation and applying strategic upgrades, you can transform spotty connectivity into seamless, whole-home coverage. Whether you choose a plug-and-play mesh system or invest in professional-grade access points, the goal remains the same: a reliable, invisible network that supports your lifestyle without interruption.
Don’t settle for walking around the house searching for a signal. Assess your setup, apply these solutions, and enjoy fast, stable Wi-Fi in every room—permanently.


 浙公网安备
33010002000092号
浙公网安备
33010002000092号 浙B2-20120091-4
Comments
No comments yet. Why don't you start the discussion?