
If you’ve ever walked into a back bedroom or basement only to find your video call freezing, your stream buffering, or your smart lights unresponsive, you’re not alone. A surprisingly common frustration for modern households is inconsistent Wi-Fi coverage—strong in the living room, nonexistent in the home office. The issue isn’t usually your internet plan; it’s how the signal travels through your space. Understanding why Wi-Fi weakens in specific rooms and knowing practical solutions can transform your connectivity without calling a technician or upgrading your provider.
What Causes Weak Wi-Fi in One Room?
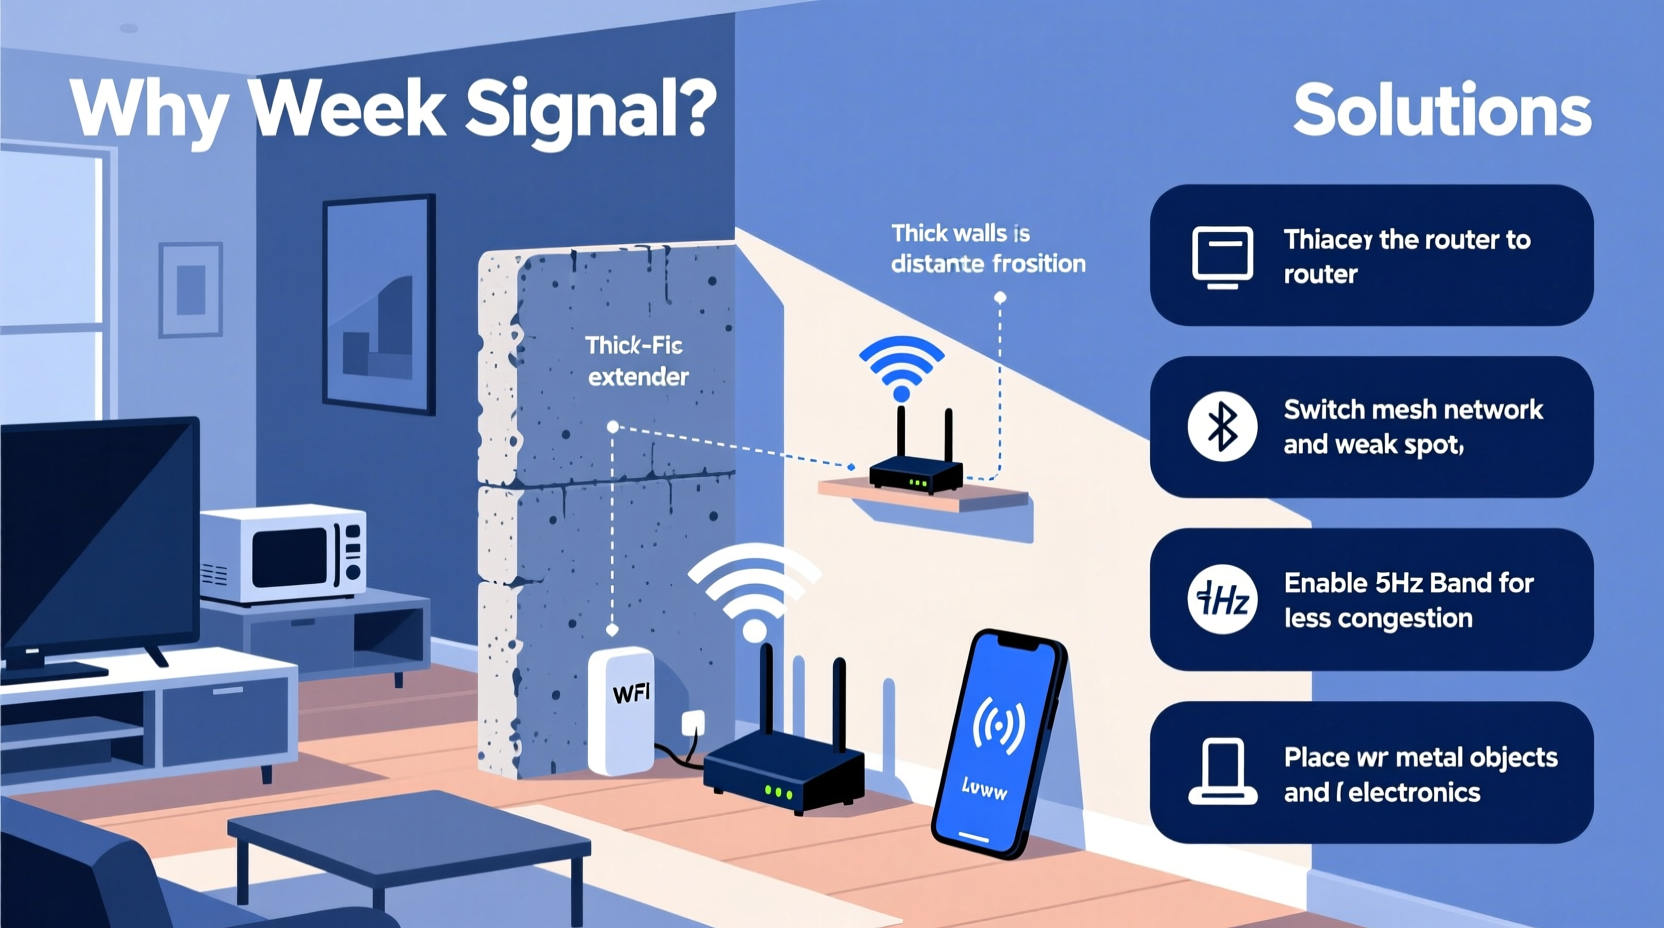
Wi-Fi signals are radio waves, typically operating on 2.4 GHz or 5 GHz frequencies. Like any wave, they can be absorbed, reflected, or blocked by materials and objects in their path. While your router may broadcast evenly in all directions, physical and environmental factors often create dead zones—areas where the signal degrades significantly.
Common culprits include:
- Building materials: Concrete walls, brick, metal framing, and even thick plaster can absorb or reflect signals.
- Furniture and appliances: Large metal filing cabinets, refrigerators, microwaves, and bookshelves filled with books (especially dense paper) interfere with signal propagation.
- Distance: The farther you are from the router, the weaker the signal becomes. This is especially true in larger homes or multi-story buildings.
- Interference from other devices: Cordless phones, baby monitors, Bluetooth speakers, and neighboring Wi-Fi networks can cause congestion, particularly on the crowded 2.4 GHz band.
- Router placement: Routers tucked in closets, basements, or behind TVs are physically obstructed and often poorly positioned for optimal coverage.
How to Diagnose the Problem
Before investing in new hardware, assess whether the issue is truly signal strength or something else. Start by testing your connection at different times of day and in various locations using a Wi-Fi analyzer app like NetSpot (desktop) or Wi-Fi Analyzer (Android). These tools show signal strength (measured in dBm), channel congestion, and nearby networks.
Walk through your home and take note of readings:
- A reading above -60 dBm is excellent.
- Between -60 and -70 dBm is acceptable for streaming.
- Below -70 dBm indicates poor signal and likely performance issues.
If the problem is isolated to one room, compare wired vs. wireless speeds. Connect a laptop directly to your router via Ethernet and run a speed test at speedtest.net. Then repeat the test wirelessly in the weak-signal room. If wired speeds are fast but wireless ones aren’t, the issue is signal propagation—not your ISP.
“Most Wi-Fi problems aren’t about bandwidth—they’re about physics. Radio waves don’t travel through concrete like air.” — Dr. Alan Park, Network Engineer and IEEE Member
Easy Ways to Boost Your Wi-Fi Signal
You don’t need a degree in engineering to improve your signal. Many fixes are simple, low-cost, and highly effective.
1. Reposition Your Router
The easiest and most overlooked fix is moving your router. Place it centrally in your home, elevated (on a shelf or desk), and away from obstructions. Avoid basements, cabinets, or corners. Keep it at least three feet from large electronics and metal surfaces.
2. Adjust Antenna Orientation
If your router has external antennas, orient them properly. For multi-floor homes, point one vertically and one horizontally. Vertical antennas radiate best side-to-side; horizontal ones cover upper and lower floors more effectively.
3. Switch Wi-Fi Bands
Use the 2.4 GHz band for range and the 5 GHz band for speed. If the weak room is far from the router, connect devices to 2.4 GHz—even if slower—for better penetration. Modern dual-band routers let you name each network separately so you can choose manually.
4. Update Firmware and Settings
Log into your router’s admin page (usually 192.168.1.1 or 192.168.0.1) and check for firmware updates. Outdated firmware can cause instability and reduced performance. Also, ensure you're using WPA2 or WPA3 encryption—older protocols like WEP reduce efficiency.
5. Reduce Interference
Change your Wi-Fi channel to avoid congestion. In the 2.4 GHz band, channels 1, 6, and 11 are non-overlapping. Use a Wi-Fi analyzer to see which channels nearby networks use and pick the least crowded one. On 5 GHz, there are more options, so automatic selection usually works well.
Hardware Solutions That Work
When repositioning and tweaking settings aren’t enough, consider hardware upgrades. The good news: today’s solutions are affordable and user-friendly.
Wi-Fi Extenders (Repeaters)
Extenders capture your existing signal and rebroadcast it, effectively doubling coverage. They’re plug-and-play and inexpensive ($30–$80). However, they halve available bandwidth because they communicate with the router on the same channel they serve to devices.
Mesh Wi-Fi Systems
For whole-home coverage, mesh systems like Google Nest Wi-Fi, Eero, or TP-Link Deco are ideal. Multiple nodes work together seamlessly, creating a single network. Unlike extenders, they use dedicated backhaul channels (some even have tri-band radios), preserving speed. Setup takes minutes via smartphone app.
Powerline Adapters
These use your home’s electrical wiring to transmit data. Plug one adapter near the router (connected via Ethernet), and another in the weak-signal room. It then broadcasts Wi-Fi or provides an Ethernet port. Effective in older homes with spotty wireless but reliable wiring. Speeds vary based on circuit quality.
Access Points (APs)
For permanent, high-performance solutions, install a wired access point. Run an Ethernet cable from your router to the problem room and connect a secondary AP. This delivers full-speed Wi-Fi without interference. Best for home offices or media rooms where reliability is critical.
| Solution | Best For | Cost Range | Installation Difficulty |
|---|---|---|---|
| Router Repositioning | Minor dead zones | $0 | Easy |
| Wi-Fi Extender | Moderate distance, budget fix | $30–$80 | Easy |
| Mesh System | Whole-home coverage | $100–$300+ | Easy to Moderate |
| Powerline Adapter | Wired solution without drilling | $50–$120 | Moderate |
| Wired Access Point | High-performance needs | $80–$200 + cabling | Difficult |
Real Example: Fixing a Basement Office
Take Sarah, a freelance designer working from her basement office. Her video calls kept dropping, but upstairs devices worked fine. She tested the signal and found -78 dBm—below usable threshold. Her router was upstairs in a closet, surrounded by cables and a metal entertainment center.
First, she moved the router to a central hallway shelf. Signal improved slightly (-72 dBm), but still unstable. Next, she tried a $40 Wi-Fi extender, but noticed lag during Zoom meetings. Finally, she invested in a two-node mesh system. She placed one node upstairs and the second in the basement. Signal jumped to -58 dBm, and her upload/download speeds stabilized. The total cost: $160. Result: uninterrupted workdays and no more frozen screens.
Sarah’s story shows that while quick fixes help, long-term reliability often requires a scalable solution like mesh networking.
Step-by-Step Plan to Improve Your Signal
Follow this timeline to resolve weak Wi-Fi systematically:
- Week 1: Assess & Optimize
Test signal strength in the problem room. Move the router to a central, elevated location. Adjust antenna angles and update firmware. - Week 2: Reduce Interference
Use a Wi-Fi analyzer to switch to the least congested channel. Turn off unused devices that emit RF signals. - Week 3: Test Hardware Add-ons
Try a Wi-Fi extender or powerline adapter. Evaluate stability over several days. - Week 4: Upgrade Strategically
If performance is still lacking, install a mesh system or wired access point based on your home layout and budget.
FAQ
Can walls really block Wi-Fi?
Yes. Materials like concrete, brick, metal, and even water (in fish tanks or plumbing) absorb radio waves. Drywall is mostly transparent, but multiple walls or dense insulation can degrade signals significantly.
Do mirrors affect Wi-Fi?
Surprisingly, yes. Mirrors have metal backing that reflects Wi-Fi signals. While not a major blocker, clusters of mirrors or mirrored furniture can contribute to signal scattering and dead spots.
Is it safe to leave a Wi-Fi extender plugged in all the time?
Yes. Modern extenders are designed for continuous operation. They consume minimal power (typically 5–10 watts) and include thermal protection to prevent overheating.
Conclusion
Weak Wi-Fi in one room is rarely a mystery—it’s usually a combination of placement, materials, and technology limitations. The good news is that most issues can be resolved with simple adjustments or modest investments. Whether it’s repositioning your router, switching bands, or deploying a mesh network, the tools to fix your signal are within reach. Don’t accept buffering and dropped connections as inevitable. With a clear diagnosis and the right strategy, every room in your home can enjoy strong, reliable Wi-Fi.


 浙公网安备
33010002000092号
浙公网安备
33010002000092号 浙B2-20120091-4
Comments
No comments yet. Why don't you start the discussion?