
If your internet works perfectly in the living room but crawls to a halt when you step into the basement or bedroom, you're not alone. Millions of homeowners experience spotty WiFi coverage, with certain rooms acting like digital dead zones. While frustrating, this issue is often solvable with a methodical approach. The key lies in understanding what’s disrupting the signal between your router and that one problematic room. This guide walks through the most common causes and provides a detailed troubleshooting checklist so you can restore strong, reliable WiFi where you need it most.
Understanding How WiFi Signals Travel
WiFi operates using radio waves—typically on the 2.4 GHz or 5 GHz frequency bands. These signals radiate outward from your router in all directions, but their strength diminishes with distance and interference. Unlike wired connections, wireless signals are sensitive to physical barriers, electronic noise, and even building materials. A thick concrete wall, large metal appliance, or poorly positioned router can easily block or weaken a signal in just one area of your home.
The 2.4 GHz band travels farther and penetrates walls better but is more prone to congestion from other devices (like microwaves and cordless phones). The 5 GHz band offers faster speeds but has a shorter range and struggles more with obstacles. If your device connects inconsistently in one room, it may be attempting to use the 5 GHz band despite poor line-of-sight to the router.
“WiFi doesn’t just disappear—it gets absorbed, reflected, or interfered with. Identifying the source of disruption is half the battle.” — Dr. Alan Reyes, Network Engineer at Broadband Insights Lab
Common Causes of Room-Specific WiFi Weakness
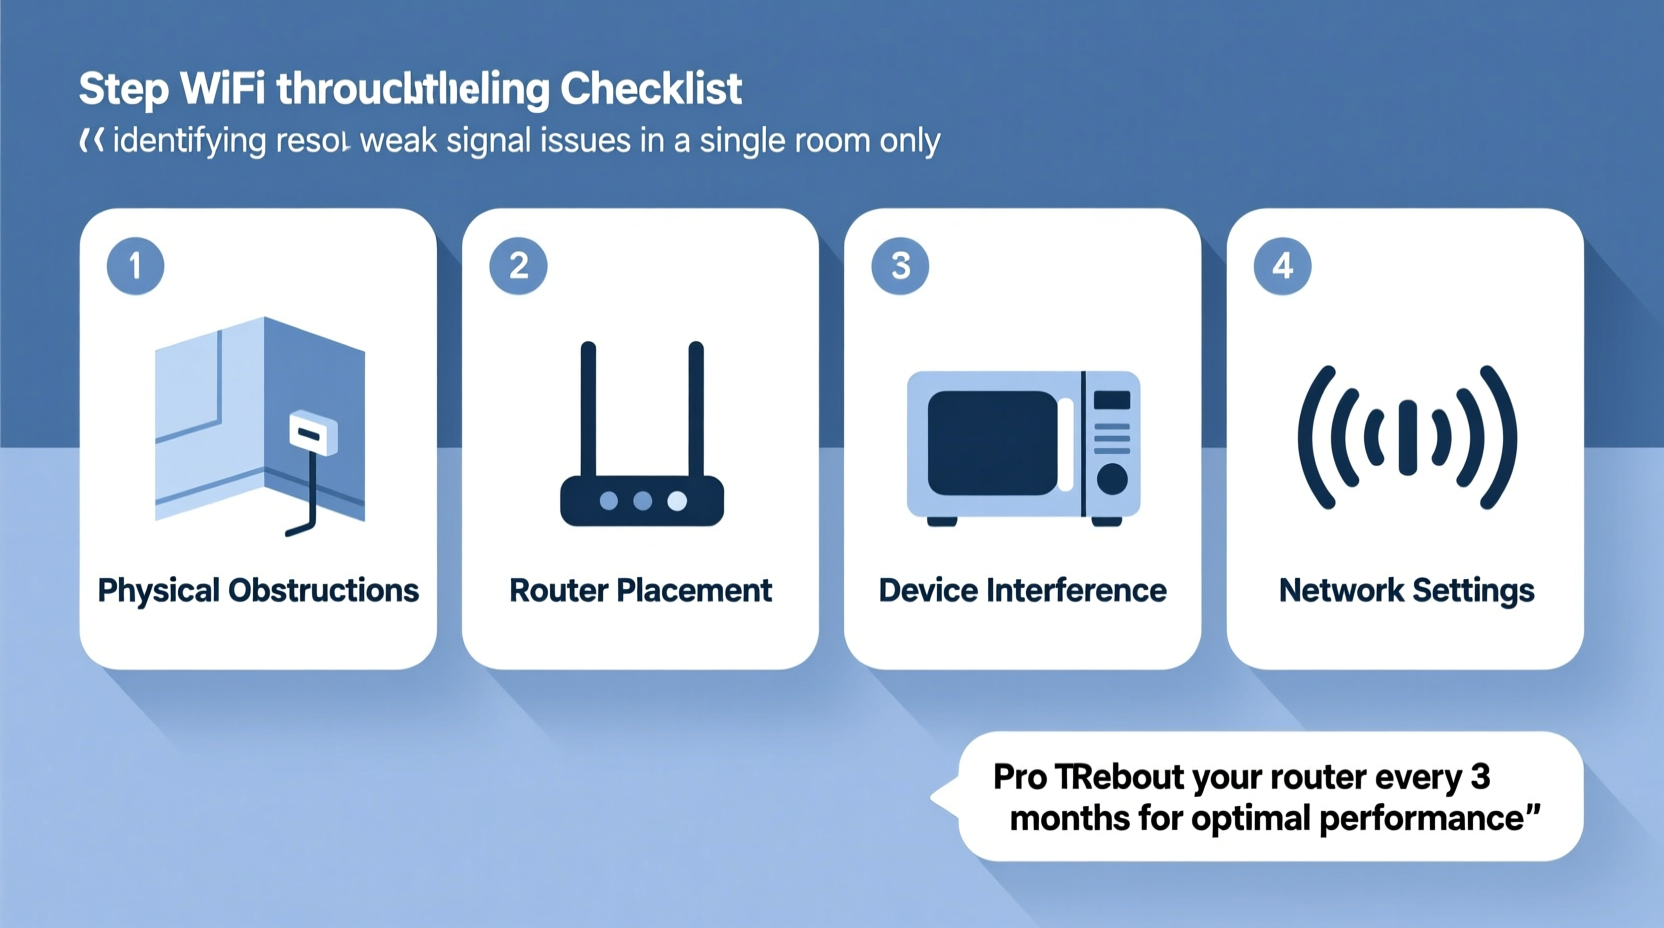
Before jumping into solutions, it helps to diagnose the root cause. Here are the most frequent culprits behind weak signals in a single room:
- Physical obstructions: Thick walls, especially those made of concrete, brick, or plaster with metal lath, can block or reflect WiFi signals.
- Distance from the router: The farther the room is from your router, the weaker the signal becomes, particularly if there are multiple walls in between.
- Interference from appliances: Microwaves, refrigerators, washing machines, and even baby monitors emit electromagnetic noise that disrupts WiFi frequencies.
- Metal objects: File cabinets, mirrors with metallic backing, HVAC ducts, or metal studs in walls can create a Faraday cage effect, trapping signals.
- Poor router placement: Routers tucked in closets, behind TVs, or near the floor often have obstructed signal paths.
- Network congestion: Too many devices connected simultaneously can strain bandwidth, making performance worse in areas already receiving a weak signal.
- Outdated hardware: Older routers or client devices may not support modern standards like WiFi 6, limiting speed and reliability.
Troubleshooting Checklist: Step-by-Step Guide
Follow this structured approach to identify and resolve the issue. Work through each step before moving to the next for best results.
- Verify the problem is isolated to one room. Test the connection in adjacent rooms using the same device. If multiple areas are affected, the issue may be broader than localized interference.
- Check your current signal strength. Use a WiFi analyzer app (such as NetSpot, WiFi Analyzer, or OpenSignal) to measure signal levels in dBm. Anything below -70 dBm indicates a weak signal; below -80 dBm is very poor.
- Reposition your router. Move it to a central, elevated location—ideally on a shelf near the center of your home. Avoid basements, cabinets, or corners.
- Remove nearby obstructions. Keep the router away from large metal objects, appliances, fish tanks, and thick walls. Even books and furniture can absorb signal energy.
- Switch WiFi bands manually. If your router supports dual-band, connect the device in the weak room to the 2.4 GHz network for better wall penetration, even if it’s slower.
- Update your router firmware. Log into your router’s admin panel and check for updates. Outdated firmware can cause connectivity issues.
- Restart your network equipment. Power cycle your modem and router by unplugging them for 30 seconds, then plugging them back in.
- Test with a different device. Rule out device-specific problems by testing another smartphone, tablet, or laptop in the same room.
- Inspect for interference sources. Turn off nearby electronics one by one (microwave, cordless phone, Bluetooth speakers) to see if signal improves.
- Change the WiFi channel. In crowded neighborhoods, overlapping channels cause interference. Use your router settings to switch to a less congested channel (e.g., 1, 6, or 11 on 2.4 GHz).
Solutions Based on Your Home Layout and Materials
Every home presents unique challenges. Below is a comparison of common structural issues and how to address them.
| Issue | Impact on WiFi | Solution |
|---|---|---|
| Concrete or brick walls | Severely blocks signal; attenuation up to 20 dB per wall | Use a mesh system or access point on the other side of the wall |
| Metal studs or ductwork | Reflects signals, creating dead zones | Relocate router or install a wired access point |
| Large appliances (fridge, washer) | Causes interference and physical blocking | Keep router at least 6 feet away; avoid placing behind appliances |
| Basement or underground room | Signals degrade due to earth and flooring materials | Run Ethernet cable and place an access point downstairs |
| Thick plaster walls with wire mesh | Acts like a partial Faraday cage | Use powerline adapters or MoCA if coaxial cables are available |
When to Upgrade Your Equipment
If basic troubleshooting fails, consider upgrading your networking hardware. Modern solutions offer smarter coverage and self-optimizing networks.
- Mesh WiFi Systems: Devices like Google Nest WiFi, Eero, or TP-Link Deco place multiple nodes throughout your home to eliminate dead zones. They automatically route traffic through the strongest path.
- WiFi Extenders: Budget-friendly but can halve bandwidth. Best used as a temporary fix.
- Access Points with Ethernet Backhaul: For permanent installations, hardwiring an access point (AP) to your router via Ethernet ensures maximum speed and stability.
- Powerline Adapters: Use existing electrical wiring to extend your network. Performance varies based on home wiring quality.
- MoCA Adapters: Utilize coaxial TV cables for high-speed backhaul—ideal if your home has cable outlets in multiple rooms.
Real-World Example: Fixing a Basement Office
Consider Sarah, who works from home in her basement office. Her main router sits upstairs in the hallway. Despite being only one floor down, her Zoom calls frequently freeze and her download speeds drop below 5 Mbps.
She followed the checklist:
- Confirmed the issue was isolated to the basement using her phone and tablet.
- Used a WiFi analyzer app and found her signal at -85 dBm—very weak.
- Discovered her basement ceiling contained metal HVAC ducts and the floor above had a large refrigerator nearby.
- Moved the router slightly toward the stairs but saw minimal improvement.
- Decided to upgrade: She installed a mesh system with one satellite node in the basement, connected via Ethernet through a small hole drilled near a basement outlet.
Result: Signal strength improved to -58 dBm, speeds increased fivefold, and video calls became stable. The investment paid off in productivity and peace of mind.
Do’s and Don’ts of WiFi Optimization
| Action | Do | Don't |
|---|---|---|
| Router Placement | Central, elevated, open space | In a closet, behind furniture, on the floor |
| Signal Extension | Use mesh with wired backhaul or MoCA | Rely solely on cheap repeaters |
| Device Management | Update firmware regularly | Neglect security patches or use default passwords |
| Band Selection | Use 2.4 GHz for range, 5 GHz for speed | Force 5 GHz in distant or obstructed rooms |
| Testing | Use apps to measure real-time signal | Assume “one bar” means router failure |
Frequently Asked Questions
Can walls really block WiFi signals?
Yes. Materials like concrete, brick, plaster with metal lath, and insulated drywall significantly attenuate WiFi signals. Even standard drywall reduces signal strength, but multiple layers or dense materials can nearly eliminate it in extreme cases.
Should I buy a WiFi extender?
Extenders can help, but they come with trade-offs. Most operate on the same frequency to communicate with the router, which halves available bandwidth. For better results, consider a mesh system with dedicated backhaul or a wired access point.
Why does my phone show full bars but still load slowly?
“Bars” are a rough estimate and don’t reflect actual throughput or latency. Full bars might mean a stable connection to the router, but network congestion, ISP throttling, or background device usage could still slow performance. Run a speed test to get accurate data.
Final Steps: Implement and Monitor
After applying fixes, monitor your network for at least 24–48 hours. Use tools like WiFi Analyzer or your router’s built-in dashboard to track signal strength, connected devices, and uptime. Note any fluctuations during peak usage times. If problems persist, consider consulting a professional network installer—especially for larger homes or complex layouts.
Remember, WiFi optimization isn’t a one-time fix. As you add smart devices, update hardware, or rearrange furniture, your signal environment changes. Regular maintenance ensures consistent performance across every room.
“Great WiFi isn’t about raw speed—it’s about consistent, reliable coverage where people actually use their devices.” — Lena Patel, Residential Network Consultant
Take Control of Your Home Network Today
A single weak room shouldn’t compromise your entire internet experience. With the right knowledge and tools, you can diagnose the cause and apply targeted solutions that last. Whether it’s repositioning your router, upgrading to a mesh system, or simply switching to the 2.4 GHz band, each step brings you closer to seamless connectivity. Start with the troubleshooting checklist, document your findings, and don’t hesitate to invest in long-term upgrades if needed. Your future self—streaming, working, and gaming without buffering—will thank you.


 浙公网安备
33010002000092号
浙公网安备
33010002000092号 浙B2-20120091-4
Comments
No comments yet. Why don't you start the discussion?