
If you’ve ever climbed the stairs only to watch your video call freeze, your stream buffer, or your download speed plummet, you’re not imagining it—Wi-Fi really is slower upstairs. This common frustration affects millions of households with multi-level homes. The issue isn’t magic or bad luck; it’s physics, building materials, and router placement conspiring against your signal. But before you rush to buy a new mesh system or pay for an upgrade, know this: you can significantly improve upstairs Wi-Fi performance using smart, low-cost strategies that don’t require technical expertise.
This guide breaks down exactly why your second floor suffers from weak signal, what factors are working against you, and—most importantly—how to fix it with minimal investment.
Why Wi-Fi Weakens Between Floors
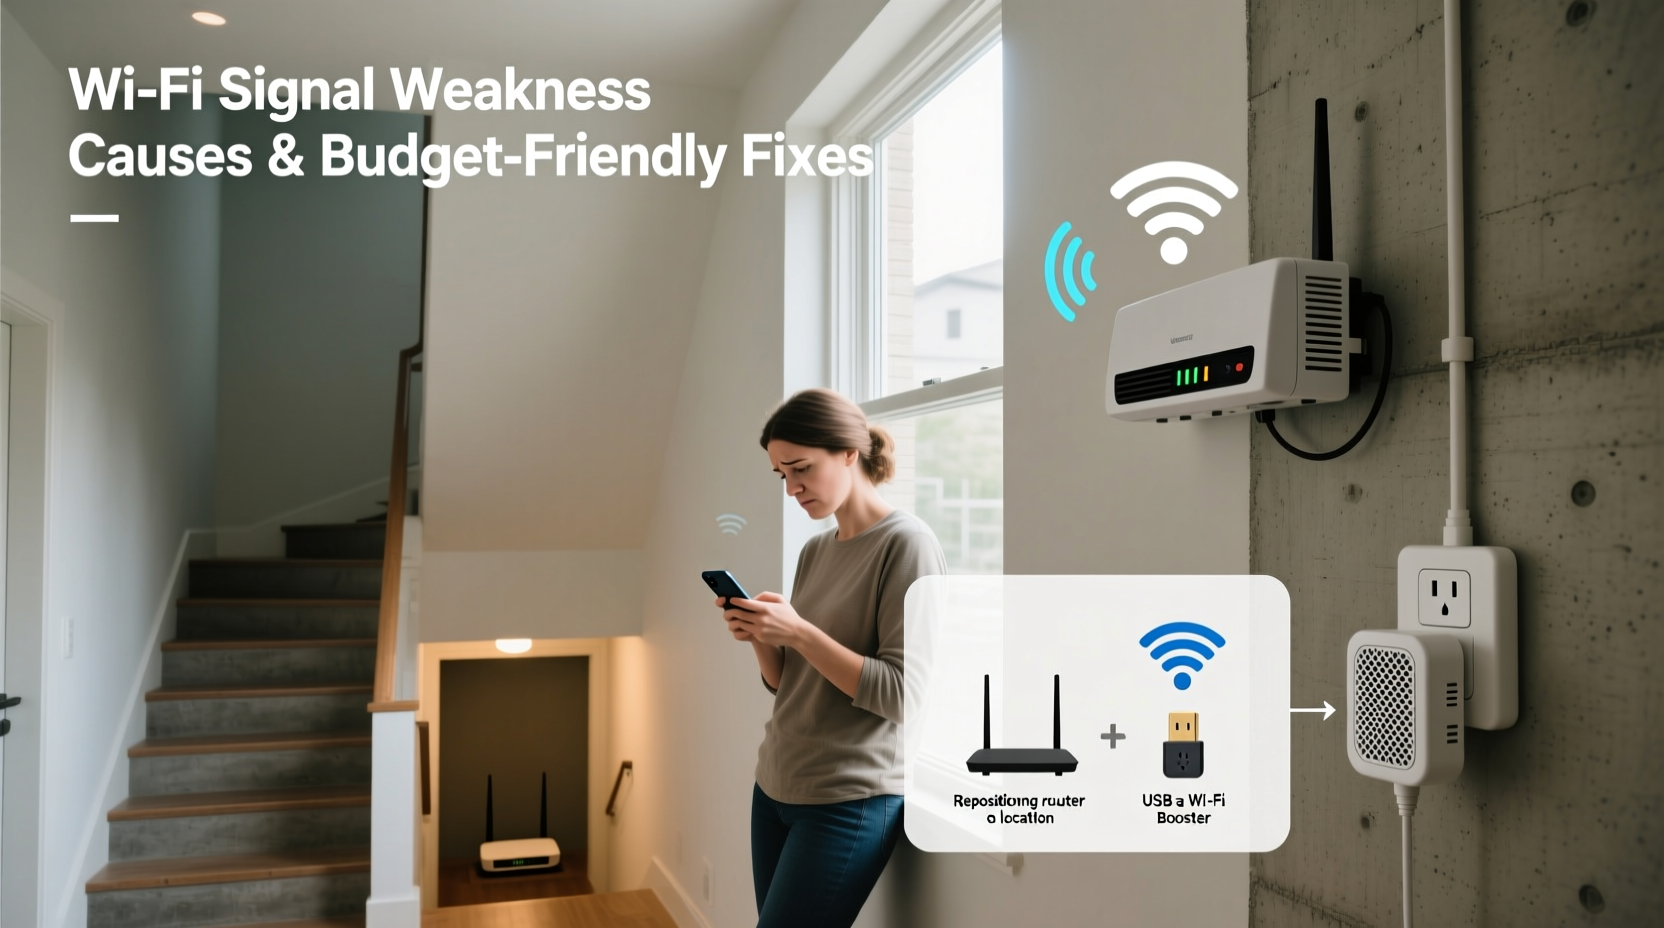
Wi-Fi signals travel using radio waves, typically on the 2.4 GHz or 5 GHz frequency bands. While these frequencies are excellent for short-range data transmission, they struggle with obstacles—especially dense ones like concrete, brick, metal, and even water (yes, the human body and indoor plants absorb signal). When your router sits in the basement or on the ground floor, every layer between it and your upstairs devices degrades the signal.
The primary culprits include:
- Floors and ceilings: Wooden floors block less than concrete or plaster, but each level still absorbs energy. Joists, insulation, and subflooring add cumulative resistance.
- Appliances: Microwaves, refrigerators, and washing machines emit electromagnetic interference, especially on the 2.4 GHz band.
- Walls with metal components: Drywall studs, HVAC ducts, and radiant heating systems reflect or absorb Wi-Fi.
- Routers in basements or closets: Enclosed spaces trap signals, reducing range and directionality.
As a result, signal strength measured in dBm (decibel-milliwatts) drops rapidly. A strong -40 dBm near the router might become a weak -75 dBm or worse upstairs—barely enough for stable browsing, let alone HD streaming.
“Wi-Fi doesn’t just ‘fade’ over distance—it gets absorbed, reflected, and interfered with by everyday materials we don’t think about.” — Dr. Lena Torres, RF Engineer at the Institute of Networked Systems
Smart, Low-Cost Ways to Boost Upstairs Signal
You don’t need to spend hundreds on a premium mesh network. Many effective solutions cost nothing or under $30. Start with free adjustments, then move to affordable hardware tweaks.
1. Reposition Your Router Strategically
The single most impactful step is optimizing your router’s location. Even a few feet can make a dramatic difference.
Avoid corners, enclosed cabinets, or placing it on the floor. Elevation helps signals radiate downward and upward more evenly. If your main usage is upstairs, consider moving the router to the first-floor ceiling center or even relocating it temporarily to test improvements.
2. Adjust Antenna Orientation
If your router has external antennas, their angle affects coverage. For multi-floor homes, position one antenna vertically and another horizontally. This creates a mix of horizontal and vertical polarization, improving reception across different device orientations and floor levels.
3. Use a DIY Reflector
A parabolic reflector made from aluminum foil or a soda can can focus signal in a desired direction. Shape it into a curve and place it behind the router’s antenna to bounce signals toward the stairs or upper floor.
While rudimentary, tests show up to 15–20% improvement in targeted zones. Just ensure it doesn’t block ventilation or touch electrical components.
4. Switch Wi-Fi Channels to Reduce Interference
In dense neighborhoods, nearby networks compete for bandwidth on the same channels. Use a free app like WiFi Analyzer (Android) or NetSpot (Windows/Mac) to scan for congestion. Then log into your router settings (usually via 192.168.1.1) and switch to a less crowded channel.
For 2.4 GHz, stick to channels 1, 6, or 11—they don’t overlap. On 5 GHz, use non-DFS channels like 36, 40, 44, or 48 for better stability.
5. Prioritize 5 GHz Where Possible
Though 5 GHz has shorter range, it’s faster and less prone to interference. If you're within one floor of the router, connect devices to the 5 GHz network. Reserve 2.4 GHz for distant or low-power devices like smart plugs.
Budget Hardware Upgrades Under $50
When repositioning and tuning aren't enough, small investments can deliver big returns.
Wi-Fi Range Extenders (Repeater Mode)
A range extender picks up your existing signal and rebroadcasts it. Choose a model that supports dual-band and Ethernet pass-through. Place it halfway between your router and the dead zone—not too close, not too far. Too close offers no benefit; too far means it can’t receive a strong signal to repeat.
Caveat: extenders cut bandwidth in half because they use the same radio to talk to the router and your device. Still, half-speed is better than no-speed.
Use an Old Router as a Repeater
If you have an old router lying around, flash it with open-source firmware like DD-WRT or OpenWrt to turn it into a wireless repeater. It takes a few hours to set up, but costs nothing and often outperforms cheap commercial extenders.
Powerline Adapters with Wi-Fi
These devices use your home’s electrical wiring to transmit data. Plug one unit near your router (connected via Ethernet), and another upstairs. The upstairs unit broadcasts a new Wi-Fi network or connects directly to a device via cable.
They work best in homes with modern, well-grounded wiring. Avoid using them on circuits with large appliances. Average cost: $40–$60 for a two-pack.
| Solution | Cost | Effectiveness (Upstairs) | Setup Difficulty |
|---|---|---|---|
| Router Relocation | $0 | ★★★★☆ | Easy |
| DIY Reflector | $0 | ★★★☆☆ | Easy |
| Channel Optimization | $0 | ★★★☆☆ | Moderate |
| Old Router as Repeater | $0 + time | ★★★★☆ | Hard |
| Powerline Adapter | $40–$60 | ★★★★★ | Easy |
| Commercial Wi-Fi Extender | $30–$50 | ★★★☆☆ | Easy |
Step-by-Step Plan to Improve Upstairs Wi-Fi
Follow this sequence to maximize results with minimal effort and expense:
- Test current speeds upstairs: Use Speedtest.net or Fast.com to record download, upload, and ping values in problem areas.
- Relocate the router: Move it to a central, elevated spot. Avoid basements, entertainment centers, or behind TVs.
- Adjust antennas: Set one vertical, one horizontal if dual-antenna.
- Scan for interference: Use a Wi-Fi analyzer app to find the least congested channel.
- Change router channels: Log into admin panel and update 2.4 GHz and 5 GHz settings.
- Build a reflector: Test directional boosting with foil or printed template.
- Try a free software solution: Flash old router with DD-WRT if available.
- Purchase a powerline adapter: If steps 1–7 fail, invest in one with built-in Wi-Fi.
- Retest speeds: Compare new results with baseline. Document improvements.
Real-World Example: The Two-Story Townhouse Fix
Sarah lives in a narrow two-story townhouse. Her ISP-provided router sat in the basement near the modem. Downstairs, speeds were fine—around 120 Mbps. Upstairs, her bedroom registered just 18 Mbps, making Zoom calls unstable.
She tried nothing for months, assuming she needed a mesh system. Then she read about router placement. She moved the router to a bookshelf on the main floor, centered near the staircase. She adjusted the antennas and used a Wi-Fi analyzer to switch from channel 6 to channel 1 due to neighbor congestion.
Result? Upstairs speeds jumped to 65 Mbps—more than triple—without spending a dime. Later, she added a $35 TP-Link range extender in the hallway, pushing speeds to 90+ Mbps. Total cost: under $40. No new internet plan, no technician visit.
Sarah’s case shows that understanding signal behavior beats throwing money at the problem.
Checklist: Boost Your Upstairs Wi-Fi Today
- ☐ Test current upstairs speed
- ☐ Move router to higher, central location
- ☐ Position antennas at different angles
- ☐ Scan for Wi-Fi congestion using a free app
- ☐ Change to less crowded channel in router settings
- ☐ Connect devices to 5 GHz when close enough
- ☐ Build or install a signal reflector
- ☐ Consider repurposing an old router as a repeater
- ☐ Try a powerline adapter if walls are thick
- ☐ Retest and compare results
Frequently Asked Questions
Can I use my phone to test Wi-Fi signal strength?
Yes. Most smartphones show signal bars, but for accuracy, use apps like WiFi Analyzer (Android) or AirPort Utility (iOS, after enabling scanner mode). These display actual dBm readings—below -70 dBm indicates weak signal.
Will a better router always fix upstairs issues?
Not necessarily. A high-end router in a poor location will still struggle. Optimize placement and environment first. Then consider upgrading hardware. Often, a $100 router in the right spot outperforms a $300 one in a closet.
Is mesh Wi-Fi worth it, or is it overkill?
Multipoint mesh systems (like Google Nest or Eero) are excellent for large or complex homes but cost $200+. For most two-story homes, simpler solutions work. Try everything in this guide first. Only go mesh if powerline adapters and repeaters fail to meet your needs.
Take Control of Your Home Network
Your internet speed shouldn’t depend on which floor you’re standing on. With a clear understanding of how Wi-Fi behaves and a few strategic adjustments, you can eliminate frustrating dead zones and enjoy reliable connectivity throughout your home. The solutions outlined here are proven, accessible, and cost-effective. You don’t need a degree in networking—just attention to detail and a willingness to experiment.
Start today. Move your router. Check your channels. Try a reflector. Test the difference. Small changes compound into real results. And if all else fails, a $40 powerline adapter could be the last piece you need.


 浙公网安备
33010002000092号
浙公网安备
33010002000092号 浙B2-20120091-4
Comments
No comments yet. Why don't you start the discussion?