
If you’ve ever struggled with buffering videos, dropped Zoom calls, or painfully slow downloads the moment you walk upstairs, you’re not alone. Many homes suffer from weak Wi-Fi signals on upper floors, especially in two-story houses where the router sits in the basement or on the ground floor. While mesh systems are often recommended, they can be expensive and unnecessary for many households. The truth is, several low-cost, practical solutions can dramatically improve upstairs Wi-Fi performance—without replacing your entire setup.
Understanding why your Wi-Fi slows down upstairs is the first step toward fixing it. Modern routers transmit signals using radio waves, which degrade as they pass through walls, floors, appliances, and even human bodies. Materials like concrete, brick, metal framing, and thick wood flooring are particularly effective at blocking or weakening these signals. Additionally, interference from neighboring networks, microwaves, and cordless phones can further reduce performance.
The good news: you don’t need to spend hundreds on new equipment. With a few strategic adjustments and smart upgrades, you can restore strong, reliable coverage throughout your home.
Why Wi-Fi Weakens Between Floors
Wi-Fi signals operate primarily on two frequency bands: 2.4 GHz and 5 GHz. Each has trade-offs. The 2.4 GHz band travels farther and penetrates walls better but offers slower speeds and is more prone to interference. The 5 GHz band delivers faster speeds but has a shorter range and struggles with obstacles like floors and walls.
When your router is downstairs, its signal must travel upward through the ceiling, floor joists, insulation, and possibly plumbing or electrical conduits. These materials absorb and scatter radio waves, significantly reducing signal strength by the time it reaches the second floor. In older homes, plaster walls with metal lath are especially problematic—acting almost like a Faraday cage.
“Signal attenuation through floors can reduce Wi-Fi strength by 50% or more, depending on construction materials.” — Dr. Alan Zhou, Wireless Network Engineer at MIT Lincoln Laboratory
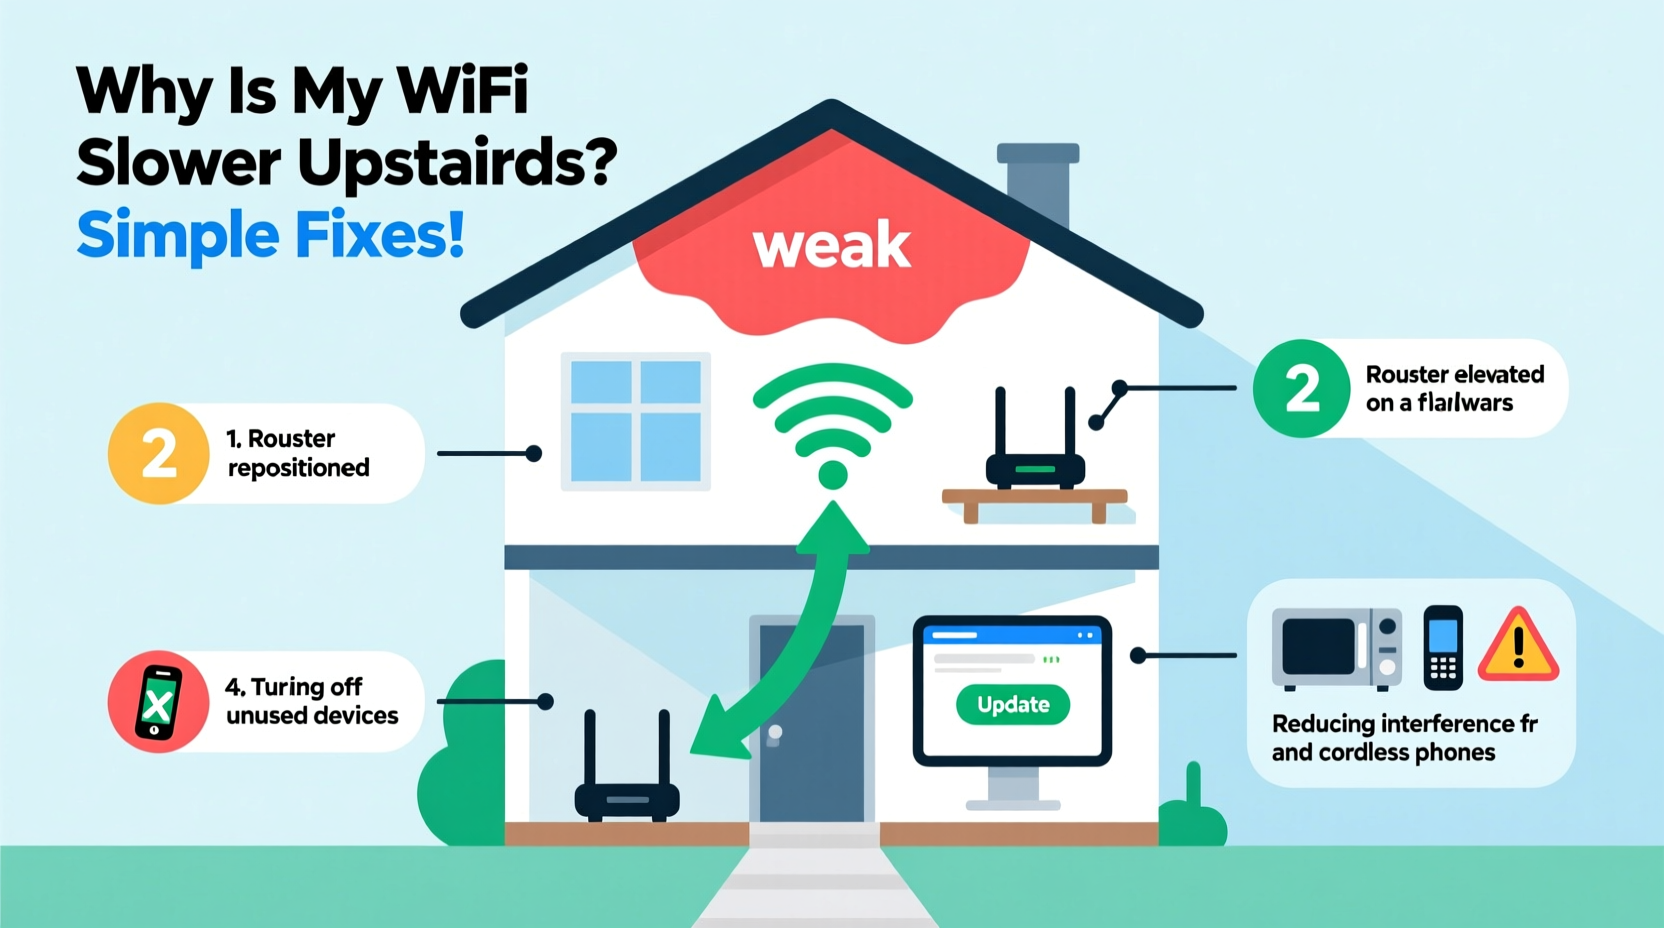
Additionally, modern homes often place routers in less-than-ideal locations—like behind TVs, inside cabinets, or near large appliances—further limiting their reach. Simply relocating or reconfiguring your existing setup can yield dramatic improvements.
Optimize Router Placement for Upstairs Coverage
The location of your router is one of the most critical factors affecting Wi-Fi performance. Even a high-end router will underperform if placed poorly. To maximize upstairs signal strength, follow these guidelines:
- Elevate the router: Place it on a shelf or desk, not on the floor. Higher placement improves line-of-sight transmission.
- Centralize the position: If possible, move the router closer to the center of the house rather than tucked in a corner.
- Aim antennas correctly: Most routers have adjustable antennas. Position one vertically and one horizontally to support multiple device orientations.
- Keep it away from obstructions: Avoid placing the router behind furniture, mirrors, refrigerators, or fish tanks—all can block or reflect signals.
- Minimize interference: Keep the router at least 3–6 feet away from cordless phones, microwaves, baby monitors, and Bluetooth devices.
In a typical two-story home, placing the router on the first floor near the staircase—not directly below the upstairs bedroom—can help direct the signal upward along the path of least resistance. Stairwells often act as natural signal channels, allowing Wi-Fi to propagate more efficiently between levels.
Upgrade Your Router’s Antennas (If Possible)
Many consumer routers come with small omnidirectional antennas designed for general coverage. However, some models allow you to replace these with higher-gain antennas that focus signal strength in specific directions. A 7 dBi or 9 dBi antenna can extend range significantly compared to the standard 3–5 dBi models.
If your router has detachable antennas (check for screw-on connectors), consider upgrading to directional or semi-directional units that beam more power upward. This is particularly effective when the router stays on the first floor and needs to reach a second-floor hotspot.
Alternatively, some users install a reflective “butterfly” or parabolic reflector behind the antenna to focus the signal toward desired areas. While DIY versions exist, commercially available waveguide kits offer better performance and safety.
“We’ve seen cases where replacing stock antennas doubled the usable signal strength on upper floors.” — Lisa Tran, Senior Technician at NetSecure Solutions
Note: Not all routers support external antennas. Check your model’s specifications before purchasing upgrades.
Use a Wi-Fi Range Extender Strategically
Range extenders (also called repeaters) are among the most accessible and affordable ways to boost upstairs Wi-Fi. They work by receiving your existing signal and rebroadcasting it, effectively expanding your network’s footprint.
However, improper placement can make them ineffective—or even harmful to performance. An extender placed too far from the router receives a weak signal and simply amplifies poor quality. Placed too close, it provides no meaningful benefit.
Step-by-Step Guide to Installing a Wi-Fi Extender
- Find the ideal midpoint: Position the extender halfway between your router and the dead zone upstairs. It should still receive a decent signal (at least two bars).
- Plug it into a wall outlet: Avoid power strips or surge protectors, which can interfere with performance.
- Connect via WPS or web interface: Follow manufacturer instructions to sync the extender with your network.
- Test upstairs performance: Run speed tests in previously weak areas to confirm improvement.
- Adjust placement if needed: Move the extender slightly forward or backward for optimal balance between source signal and extended coverage.
Modern dual-band extenders can use one band to communicate with the router and another to serve devices, reducing lag. Look for models with Ethernet ports—you can connect a gaming console or smart TV via cable for maximum stability.
Switch to Less Congested Wi-Fi Channels
Just like traffic on a highway, Wi-Fi channels can become overcrowded—especially in dense neighborhoods. Routers default to automatic channel selection, but this doesn’t always pick the best option. Interference from nearby networks operating on the same channel causes slowdowns and latency.
Using a free app like WiFi Analyzer (Android) or NetSpot (Windows/Mac), scan your local environment to see which 2.4 GHz and 5 GHz channels are least used. Then log into your router’s admin panel (usually via 192.168.1.1 or similar) and manually set your router to a less crowded channel.
| Band | Recommended Channels (Non-Overlapping) | Best For |
|---|---|---|
| 2.4 GHz | 1, 6, or 11 | Long-range, legacy devices |
| 5 GHz | 36, 40, 44, 48 or 149–161 (DFS) | Faster speeds, less interference |
On the 2.4 GHz band, stick to channels 1, 6, or 11—they’re the only ones that don’t overlap. On 5 GHz, avoid auto-selection if your router keeps switching to congested channels. Choose a fixed, clear channel for consistency.
Real-World Example: Improving Signal in a 1920s Two-Story Home
Sarah lives in a historic two-story home built in the 1920s. Her router was located in the basement near the utility room, resulting in nearly no Wi-Fi signal on the second floor. Video calls frequently froze, and her children couldn’t stream school content reliably.
Instead of buying a mesh system, she tried the following steps over a weekend:
- Moved the router to a central shelf on the main floor near the stairs.
- Replaced the stock antennas with 7 dBi high-gain models.
- Installed a dual-band Wi-Fi extender halfway up the staircase.
- Changed her 2.4 GHz channel from 6 (heavily used) to 1 after scanning with WiFi Analyzer.
Result: Upstairs download speeds increased from 3 Mbps to 48 Mbps, and ping times dropped from over 100 ms to under 30 ms. Total cost: $62 for the extender and antennas. No new router or mesh system required.
Alternative: Powerline Adapters for Stable Wired Extension
For homes with unreliable wireless options, powerline adapters offer a robust alternative. These devices use your home’s electrical wiring to transmit internet signals from the router to an outlet upstairs.
Here’s how they work: One adapter plugs into an outlet near the router and connects via Ethernet. A second unit plugs into an upstairs outlet and broadcasts Wi-Fi or provides a wired port for a laptop or smart TV.
Advantages include:
- Stable, low-latency connections unaffected by walls or interference.
- Ideal for gaming, streaming, or home offices.
- Easy setup—no drilling or new cables.
Limitations: Performance depends on the quality of your home’s electrical circuit. Older wiring or circuits split across breakers may reduce effectiveness. Still, modern AV2 1000 Mbps+ powerline kits deliver real-world speeds of 200–500 Mbps, sufficient for most households.
Quick Checklist: Boost Upstairs Wi-Fi Without Mesh
- Relocate router to a central, elevated spot on the lower floor.
- Ensure antennas are properly oriented (one vertical, one horizontal).
- Run a Wi-Fi scan to switch to less congested channels.
- Install a Wi-Fi extender halfway between router and weak zone.
- Consider upgrading to high-gain antennas if supported.
- Try a powerline adapter with Wi-Fi for stable upstairs coverage.
- Update router firmware to ensure optimal performance.
- Restart your router monthly to clear memory and refresh connections.
Frequently Asked Questions
Can I use aluminum foil to boost my Wi-Fi signal?
While DIY reflectors made from foil or soda cans are popular online, their effectiveness is inconsistent and can sometimes worsen performance by creating signal shadows. Commercial reflectors or proper antenna alignment are safer and more reliable alternatives.
Will restarting my router improve upstairs speed?
Yes. Over time, routers accumulate memory leaks and connection errors. A monthly reboot clears temporary issues and can restore peak performance. Some ISPs even report improved speeds after routine restarts.
Is it safe to leave a Wi-Fi extender plugged in all the time?
Absolutely. Extenders are designed for continuous operation. Most consume less power than a nightlight and pose no fire risk when used as directed.
Final Thoughts: You Don’t Need a Mesh System to Fix Upstairs Wi-Fi
Slow Wi-Fi upstairs is a common frustration, but it’s rarely a hardware failure. More often, it’s the result of suboptimal placement, environmental interference, or outdated settings. By understanding how Wi-Fi behaves in multi-level homes and applying targeted fixes, you can achieve strong, dependable coverage without spending a fortune.
Start with the simplest changes—repositioning your router and adjusting settings. Then explore cost-effective tools like extenders or powerline adapters. Monitor your results with free speed tests and fine-tune as needed. With patience and precision, your upstairs can enjoy the same fast, seamless connectivity as the rest of your home.


 浙公网安备
33010002000092号
浙公网安备
33010002000092号 浙B2-20120091-4
Comments
No comments yet. Why don't you start the discussion?