About products and suppliers
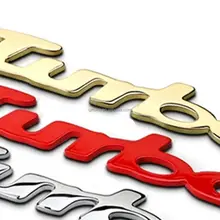
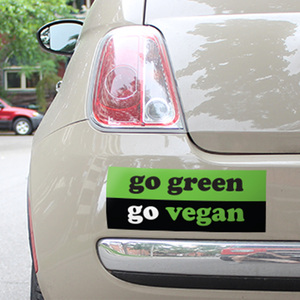
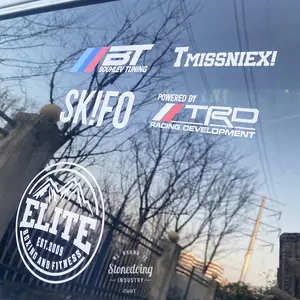
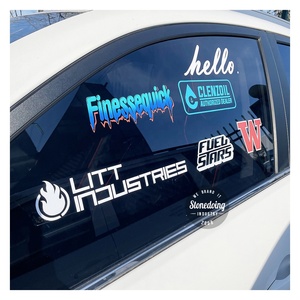
679 family car stickers products are offered for sale by suppliers on Alibaba.com, of which car stickers accounts for 10%, decorative stickers accounts for 6%, and promotional stickers accounts for 2%.
A wide variety of family car stickers options are available to you, such as body stickers, windshield sticker.You can also choose from carbon fiber, pu family car stickers,


 浙公网安备 33010002000092号
 浙B2-20120091-4