All categories
Featured selections
Trade Assurance
Buyer Central
Help Center
Get the app
Become a supplier
Ftdi arduino pro mini
(40 products available)
Alibaba
Electronic Components, Accessories & Telecommunications
Development Boards, Electronic Modules and Kits
Development Boards, Kits
Previous slide
Next slide
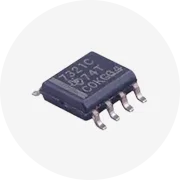
FT232RL
FTDI
USB 3.3V 5.5V to TTL Serial Adapter Module for
Arduino
FT232
Pro
Mini
USB TO TTL 232
$1-1.25
Min. order: 5 pieces
Previous slide
Next slide
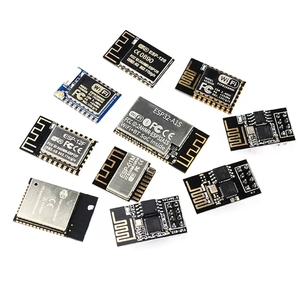
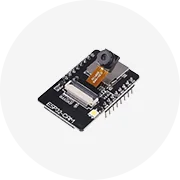
ESP32C3
PRO
MINI
Development Board Onboard ESP32C3FH4 Chip Module WiFi BluetoothESP32C3
PRO
MINI
ESP32C3FH4
$1.95
Min. order: 1 piece
Previous slide
Next slide
Stock
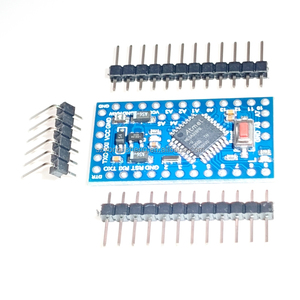
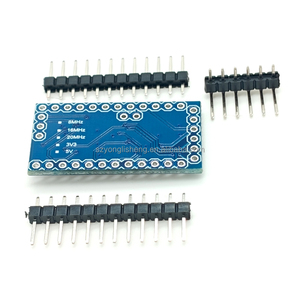
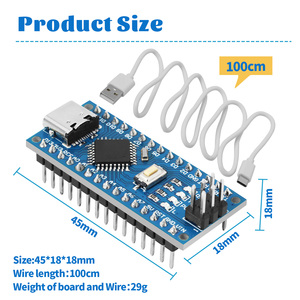
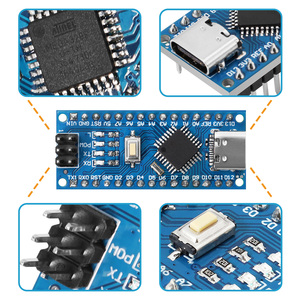
Pro
Mini
328
Mini
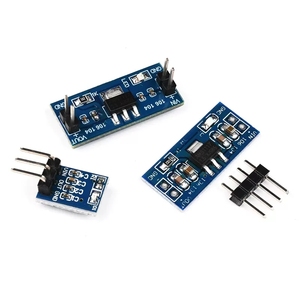
ATMEGA328P ATMEGA328 Module 3.3v 5V Development Board
Ready to Ship
$1.15-1.30
Min. order: 1 piece
Previous slide
Next slide
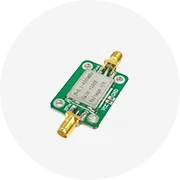
S2
Mini
V1.0.0 ESP32-S2 4MB FLASH WIFI Development Board IoT Microcontroller
Ready to Ship
$1.58-1.65
Min. order: 1 piece
Previous slide
Next slide
Tscinbuny 2WD Programmable
Mini
Robotics Kits Electronic Modules Kits Education Maker Kits for
Arduino
$12.88-15.94
Min. order: 1 piece
Previous slide
Next slide
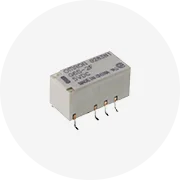
YC
Pro
Mini
Improved Version ATMEGA328P 5V/16MHz 3.3V/8MHz for
Ready to Ship
$1.60-2
Min. order: 10 pieces
Previous slide
Next slide
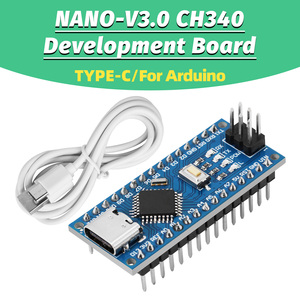
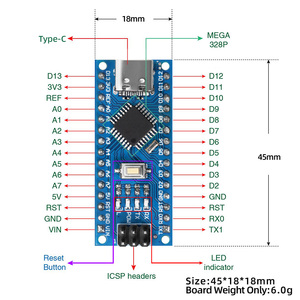
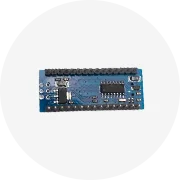
New Arrival TYPE-C USB NANO-V3.0 CH340 ATMEGA328P-AU Controller Board Development Board for
Arduino
Nano V3.0
$2.30-9.50
Min. order: 1 piece
Previous slide
Next slide
RFID Learning DIY Programmable Stem Education Project Hobby Complete Electronic Circuit Module E1 R3 Starter Kit Set for
Arduino
$13.04-14.04
Min. order: 1 piece
1
Top categories
Electronic Accessories & Supplies
Power Supplies
Telecommunications
Audio Components and Products
Development Boards, Electronic Modules and Kits
Discrete Semiconductors
Displays, Signage and Optoelectronics
Passive Components
Sensors
Wireless & IoT Module and Products
PCB & PCBA
Circuit Protection
Connectors, Terminals & Accessories
Isolators
RF, Microwave and RFID
Relays
Previous slide
Next slide
Related Searches:
modul gps arduino
24bit adc arduino
vs1053b for arduino
max7219 arduino
hc sr04 arduino
lcd 16x2 i2c arduino
arduino pro mini price
mini arduino pro
usbisp arduino
sr04 arduino
pn532 arduino
pwm arduino
pcf8591 arduino
1602 i2c arduino
lcd 1602 i2c arduino