
Paper is one of the most accessible and versatile materials for creative expression. From simple folds to intricate cutouts, its potential stretches far beyond writing and printing. Whether you're looking for a mindful hobby, a way to personalize gifts, or an engaging activity for children, paper crafting offers endless possibilities. The best part? Most of these projects require only basic supplies—scissors, glue, paper, and imagination.
The following ideas blend tradition with innovation, offering approaches that are both beginner-friendly and creatively fulfilling. Each project encourages experimentation, allowing crafters to adapt colors, textures, and shapes to suit their style.
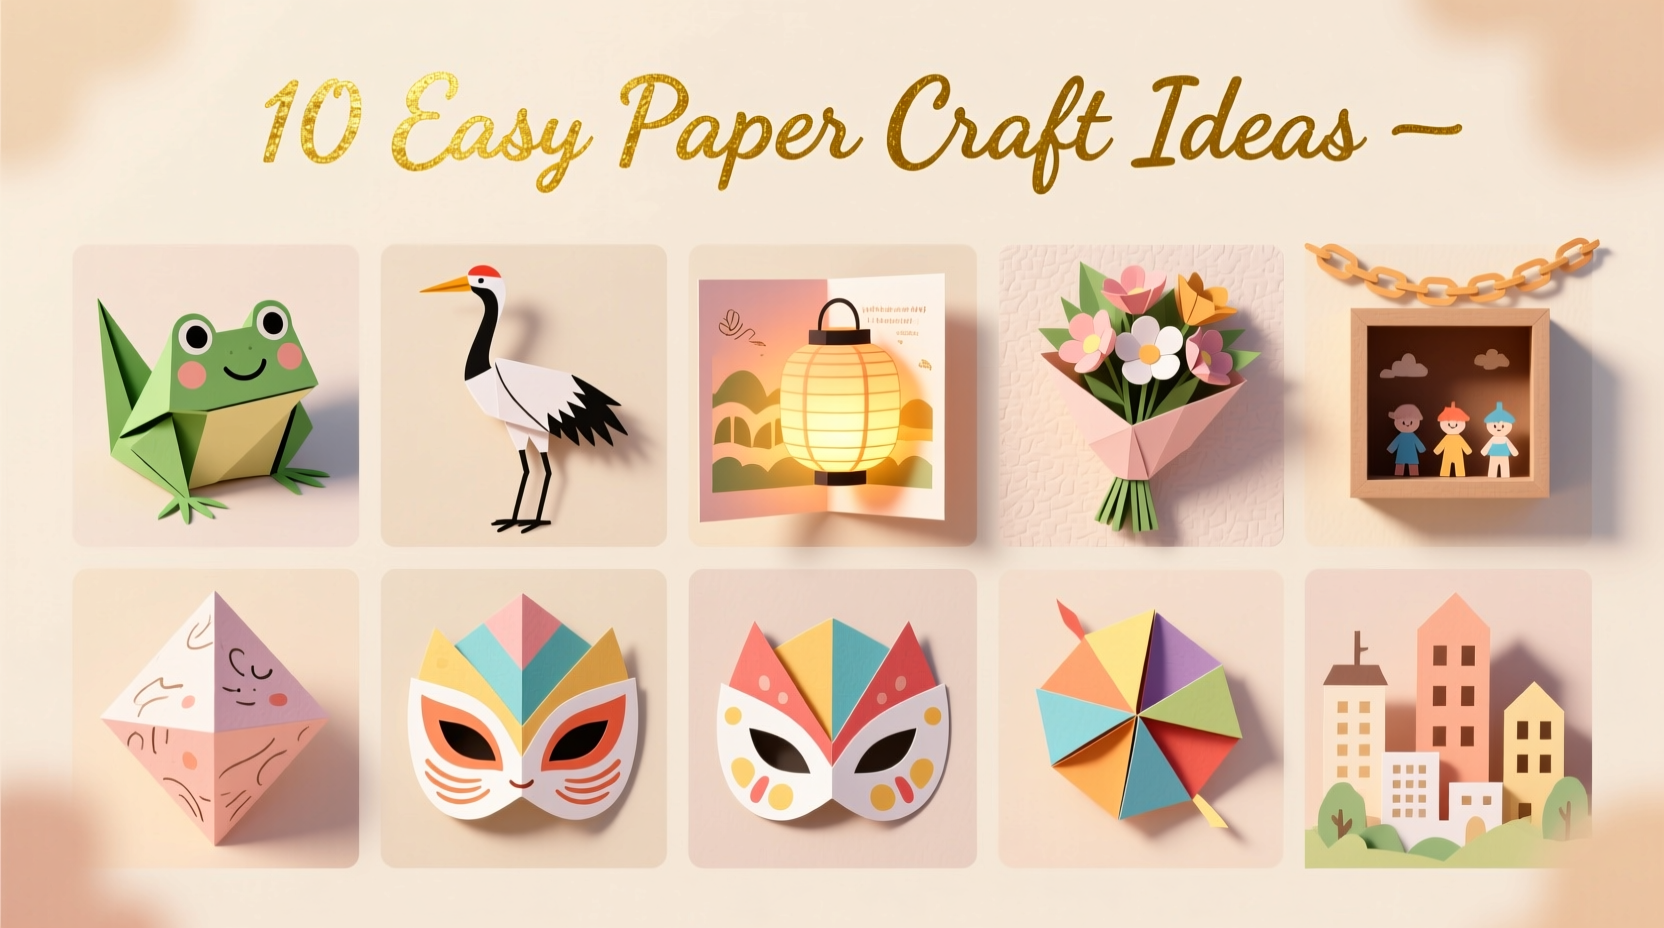
1. Paper Quilling: Art from Rolled Strips
Quilling transforms narrow strips of paper into delicate coils that form flowers, animals, geometric patterns, and more. Once associated primarily with Victorian-era artistry, modern quilling has evolved into a vibrant, expressive medium.
To begin, use pre-cut quilling strips (available in craft stores) or cut your own from colored cardstock. Roll the strip around a toothpick or slotted tool, then release slightly to shape it—tight coil, loose spiral, teardrop, or marquise. Arrange and glue these shapes onto cardstock to create stunning compositions.
2. Folded Book Sculptures: Turning Pages into Art
A folded book sculpture turns an old hardcover into a three-dimensional design—often a wave, heart, or mountain range—by folding individual pages at precise angles. It’s a striking way to repurpose books that are no longer read but still hold sentimental value.
Select a book with thick, consistent pages. Using a template (easily found online), mark fold lines on the edge of each page, then fold inward sequentially. As you progress through the book, the pattern emerges. This project is meditative, requiring patience and attention to detail.
“Paper crafts like book folding bridge functionality and emotion. You’re not just making art—you’re reshaping memory.” — Lila Nguyen, Mixed Media Artist
3. 3D Paper Flowers: Lifelike Blooms from Sheets
Unlike silk or plastic, paper flowers can be customized in color, size, and texture. Create peonies, roses, or dahlias using layered petals cut from crepe paper or cardstock. The secret lies in shaping: gently stretching the center of each petal creates a natural curve.
Start with five to seven petal layers, gluing them concentrically from smallest to largest. Add a crumpled paper center for realism. Attach a wire stem wrapped in floral tape, and you have a long-lasting bouquet perfect for home decor or gifts.
4. Origami Wall Art: Minimalist Decor with Maximum Impact
Origami isn’t just for paper cranes. Modular origami—where multiple folded units interlock without glue—can produce stunning wall installations. Try the “sonobe cube” or “kusudama flower” for geometric elegance.
Use square sheets of patterned or metallic paper for visual interest. Mount completed modules on a backing board in symmetrical or organic arrangements. These pieces catch light beautifully and add depth to blank walls.
5. Paper Mache Bowls: Functional and Fun
Revive the childhood favorite with a refined twist. Paper mache bowls, when finished properly, are durable and surprisingly elegant. Tear newspaper or scrap paper into strips, then dip them into a paste made from flour and water (or white glue diluted with water).
Lay the strips over an inflatable balloon or silicone mold, overlapping for strength. Apply three to four layers, letting each dry completely. Pop the balloon, sand rough edges lightly, and seal with acrylic varnish. Paint with designs or leave neutral for a minimalist look.
6. Paper Weaving: Colorful Patterns on Cardboard Frames
Weaving isn't limited to fabric. Cut slits around the edges of a cardboard rectangle to create a loom, then weave colorful paper strips vertically and horizontally. Alternate over-and-under threading builds classic plaids; adding diagonal sections or fringe creates texture.
This technique works well for greeting cards, framed mini-art, or coasters. Experiment with widths—thin strips yield intricate designs, while wide bands offer bold contrast.
7. Pop-Up Cards: Surprise Inside Every Fold
A handmade pop-up card delivers delight the moment it's opened. Simple mechanisms like V-folds, box folds, and pull tabs make images leap off the page. Hearts that rise, trees that unfold, or stars that expand—each adds a personal touch to birthdays, holidays, or thank-you notes.
Begin with a folded A4 sheet as the base. Cut and score shapes according to templates, then test movement before gluing. Use markers, stickers, or washi tape to decorate both the mechanism and outer cover.
8. Paper Beads: Jewelry from Recycled Magazines
Transform old magazines or colorful brochures into stylish beads. Cut paper into long triangles, then roll tightly from base to tip using a toothpick or skewer as a core. Secure the tip with glue.
Once dry, seal beads with two to three coats of clear varnish for durability. String into necklaces, bracelets, or earrings. Mix sizes and gradients for bohemian flair.
| Feature | Do | Don’t |
|---|---|---|
| Rolling Tension | Keep consistent pressure for uniform shape | Roll too loosely—beads may unravel |
| Sealing | Use waterproof varnish for longevity | Apply glue instead of varnish—it yellows over time |
| Storage | Keep in a dry box away from sunlight | Leave in humid bathrooms or near windows |
9. Shadow Boxes with Layered Paper Scenes
Layered paper shadow boxes create depth by stacking cut paper elements inside a deep frame. Mountains behind trees, birds in front of clouds—the illusion of space emerges from flat sheets.
Design each layer on different-colored cardstock, cutting silhouettes with precision scissors. Mount layers using foam adhesive squares to vary distance from the viewer. Backlighting enhances the effect, casting soft shadows.
10. Paper Terrariums: Miniature Worlds Under Glass
While real terrariums use plants and soil, paper versions capture their charm in delicate detail. Craft tiny ferns, mushrooms, rocks, and tree stumps from green, brown, and gray paper. Arrange them inside a glass jar or frame to resemble a forest floor.
Use wire for stems, cotton for moss, and fine-tipped pens for texture. Though not living, these models bring nature indoors in a quiet, artistic way.
Mini Case Study: Classroom Creativity Boost
In a third-grade classroom in Portland, Oregon, teacher Maria Lopez introduced weekly paper craft sessions to improve focus and fine motor skills. Over eight weeks, students rotated through projects including paper weaving, 3D flowers, and origami animals. By the end, teachers observed a 30% improvement in hand-eye coordination during assessments, and student engagement in art-based storytelling rose significantly. One student, Jamal, created a full paper zoo with moving parts—a testament to how simple materials can inspire complex thinking.
Step-by-Step Guide: Making Your First 3D Paper Flower
- Gather supplies: colored cardstock, scissors, pencil, ruler, hot glue gun, floral wire, and floral tape.
- Cut five to seven petal templates in graduated sizes (e.g., 2cm to 6cm in diameter).
- Trace and cut multiple sets of each size, varying shades for realism.
- Shape petals by gently pulling the center upward with your thumb and forefinger.
- Glue the smallest petals into a tight cup shape—this becomes the center.
- Attach larger petals around the base, layer by layer, flaring outward.
- Insert a floral wire into the base and secure with glue.
- Wrap the stem with floral tape from base upward for a clean finish.
- Allow to dry fully before display.
Frequently Asked Questions
What kind of paper is best for beginners?
Cardstock is ideal—it’s sturdy enough to hold shape but easy to cut and fold. For delicate work like quilling, use pre-cut specialty strips. Avoid printer paper for 3D projects as it lacks durability.
Can I make money selling paper crafts?
Yes. Handmade cards, wedding decor, and custom art prints sell well on platforms like Etsy. Focus on niche markets—such as eco-friendly invitations or personalized quilled portraits—for higher value.
How do I store paper crafts long-term?
Keep them in a cool, dry place away from direct sunlight. Use acid-free boxes for archival quality. For framed pieces, ensure glass doesn’t press directly on the paper—use spacers or matting.
Essential Checklist for Starting Paper Crafting
- ✔ Gather basic tools: sharp scissors, ruler, cutting mat, pencil, glue stick, and double-sided tape
- ✔ Stock up on colored cardstock in various weights and hues
- ✔ Choose 1–2 starter projects (e.g., origami crane and paper flower)
- ✔ Set up a dedicated workspace with good lighting
- ✔ Save scrap paper for practice cuts and test folds
- ✔ Explore free online templates before designing your own
Final Thoughts: Let Paper Lead the Way
These ten ideas barely scratch the surface of what’s possible with paper. What makes this medium so powerful is its humility—accessible, forgiving, and endlessly adaptable. A single sheet can become a message, a memory, or a masterpiece. The act of folding, cutting, and assembling engages both mind and spirit, fostering presence and pride in creation.
No special talent is required. Only curiosity and the willingness to try. Start small. Make a mistake. Try again. Let the paper guide your hands, and you might discover not just new crafts, but a renewed sense of possibility.


 浙公网安备
33010002000092号
浙公网安备
33010002000092号 浙B2-20120091-4
Comments
No comments yet. Why don't you start the discussion?