
Wind velocity is a critical parameter in fields ranging from meteorology and renewable energy to construction and agriculture. Whether you're evaluating a site for a wind turbine, designing a building's ventilation system, or preparing for outdoor operations, knowing how fast the wind moves—and how it behaves in your specific location—is essential. But calculating wind speed isn't just about reading a number off a device; it involves understanding local topography, selecting the right instruments, and interpreting data correctly.
This guide walks through the complete process of measuring and calculating wind velocity with precision, regardless of your environment—urban, rural, coastal, or mountainous. You’ll learn how to collect reliable data, avoid common errors, and apply real-world corrections for elevation, obstacles, and atmospheric conditions.
Understanding Wind Velocity: Why Accuracy Matters
Wind velocity refers to the speed and direction of air movement over a given period. While often reported in meters per second (m/s), kilometers per hour (km/h), or miles per hour (mph), accurate measurement requires more than unit conversion. Inconsistent readings due to poor placement, incorrect instruments, or environmental interference can lead to flawed engineering decisions, inefficient energy systems, or unsafe working conditions.
The variability of wind across different terrains makes standardization difficult. For example, wind speeds measured at 10 meters above flat farmland may be twice as high as those recorded near ground level in a dense city. This is why context-specific calculations are crucial.
“Wind is not uniform—it’s shaped by terrain, temperature gradients, and surface roughness. A one-size-fits-all approach leads to inaccurate models.” — Dr. Lena Torres, Atmospheric Scientist, National Renewable Energy Lab
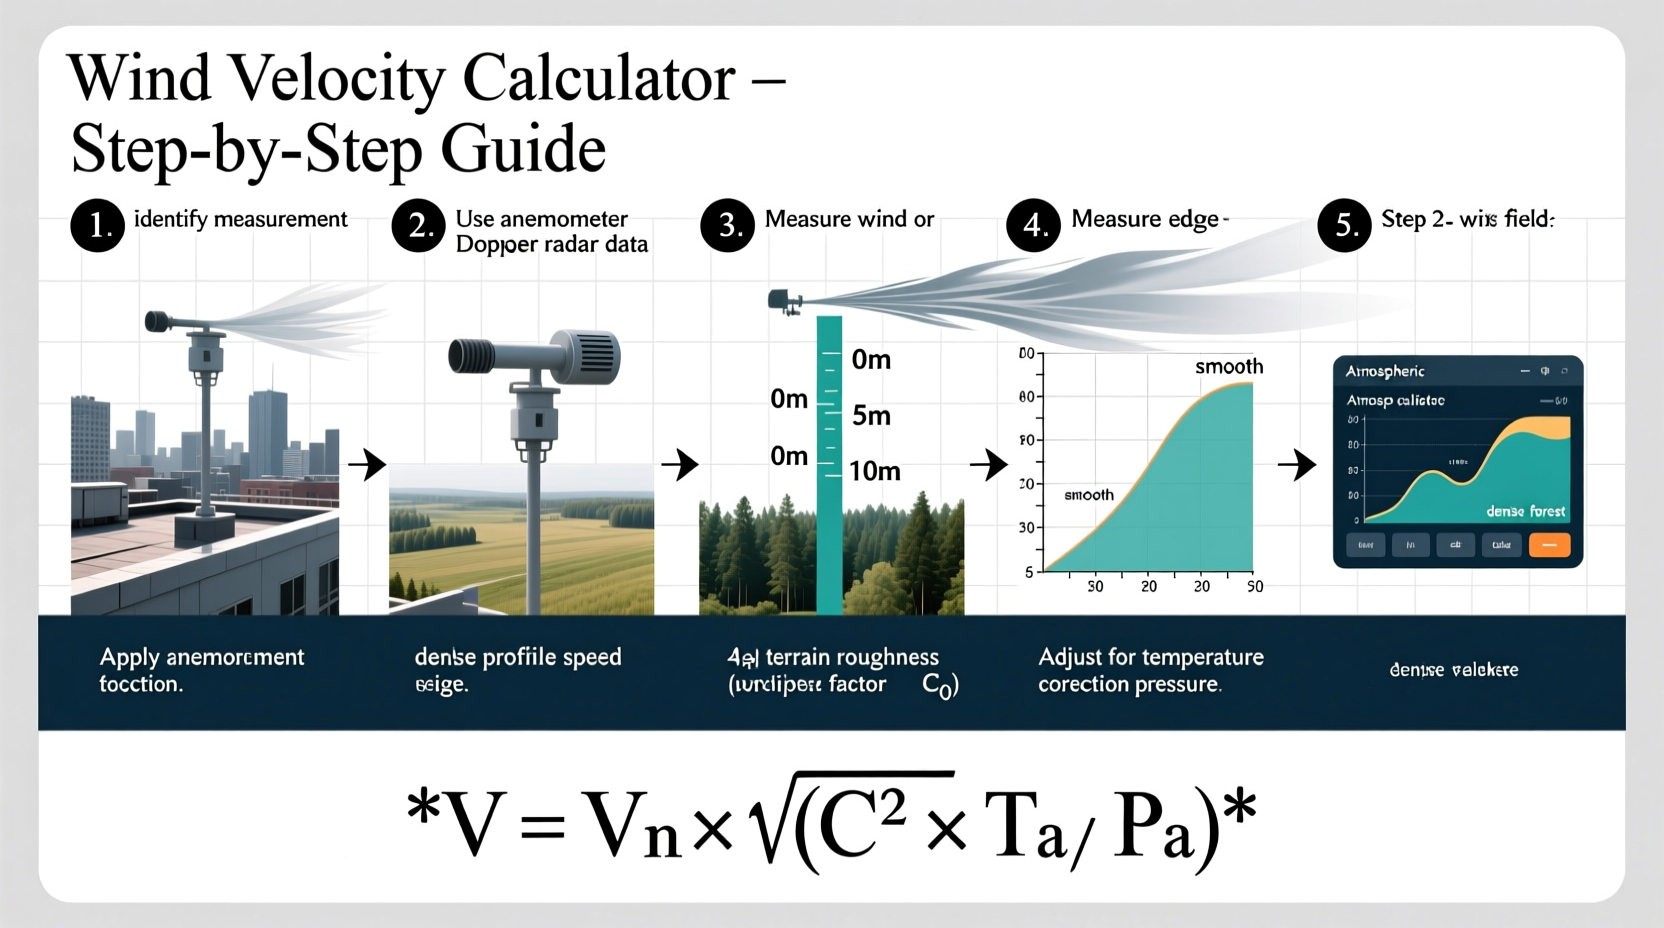
Step-by-Step Process to Measure and Calculate Wind Velocity
Step 1: Define Your Measurement Objective
Before taking any readings, clarify your purpose. Are you:
- Assessing wind potential for a solar-wind hybrid setup?
- Evaluating structural loads on a new building?
- Planning drone flight operations?
- Studying microclimates in agriculture?
Your goal determines the required accuracy, duration of data collection, and sensor type.
Step 2: Select the Right Anemometer
Anemometers measure wind speed. The most common types include:
| Type | Accuracy | Best Use Case |
|---|---|---|
| Cup Anemometer | High | Outdoor, long-term monitoring |
| Vane Anemometer | Moderate | Ducts and indoor airflow |
| Ultrasonic Anemometer | Very High | Research, turbulent zones |
| Pitot Tube | High (with calibration) | Aeronautics, industrial vents |
For general environmental use, a cup or ultrasonic anemometer mounted on a sturdy pole is recommended.
Step 3: Choose the Optimal Location and Height
Placement dramatically affects readings. Follow these guidelines:
- Mount the sensor at least 10 meters above ground level (standard for weather stations).
- Avoid obstructions like trees, buildings, or fences within a radius of 10 times their height.
- In urban areas, place equipment on rooftops with minimal parapet interference.
- Ensure the device is level and oriented to true north for directional accuracy.
Step 4: Collect Data Over a Sufficient Period
Short-term measurements can be misleading. Wind varies hourly, daily, and seasonally. For reliable results:
- Urban sites: Minimum 2 weeks of continuous logging.
- Rural/open areas: At least 1 month.
- Energy projects: 1 year is ideal to capture seasonal patterns.
Use data loggers that record speed, direction, temperature, and time stamps every 5–10 minutes.
Step 5: Apply Environmental Corrections
Raw data must be adjusted for real-world conditions:
- Surface Roughness: Urban areas (high roughness) reduce wind speed. Apply logarithmic wind profile correction.
- Thermal Effects: Temperature gradients affect air density and flow stability.
- Topography: Hills accelerate wind on crests and create eddies on leeward sides.
The logarithmic wind profile equation helps adjust for height and terrain:
v(z) = (u*/κ) × ln((z - d)/z₀)
Where:
- v(z) = wind speed at height z
- u* = friction velocity
- κ = von Kármán constant (~0.4)
- d = zero-plane displacement
- z₀ = surface roughness length
For non-specialists, simplified rules of thumb work well: wind speed increases approximately 10% per doubling of height in neutral atmospheric conditions.
Practical Checklist for Accurate Wind Measurement
Follow this checklist before deployment:
- ☑ Define the purpose and required accuracy level
- ☑ Select an appropriate anemometer type
- ☑ Calibrate the instrument using a certified reference
- ☑ Install at 10+ meters height, away from obstructions
- ☑ Ensure proper orientation and leveling
- ☑ Set up continuous data logging (min. 5-min intervals)
- ☑ Record metadata: date, time, location, height, surroundings
- ☑ Apply corrections for terrain and atmospheric stability
Real-World Example: Wind Assessment for a Rooftop Solar Farm
A commercial building in downtown Chicago planned to install solar panels with integrated wind deflectors. Engineers needed to assess wind loads to prevent panel uplift during storms.
They installed an ultrasonic anemometer on the roof, 12 meters above ground, clear of HVAC units. Data was collected every 6 minutes for six weeks. Initial averages showed 6.2 m/s daytime winds. However, gusts exceeded 15 m/s during frontal passages.
Using the logarithmic profile, they extrapolated ground-level speeds to be only 3.8 m/s, confirming high turbulence near the roofline. Based on this, they redesigned mounting brackets to withstand peak dynamic pressures, avoiding future damage.
This case highlights how short-term, localized data combined with correction models leads to smarter engineering outcomes.
Common Mistakes and How to Avoid Them
Even experienced professionals make errors when measuring wind. Here are frequent pitfalls:
| Mistake | Consequence | Solution |
|---|---|---|
| Placing sensor too close to walls | Turbulence inflates readings | Extend mast outward from structure |
| Ignoring seasonal variation | Underestimating peak loads | Collect data across multiple seasons |
| Using uncalibrated devices | Systematic bias in data | Calibrate annually or pre-deployment |
| Measuring only during calm weather | Non-representative averages | Ensure coverage of storm events |
Frequently Asked Questions
Can I estimate wind speed without instruments?
Yes, but with limited accuracy. The Beaufort Scale uses observable effects—like tree movement or wave height—to estimate wind force. For example, small branches in motion suggest 5.5–8 m/s (19–28 km/h). While useful for quick assessments, it lacks precision for technical applications.
How does altitude affect wind velocity?
Higher elevations generally experience stronger and more consistent winds due to reduced surface friction and fewer obstructions. However, air density decreases with altitude, which affects pressure-based instruments. Always correct for barometric pressure when comparing sites at different elevations.
What’s the difference between average wind speed and gust speed?
Average wind speed is typically calculated over 10 minutes, smoothing out fluctuations. Gust speed is the peak instantaneous velocity recorded over 3 seconds. Structural designs must account for gusts, which can be 1.5 to 2.5 times higher than sustained speeds.
Conclusion: Take Control of Your Wind Data
Accurately calculating wind velocity is not just a technical exercise—it’s a foundation for safety, efficiency, and innovation. Whether you're optimizing a green energy project or ensuring safe operations in exposed environments, precise wind data empowers better decisions.
By following standardized measurement practices, applying environmental corrections, and validating your results, you can generate reliable wind profiles for any setting. Don’t rely on generic weather reports or guesswork. Invest in proper tools, take the time to collect quality data, and let evidence guide your next move.


 浙公网安备
33010002000092号
浙公网安备
33010002000092号 浙B2-20120091-4
Comments
No comments yet. Why don't you start the discussion?