
Adding a new electrical outlet can solve power shortages in home offices, kitchens, or living areas. While hiring an electrician is always the safest option, many homeowners choose to install outlets themselves. When done correctly, this task is manageable for those with basic electrical knowledge. However, mistakes can lead to fire hazards, circuit damage, or personal injury. This guide walks through every phase of installation—planning, preparation, wiring, and testing—with an emphasis on safety, code compliance, and long-term reliability.
Understanding Electrical Codes and Safety First
Before touching a single wire, it's essential to understand that electrical work is governed by local and national codes. In the United States, the National Electrical Code (NEC) sets the standard for safe electrical installations. Most jurisdictions require permits and inspections for new outlets, especially in wet locations like kitchens, bathrooms, or garages where Ground Fault Circuit Interrupter (GFCI) outlets are mandatory.
Always turn off power at the main breaker panel before beginning any electrical work. Use a non-contact voltage tester to confirm the circuit is dead. Never assume a switch turns off all power—only the breaker does.
“Electrical safety isn’t about skill—it’s about procedure. One missed step can have irreversible consequences.” — James Rutherford, Master Electrician and NEC Consultant
Tools and Materials Checklist
Gather all necessary tools and materials before starting. Working with incomplete supplies increases risk and reduces efficiency.
Essential Tools:
- Non-contact voltage tester
- Wire strippers
- Screwdrivers (flathead and Phillips)
- Needle-nose pliers
- Voltmeter (for final testing)
- Drywall saw or keyhole saw
- Stud finder
- Drill with appropriate bits
Materials Needed:
- New electrical outlet (standard 15A or 20A, GFCI if required)
- Electrical box (plastic or metal, depending on application)
- NM cable (14/2 for 15A circuits, 12/2 for 20A)
- Cable clamps or staples
- Wire nuts
- Outlet cover plate
- Wall patching compound (if cutting into drywall)
Optional but Recommended:
- Flashlight or headlamp
- Knee pads
- Dust mask (when cutting drywall)
Step-by-Step Installation Process
Follow this sequence carefully to ensure a professional, code-compliant result.
- Plan the Location: Choose a spot accessible and free from water sources. Avoid placing outlets behind large furniture. Use a stud finder to locate wall studs; boxes must be secured to wood or metal framing.
- Turn Off Power: Shut off the correct circuit at the main panel. Test nearby outlets to confirm power is off. Lock the panel if possible to prevent accidental reactivation.
- Run the Cable: If extending from an existing outlet or junction box, cut power and remove the cover. Drill through the baseplate to route new NM cable into the wall cavity. Feed the cable toward the new outlet location. Leave at least 12 inches of slack at both ends.
- Install the Electrical Box: Cut a hole in the drywall using a drywall saw. Position the box so its front edge aligns flush with the finished wall surface. Secure it to the stud with mounting screws or built-in clamps.
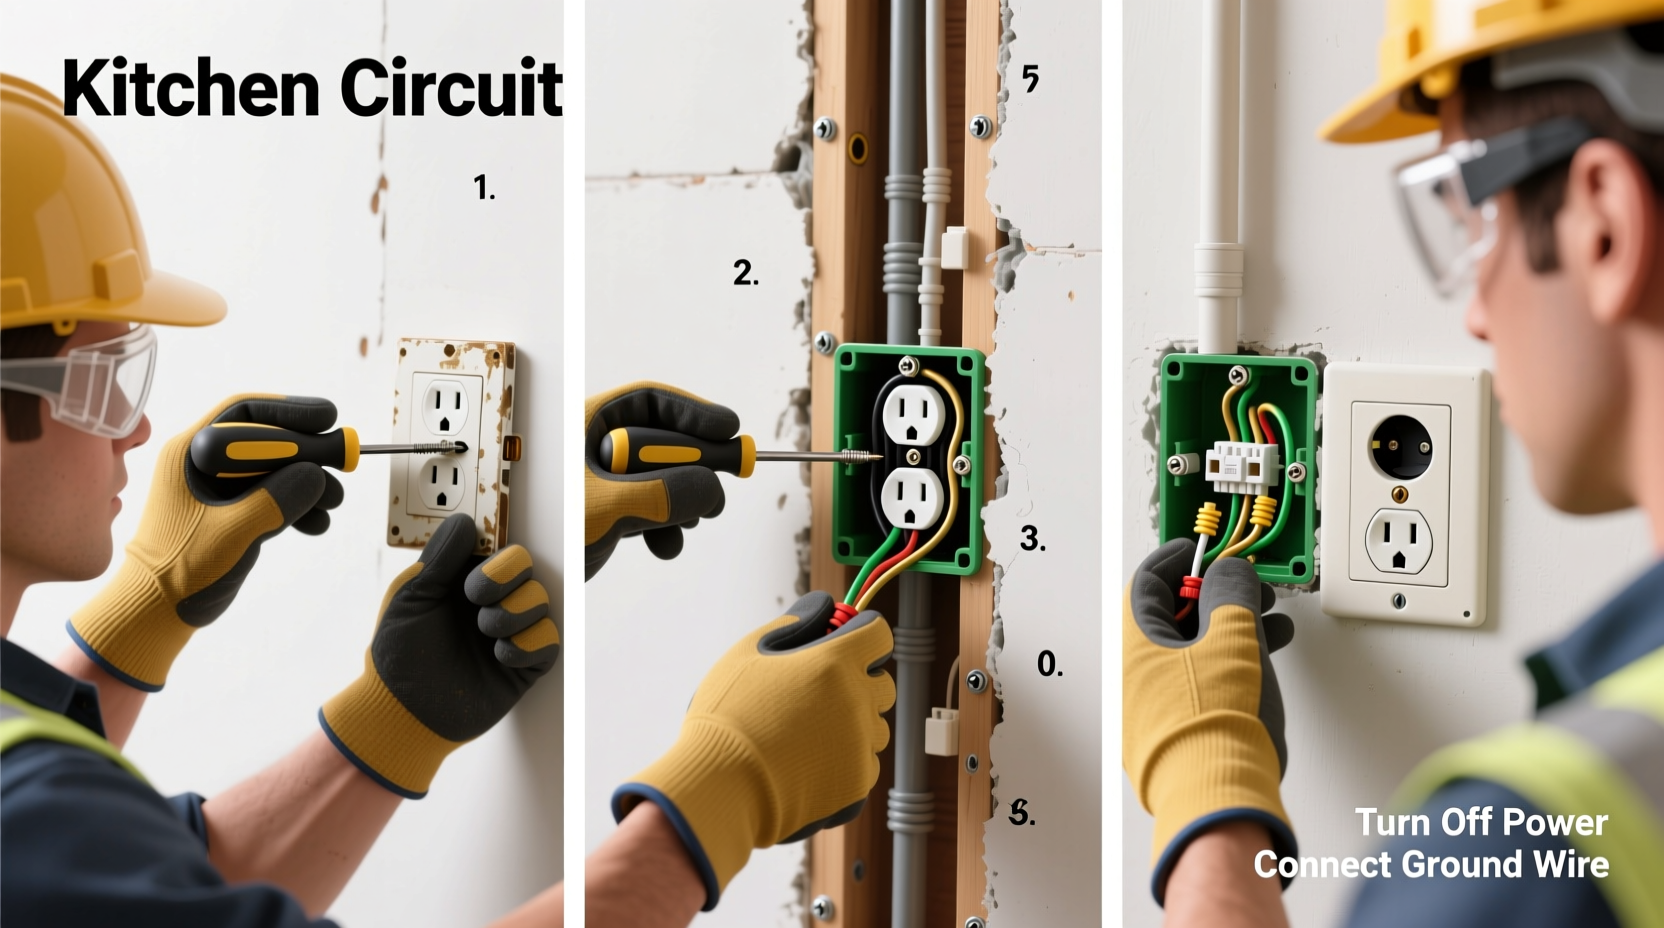
- Strip and Connect Wires: Strip about 3/4 inch of insulation from the black (hot), white (neutral), and bare copper (ground) wires. Attach them to the outlet:
- Black wire → Brass screw terminal
- White wire → Silver screw terminal
- Bare wire → Green grounding screw
- Secure the Outlet: Carefully fold the wires into the box, avoiding pinching. Mount the outlet using the provided screws. Attach the cover plate.
- Restore Power and Test: Turn the breaker back on. Use a voltage tester or plug-in circuit analyzer to verify correct polarity and grounding. Test GFCI outlets using the “Test” and “Reset” buttons.
Common Mistakes and How to Avoid Them
Even experienced DIYers make errors under pressure. The table below outlines frequent pitfalls and their solutions.
| Mistake | Risk | Prevention |
|---|---|---|
| Loose wire connections | Overheating, arcing, fire hazard | Tighten all terminal screws and tug-test wires after connection |
| Reversed polarity | Shock risk, device malfunction | Verify black to brass, white to silver; test with circuit analyzer |
| Improper box support | Outlet shifts, stress on wires | Secure box to stud—never rely on drywall alone |
| Using wrong gauge wire | Circuit overload, overheating | Match wire gauge: 14-gauge for 15A, 12-gauge for 20A |
| Skipping permits | Fines, failed inspections, insurance issues | Check local requirements; schedule inspection when needed |
Real-World Example: Adding an Outlet in a Home Office
Mark, a freelance designer, struggled with tangled extension cords powering his dual monitors, printer, and laptop. His desk sat against an interior wall with no nearby outlet. He decided to install a new one downstream from an existing bedroom outlet on the same circuit.
After turning off the breaker and confirming no voltage, he ran 12/2 NM cable through the attic and down the wall cavity. He installed a plastic remodeling box, wired the new 15A outlet, and tested continuity. The inspector later approved the work during a routine check for a kitchen remodel. Mark now enjoys clean, reliable power without tripping breakers or risking cord damage.
This example shows how proper planning and adherence to code can yield lasting results—even in older homes.
Frequently Asked Questions
Can I daisy-chain multiple outlets from one circuit?
Yes, most residential circuits are designed to support multiple outlets in a daisy-chain configuration. However, total load should not exceed 80% of the circuit’s capacity (e.g., 12 amps on a 15A circuit). Avoid overloading shared circuits with high-draw appliances.
Do I need a permit to install a new outlet?
In most municipalities, yes—especially if the work involves new wiring or changes to the electrical panel. Permits ensure compliance with safety codes and protect your home’s resale value. Check with your local building department before starting.
What’s the difference between a GFCI and a regular outlet?
A GFCI (Ground Fault Circuit Interrupter) detects imbalances in current flow, shutting off power within milliseconds to prevent shock. Required in bathrooms, kitchens, garages, and outdoor areas, GFCIs are lifesavers near water sources. They can also protect downstream standard outlets when wired correctly.
Final Tips for Long-Term Success
Once your outlet is installed and tested, consider labeling the circuit at the breaker panel. Keep a log of modifications for future reference. Periodically check outlets for warmth, buzzing, or discoloration—signs of potential problems.
If you're ever uncertain about wiring, grounding, or load calculations, consult a licensed electrician. It’s better to spend a few hundred dollars on professional help than risk thousands in damage—or worse.
“The best DIY projects are the ones that never need fixing.” — James Rutherford
Take Control of Your Home’s Electrical System
Installing a new outlet is more than a convenience upgrade—it’s an investment in your home’s functionality and safety. By following proven steps, respecting electrical codes, and prioritizing caution over speed, you can complete this project with confidence. Whether you’re powering a home office, workshop, or entertainment center, a well-installed outlet delivers years of reliable service.


 浙公网安备
33010002000092号
浙公网安备
33010002000092号 浙B2-20120091-4
Comments
No comments yet. Why don't you start the discussion?