
Adjusting a watch bracelet to fit your wrist properly is essential for comfort, style, and long-term wearability. While many people rely on jewelers for this task, it’s entirely possible—and often more economical—to remove watch links at home. With the right tools, patience, and attention to detail, you can achieve professional-level results without leaving your house. This guide walks you through every stage of the process, from identifying your watch type to reassembling the bracelet securely.
Understanding Your Watch Bracelet Type
Not all watch bracelets are created equal. Before attempting to remove links, it's crucial to identify the type of bracelet your watch has. The two most common types are:
- Solid link bracelets: Found on metal watches like stainless steel or titanium models, these use small pins (also called spring bars or solid pins) to connect each link. These pins must be pushed out to remove links.
- Fold-over or butterfly clasp bracelets: Often seen on higher-end watches, these may require different adjustment methods and sometimes should only be adjusted by professionals due to internal mechanisms.
Most standard metal bracelets on popular brands such as Casio, Seiko, Citizen, and even entry-level Rolex or Omega models use removable link systems with push pins. These are ideal candidates for DIY adjustment.
“Home link removal works best when you understand the mechanics of your specific bracelet. Rushing in without checking pin direction can lead to damage.” — Daniel Ruiz, Master Watchmaker with 18 years of experience
Essential Tools You’ll Need
Attempting to remove watch links without proper tools increases the risk of scratching the case, bending pins, or misaligning components. Here’s what you should gather before starting:
| Tool | Purpose | Alternative (if unavailable) |
|---|---|---|
| Pin removal tool / Watch link press | Precisely pushes out pins without damaging surrounding metal | Small nail set or precision punch (use with caution) |
| Hammer (nylon or brass-tipped) | Provides controlled force when driving pins out | Wooden mallet or handle of screwdriver wrapped in cloth |
| Tweezers | Retrieves tiny springs or pins after removal | Fine-tip needle-nose pliers |
| Magnifying glass or jeweler’s loupe | Helps inspect pin direction and alignment | Smartphone zoom function with good lighting |
| Soft cloth or padded mat | Protects watch surface during work | Cloth-lined tray or microfiber towel |
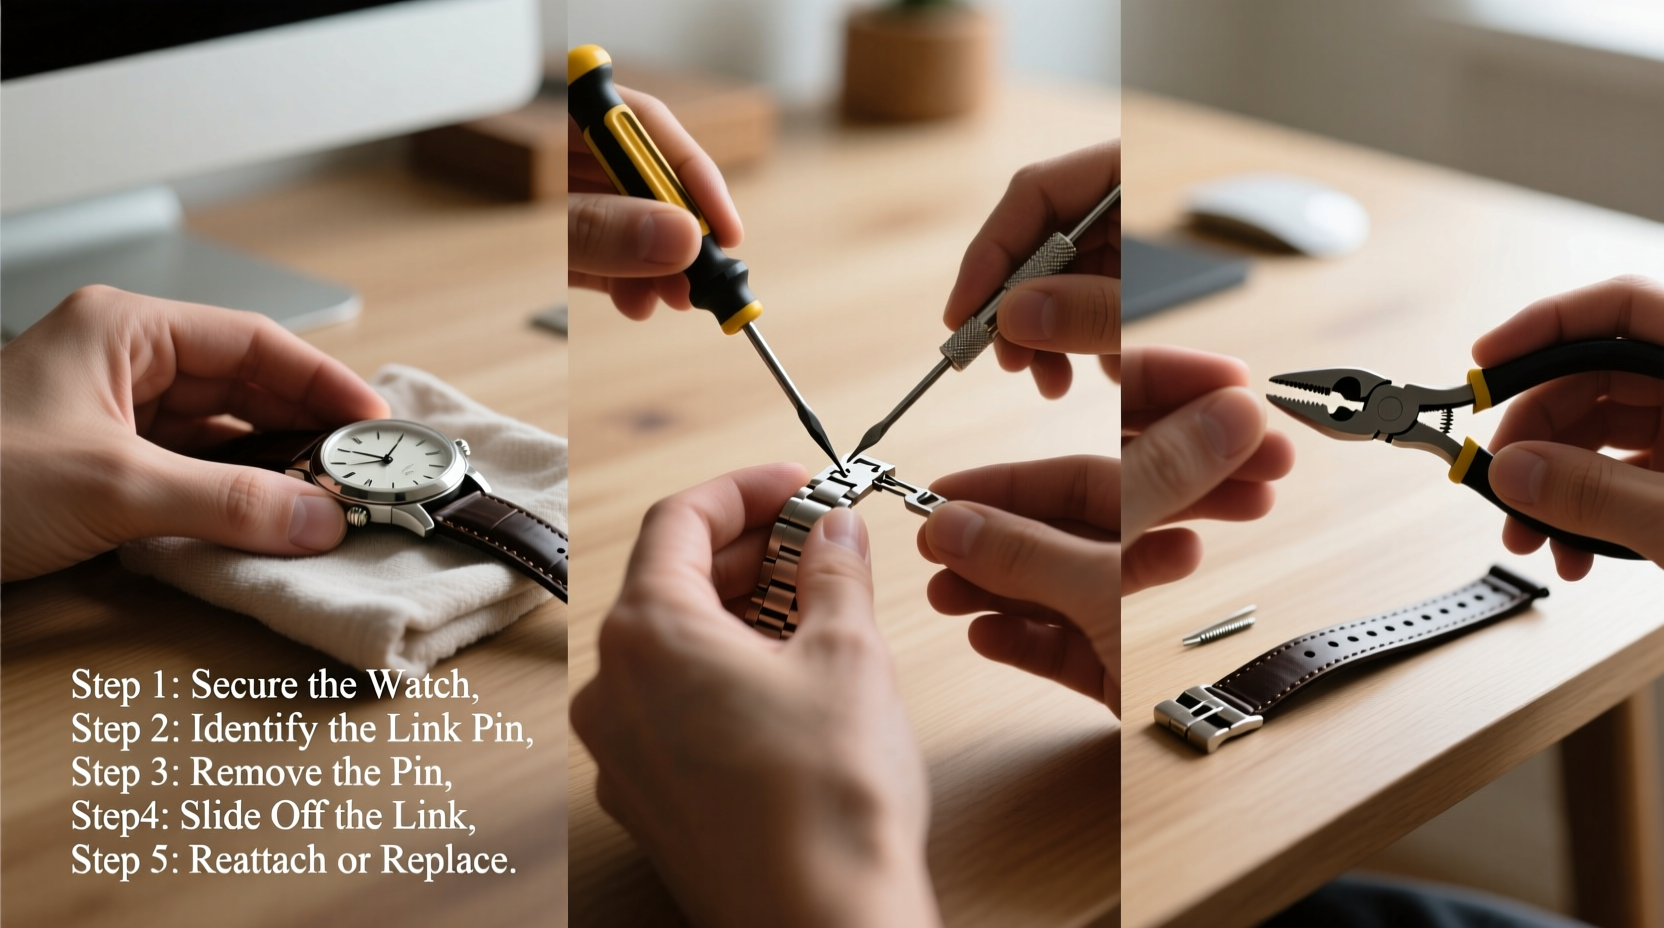
Step-by-Step Process: Removing Watch Links Safely
Follow this logical sequence to adjust your watch band accurately and safely.
- Determine how many links need removal. Wrap the watch around your wrist and count the number of excess links. Most adult wrists require between 10–14 links depending on size. Remove equal numbers from both sides for symmetry unless design prevents it.
- Locate the pins and their directionality. Examine each link under magnification. Look for arrows engraved on the inner side of the links—they indicate which way the pins should be pushed out. If no arrows exist, assume they exit toward the clasp side unless proven otherwise.
- Secure the watch on a stable surface. Use a non-slip pad or vise with rubber jaws if available. Ensure the area where you'll tap the pin is fully supported but not compressed.
- Align the pin removal tool. Position the tip of the tool directly over the exposed end of the pin. Make sure it’s centered to prevent slippage that could mar the metal finish.
- Gently tap the pin out. Using light, consistent taps with a hammer, drive the pin partially through until it loosens. Stop once enough of the pin protrudes to grip with tweezers. Repeat for all targeted links.
- Remove selected links and keep track of parts. Once pins are partially extracted, slide out the unwanted links. Store pins and tiny tension springs (if present) in a small container to avoid loss.
- Reconnect the remaining links. Align the open ends carefully. Insert the pin back in the same direction it came out. Tap gently until flush with the link. Do not overdrive, as this can damage threading or make future adjustments difficult.
- Test the fit and movement. Put the watch on your wrist. Check that the clasp latches securely and that the band flexes naturally. There should be no sharp edges or loose connections.
Common Mistakes to Avoid
Even experienced hobbyists can make errors when adjusting watch bands. Being aware of frequent pitfalls helps ensure success.
- Ignoring pin direction: Forcing a pin in the wrong direction can bend or break it, rendering the bracelet unusable.
- Using excessive force: Metal links are durable, but repeated heavy hammering can deform them or crack nearby links.
- Losing small components: Springs inside some pins are easy to lose. Work over a tray or box to catch falling pieces.
- Removing too many links at once: It’s easier to remove an extra link than add one back. When in doubt, leave one additional link and reassess fit.
Real-Life Example: Adjusting a Stainless Steel Casio G-Shock
Jamal, an office worker in Chicago, bought a new Casio GWM5610 with a full metal bracelet. Upon first wear, he noticed the watch flopped loosely on his slender wrist. Rather than pay $20 at a mall kiosk, he decided to try removing three links himself.
He followed online guides, confirmed arrow markings pointing outward from the center, and used a $15 pin press kit. Working slowly under a desk lamp, he removed one link from each side and a center link. After reinserting the pins securely, the watch sat snugly and comfortably. Total time: 35 minutes. Savings: $18.
His only regret? Not doing it sooner.
Checklist: Preparing for Link Removal
Use this checklist before beginning any adjustment:
- ✅ Confirm your watch has removable link pins (not riveted)
- ✅ Count how many links to remove based on wrist measurement
- ✅ Locate directional arrows on links
- ✅ Gather all necessary tools
- ✅ Choose a clean, well-lit workspace
- ✅ Protect the watch face and crystal during handling
- ✅ Double-check pin ejection direction before striking
Frequently Asked Questions
Can I remove watch links without a special tool?
Yes, but not recommended. A precision punch or small nail may substitute, but lack of control increases the chance of slipping and damaging the watch. Investing in a $10–$20 pin removal tool pays off in safety and accuracy.
What if a pin gets stuck or bends?
If a pin resists movement, stop immediately. Apply a tiny drop of light machine oil (like WD-40 Specialist) and let it sit for 5 minutes. Reattempt with gentle taps. If bent, replacement pins are often available from third-party suppliers or the manufacturer.
Do I need to resize both sides equally?
Ideally, yes—for balanced appearance and flexibility. However, some designs have asymmetrical clasps or fixed connectors. In those cases, remove more from the longer side, typically away from the clasp mechanism.
Final Thoughts and Encouragement
Removing watch links at home isn’t just about saving money—it’s about gaining confidence in caring for your personal accessories. With careful preparation and steady hands, anyone can master this practical skill. Whether you're customizing a gift, fitting a vintage find, or simply improving daily comfort, the ability to adjust your own watch empowers you to take ownership of its longevity and performance.


 浙公网安备
33010002000092号
浙公网安备
33010002000092号 浙B2-20120091-4
Comments
No comments yet. Why don't you start the discussion?