
macOS Sierra, released in 2016, introduced major improvements including iCloud Drive integration, Apple Pay in Safari, and enhanced Continuity features like Auto Unlock and Universal Clipboard. While newer macOS versions exist, some users still rely on Sierra for compatibility with older hardware or software. Whether you're maintaining a legacy system or preparing for a future upgrade path, installing macOS Sierra correctly is essential to preserve your data, applications, and productivity.
This guide walks through every critical phase of the upgrade process—from verifying compatibility to post-installation setup—with precision and care. Follow these steps to ensure a smooth transition without unexpected setbacks.
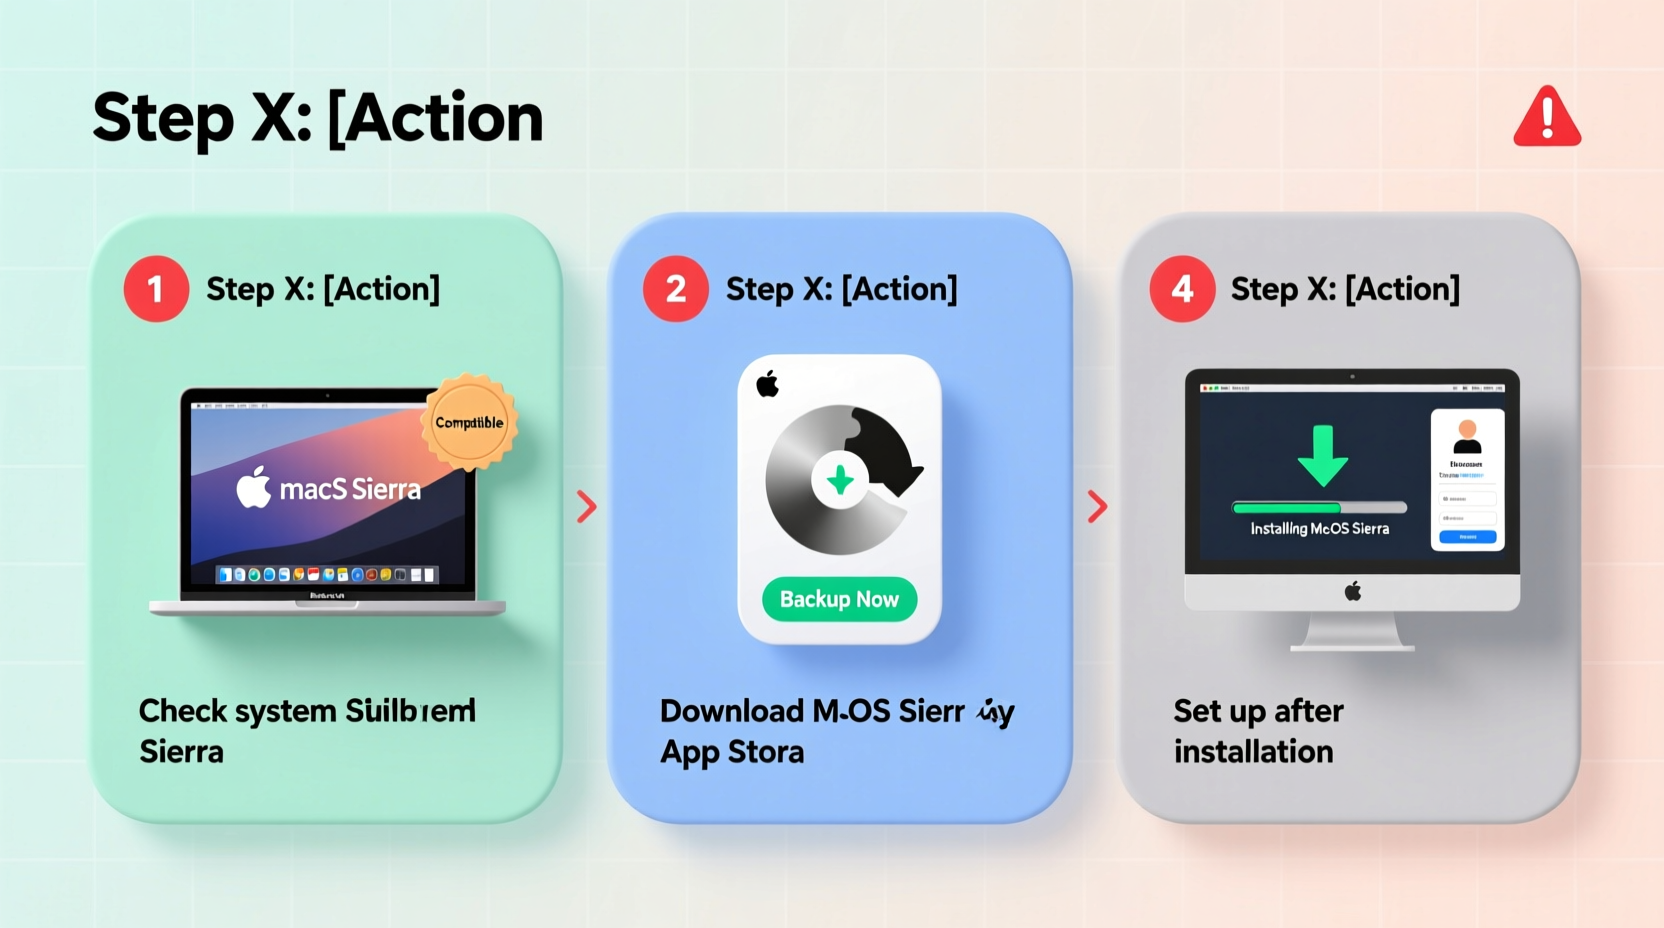
1. Verify System Compatibility
Not all Macs can run macOS Sierra. Apple officially supports this version on Mac models released from late 2009 onward. Before proceeding, confirm that your machine meets the minimum requirements:
- MacBook (Late 2009 or later)
- MacBook Air (Mid 2010 or later)
- MacBook Pro (Mid/Late 2010 or later)
- Mac mini (Mid 2010 or later)
- iMac (Late 2009 or later)
- Mac Pro (Mid 2010 or later)
- At least 2GB of RAM and 8.8GB of available storage
2. Back Up Your Data Thoroughly
The most crucial step before any OS upgrade is creating a complete backup. Even minor glitches during installation can corrupt files or render your system unbootable. Use Time Machine—a built-in macOS utility—to safeguard your entire system.
- Connect an external drive with sufficient capacity (at least equal to your current used space).
- Go to System Preferences → Time Machine.
- Select “Back Up Automatically” and choose your external drive.
- Click “Back Up Now” and wait for the process to complete.
If you don’t have Time Machine access, manually copy essential documents, photos, application settings, and email archives to an external drive or cloud service such as iCloud, Dropbox, or Google Drive.
“Never skip the backup. I’ve seen too many users lose years of work because they assumed the update would go smoothly.” — David Lin, Senior Mac Support Technician at MacFix Solutions
3. Prepare Your System for Installation
Cleaning up your Mac before the upgrade improves installation speed and reduces errors. A cluttered system increases the risk of failed updates or corrupted installations.
Free Up Disk Space
macOS Sierra requires at least 8.8GB of free space, but having 15–20GB available ensures smoother operation during and after installation. Delete unnecessary files, uninstall unused apps, and clear caches using tools like OnyX or CleanMyMac (if trusted), or manually via Finder.
Update Applications and Firmware
Ensure third-party software is updated to versions compatible with macOS Sierra. Check developer websites for compatibility notes, especially for antivirus programs, virtualization tools, or creative suites like Adobe CC.
Also, install any pending macOS updates prior to upgrading. Run Software Update under System Preferences to patch security flaws and improve stability.
Disable Antivirus and Third-Party Kernel Extensions
Some security software interferes with OS installers. Temporarily disable antivirus tools like Norton, McAfee, or Sophos. Re-enable them only after confirming full compatibility post-upgrade.
4. Download and Install macOS Sierra
Once your system is prepped, it’s time to begin the upgrade. Apple provides macOS Sierra through the Mac App Store—even if you’re not currently running a recent OS version.
- Open the Mac App Store and search for “macOS Sierra.”
- Click “Get” and then “Install.” The installer will download (~5GB).
- When prompted, enter your administrator password.
- The installation begins automatically after download completes. Your Mac will restart several times.
The entire process typically takes 30–60 minutes depending on your hardware and internet speed. Do not interrupt the installation—avoid closing the lid, putting the Mac to sleep, or unplugging power.
| Action | Do | Don't |
|---|---|---|
| During Installation | Keep Mac plugged into power and connected to Wi-Fi | Shut down or restart manually |
| Before Starting | Close all open apps and save work | Leave downloads or installations running |
| After Reboot | Follow setup prompts carefully | Skip migration or account setup steps |
5. Post-Installation Setup and Verification
After the final reboot, macOS Sierra guides you through initial setup. You’ll see options to restore from a Time Machine backup, transfer data from another Mac, or set up as new.
Restore or Migrate Carefully
If you backed up with Time Machine, select “From a Mac, Time Machine backup, or startup disk” during setup. Choose your backup and let the migration tool restore your user accounts, apps, and settings.
Note: Some legacy apps may not migrate successfully. Older PPC-based applications or those dependent on deprecated frameworks (like Rosetta) are incompatible with Sierra.
Reinstall Missing Applications
Check your Applications folder post-migration. If certain apps didn’t carry over, reinstall them from original sources. Always download from official vendors to avoid malware.
Enable Key Features
Take advantage of Sierra’s signature capabilities:
- Auto Unlock: Use your Apple Watch to unlock your Mac when nearby.
- iCloud Drive: Sync desktop and documents across devices.
- Apple Pay in Safari: Make secure online purchases using Touch ID (on supported models).
Frequently Asked Questions
Can I downgrade to an older macOS after installing Sierra?
Yes, but only if you have a full backup made before the upgrade. Downgrading requires wiping your drive and restoring from that backup. Note: Apple’s firmware changes may prevent clean reinstallation of very old OS versions on newer hardware.
Why is my Mac running slower after the upgrade?
Initial slowdowns are common as the system rebuilds caches and indexes Spotlight. Allow 24–48 hours for performance to stabilize. If slowness persists, check Activity Monitor for resource-heavy processes or consider resetting NVRAM (restart and hold Option+Command+P+R).
Is macOS Sierra still secure to use today?
Apple no longer provides security updates for Sierra since it reached end-of-life. For safety, avoid using it on machines handling sensitive data or connected frequently to public networks. Consider upgrading to a supported OS if your hardware allows.
Conclusion
Upgrading to macOS Sierra doesn’t have to be risky. With proper preparation—verifying compatibility, backing up data, cleaning your system, and following a structured installation process—you can complete the transition safely and efficiently. Thousands of users have extended the life of their older Macs through careful upgrades like this one.
Now that your Mac runs Sierra smoothly, take a moment to explore its integrated features and optimize your workflow. And if you found this guide helpful, share it with others who might still be relying on aging systems. Technology evolves fast—but smart maintenance keeps your tools relevant longer.


 浙公网安备
33010002000092号
浙公网安备
33010002000092号 浙B2-20120091-4
Comments
No comments yet. Why don't you start the discussion?