
Knitting a scarf is one of the most satisfying first projects for anyone new to the craft. It requires only basic stitches, allows room for creativity, and results in a practical, handmade item you can wear or gift. Whether you’ve never held knitting needles before or have tried a few rows without success, this guide walks you through every step—from choosing materials to binding off your finished piece—with clear instructions, helpful tips, and beginner-friendly patterns.
Getting Started: Essential Tools and Materials
Before casting on your first stitch, gather the right supplies. Starting with quality, beginner-appropriate tools makes a noticeable difference in both ease and outcome.
- Yarn: Choose a medium-weight (worsted) yarn in a light color. Light shades make it easier to see your stitches, and worsted weight is thick enough to work quickly but not so bulky that it overwhelms beginners.
- Needles: Size US 8 (5 mm) straight needles are ideal for worsted yarn. Wooden or bamboo needles offer more grip than metal, reducing slippage for new knitters.
- Scissors: A small pair for cutting yarn.
- Tapestry needle: For weaving in loose ends when finishing.
- Measuring tape: To track the length of your scarf.
Choosing the Right Yarn Fiber
Synthetic blends like acrylic are affordable, durable, and forgiving—perfect for practice. Wool offers warmth and elasticity but may require more careful handling. Cotton is soft but less stretchy, making it slightly harder for beginners to manage tension.
| Fiber Type | Pros | Cons |
|---|---|---|
| Acrylic | Affordable, easy care, wide color range | Less breathable, can pill over time |
| Wool | Warm, elastic, excellent stitch definition | May shrink if washed improperly, not vegan |
| Cotton | Soft, hypoallergenic, breathable | Lacks elasticity, heavier drape |
Mastering Basic Knitting Techniques
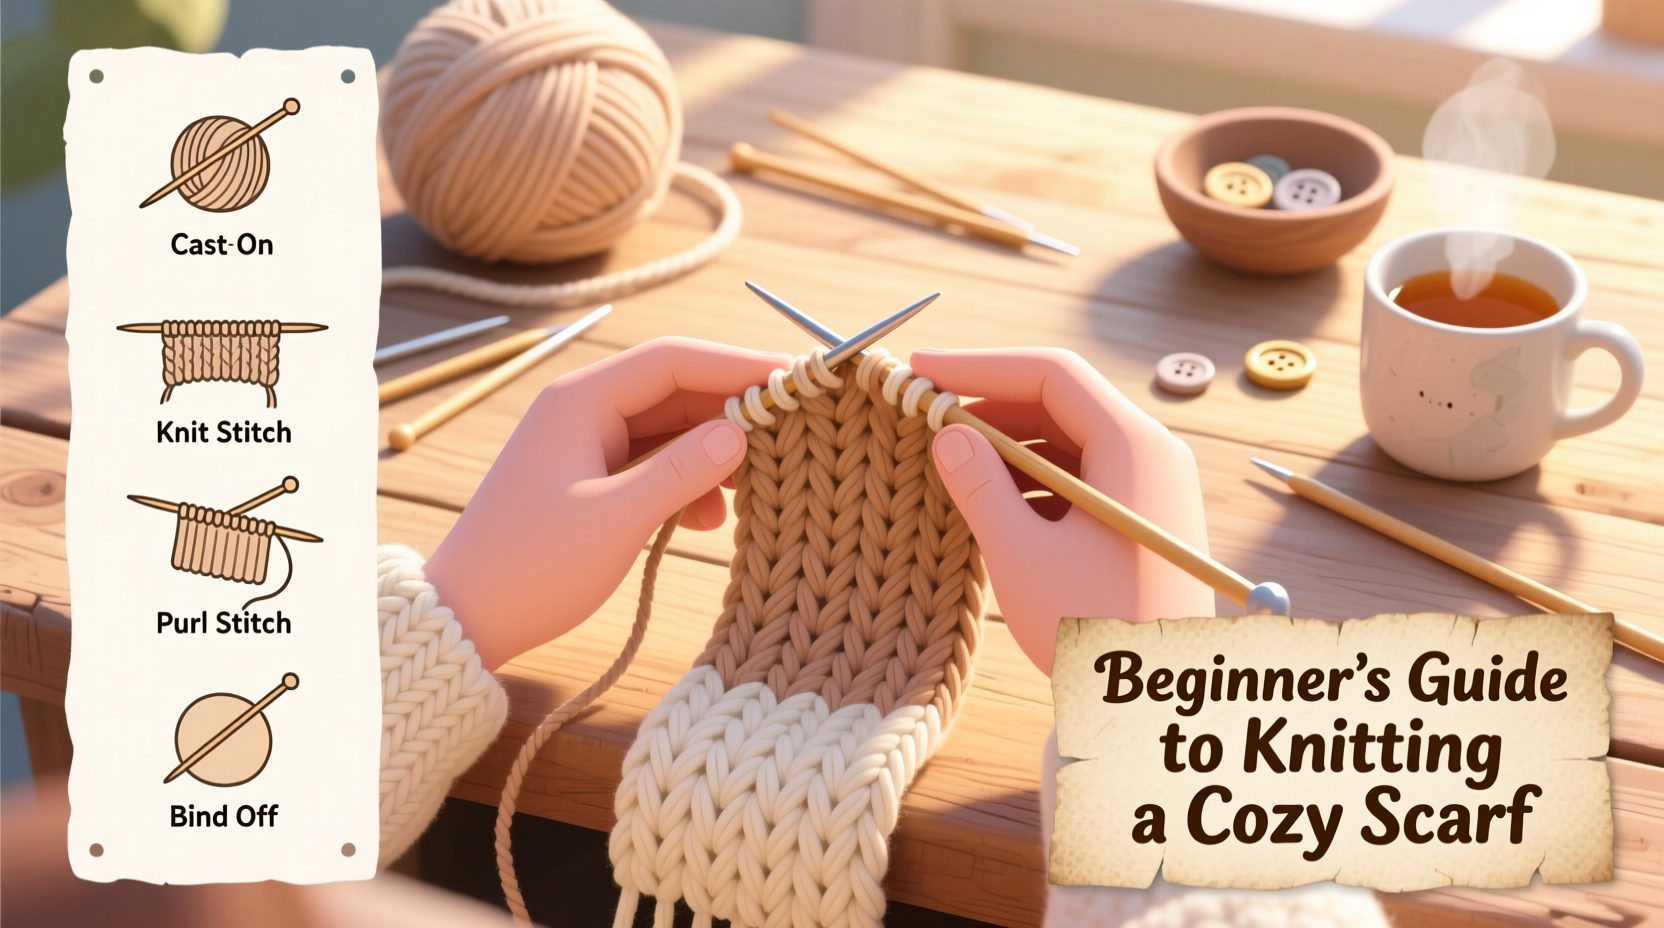
Two fundamental stitches form the foundation of nearly all knitting: the knit stitch and the purl stitch. Once you learn these, you can create a variety of textures and patterns.
- Casting On: This creates the first row of stitches on your needle. The long-tail cast-on is popular for its neat edge and moderate stretch. Leave a tail about three times the width of your intended scarf.
- The Knit Stitch: Insert the right needle into the front of the first stitch, wrap the yarn counterclockwise, and pull through a new loop. Slide the old stitch off the left needle.
- The Purl Stitch: Bring the yarn to the front, insert the right needle from back to front, wrap the yarn, and pull through. Slide the old stitch off.
- Binding Off: After your final row, knit two stitches, then use the left stitch to lift the right one over and off the needle. Repeat until one loop remains. Cut yarn and pull through to secure.
Common Mistakes and How to Fix Them
Dropped stitches, uneven tension, and accidental yarn overs are common. If you drop a stitch, don’t panic—use a crochet hook or the needle tip to ladder it back up following the stitch path. If your edges curl, switch to garter stitch (which lies flat) or add a border of seed stitch.
“The beauty of knitting is that mistakes aren’t failures—they’re part of the learning rhythm. Every dropped stitch teaches hand control.” — Lena Torres, Handcraft Instructor at The Fiber Studio
Simple Scarf Patterns for Beginners
Start with structured patterns that build confidence while producing attractive results.
1. Classic Garter Stitch Scarf
Ideal for absolute beginners. Knit every row until the scarf reaches 60 inches.
- Gauge: 18 stitches = 4 inches in garter stitch
- Cast on: 30 stitches
- Yarn: 2 skeins of worsted-weight acrylic
2. Ribbed Texture Scarf (K2, P2)
Alternating knit and purl stitches create vertical ridges that stretch well and lie flat.
- Cast on a multiple of 4 + 2 (e.g., 30 stitches)
- Row pattern: *Knit 2, Purl 2*; repeat from * to last 2 stitches, knit 2.
- Continue for 5–6 feet.
3. Seed Stitch Scarf
A bumpy, textured fabric that doesn’t curl. Great for practicing both knit and purl.
- Cast on an odd number of stitches (e.g., 29)
- Row 1: *Knit 1, Purl 1*; repeat to last stitch, knit 1.
- Row 2: Same as Row 1 (the purls will fall over knits and vice versa).
Step-by-Step Timeline: From Start to Finish
Follow this realistic timeline to complete your first scarf in about two weeks with consistent effort.
- Day 1: Purchase materials and swatch a small square (4x4 inches) to check gauge and practice stitches.
- Day 2: Cast on and knit first 10 rows. Focus on even tension and consistent hand positioning.
- Days 3–7: Knit 20–30 rows per day. Take breaks to avoid hand fatigue.
- Day 8: Midway check—measure length (should be ~20 inches), adjust tension if edges are tight.
- Days 9–12: Continue knitting, monitoring for dropped stitches or twists.
- Day 13: Bind off neatly. Weave in ends using a tapestry needle.
- Day 14: Block the scarf lightly by dampening and laying flat to dry. This evens out stitches and improves drape.
Real Example: Sarah’s First Scarf Journey
Sarah, a college student with no prior crafting experience, decided to knit a gift for her sister’s birthday. She chose a soft pink acrylic yarn and size 8 bamboo needles. Her first attempt had uneven edges and a few dropped stitches, but she used online tutorials to fix errors row by row. By week two, her tension improved noticeably. She completed a 60-inch garter stitch scarf in seven days of 30-minute sessions. “I didn’t think I could make something wearable,” she said. “But seeing it come together row by row was surprisingly calming.”
Checklist: Your Beginner Scarf Success Plan
- ☐ Choose smooth, light-colored, worsted-weight yarn
- ☐ Select size 8 straight needles (bamboo recommended)
- ☐ Swatch 4x4 inches to test tension
- ☐ Cast on 25–30 stitches using long-tail method
- ☐ Knit every row (garter stitch) for consistent texture
- ☐ Measure progress weekly—aim for 60 inches total
- ☐ Check for dropped stitches after each session
- ☐ Bind off loosely to prevent edge curling
- ☐ Weave in all ends securely
- ☐ Lightly block finished scarf for professional finish
Frequently Asked Questions
How long should a beginner scarf be?
A standard adult scarf ranges from 60 to 70 inches in length and 6 to 8 inches in width. This allows it to drape comfortably around the neck with room to tuck or tie.
What if I run out of yarn halfway through?
If you must switch skeins, try to do so at a natural seam or edge. Even within the same dye lot, slight color variations can occur. Always buy at least one extra skein at the start.
Can I knit a scarf with circular needles?
Yes, though straight needles are simpler for beginners. Circular needles work well for longer projects, but for a straight scarf, the cable can get in the way unless you're doing advanced techniques like stranded colorwork.
Keep Creating
Completing your first knitted scarf is more than just a craft project—it’s proof that patience and practice yield tangible results. The rhythm of the needles, the growing fabric under your fingers, and the final product you made with your own hands cultivate mindfulness and pride. Once you’ve mastered the basics, explore colorwork, fringe, or textured stitches. Share your scarf with someone you love, or keep it as a reminder of what you’re capable of creating, one stitch at a time.


 浙公网安备
33010002000092号
浙公网安备
33010002000092号 浙B2-20120091-4
Comments
No comments yet. Why don't you start the discussion?