
Robot vacuums have transformed home cleaning with their hands-free operation and smart navigation. But like any appliance, they require regular maintenance to function efficiently. A dirty robot vacuum can lose suction power, misread surfaces, or even overheat. The challenge? Many users accidentally void their warranty by using improper cleaning methods—like submerging components in water or using abrasive cleaners. Understanding how to clean your robot vacuum correctly is essential not only for performance but also for preserving manufacturer coverage.
This guide outlines the safest, most effective techniques to keep your robot vacuum in peak condition while staying within warranty terms. From identifying which parts are user-serviceable to avoiding common mistakes, you’ll learn how to extend your device’s lifespan without risking costly repairs or losing protection.
Why Proper Cleaning Matters for Warranty Protection
Manufacturers design warranties to cover defects in materials and workmanship—not damage caused by misuse. Most robot vacuum warranties explicitly exclude issues arising from improper maintenance. For example, iRobot’s limited warranty states that “damage resulting from failure to follow cleaning instructions” is not covered. Similarly, Eufy and Roborock warn against liquid exposure to internal electronics.
Cleaning might seem straightforward, but it's easy to cross the line between routine care and unauthorized tampering. Opening sealed compartments, using compressed air near sensors, or wiping circuit boards with alcohol wipes can all be interpreted as user modification, potentially invalidating your claim if something goes wrong later.
“Following the manufacturer’s maintenance guidelines isn’t just about cleanliness—it’s a contractual obligation to maintain warranty eligibility.” — Daniel Park, Consumer Electronics Warranty Analyst
The key is knowing what you’re allowed to clean, how to do it safely, and when to stop before you go too far.
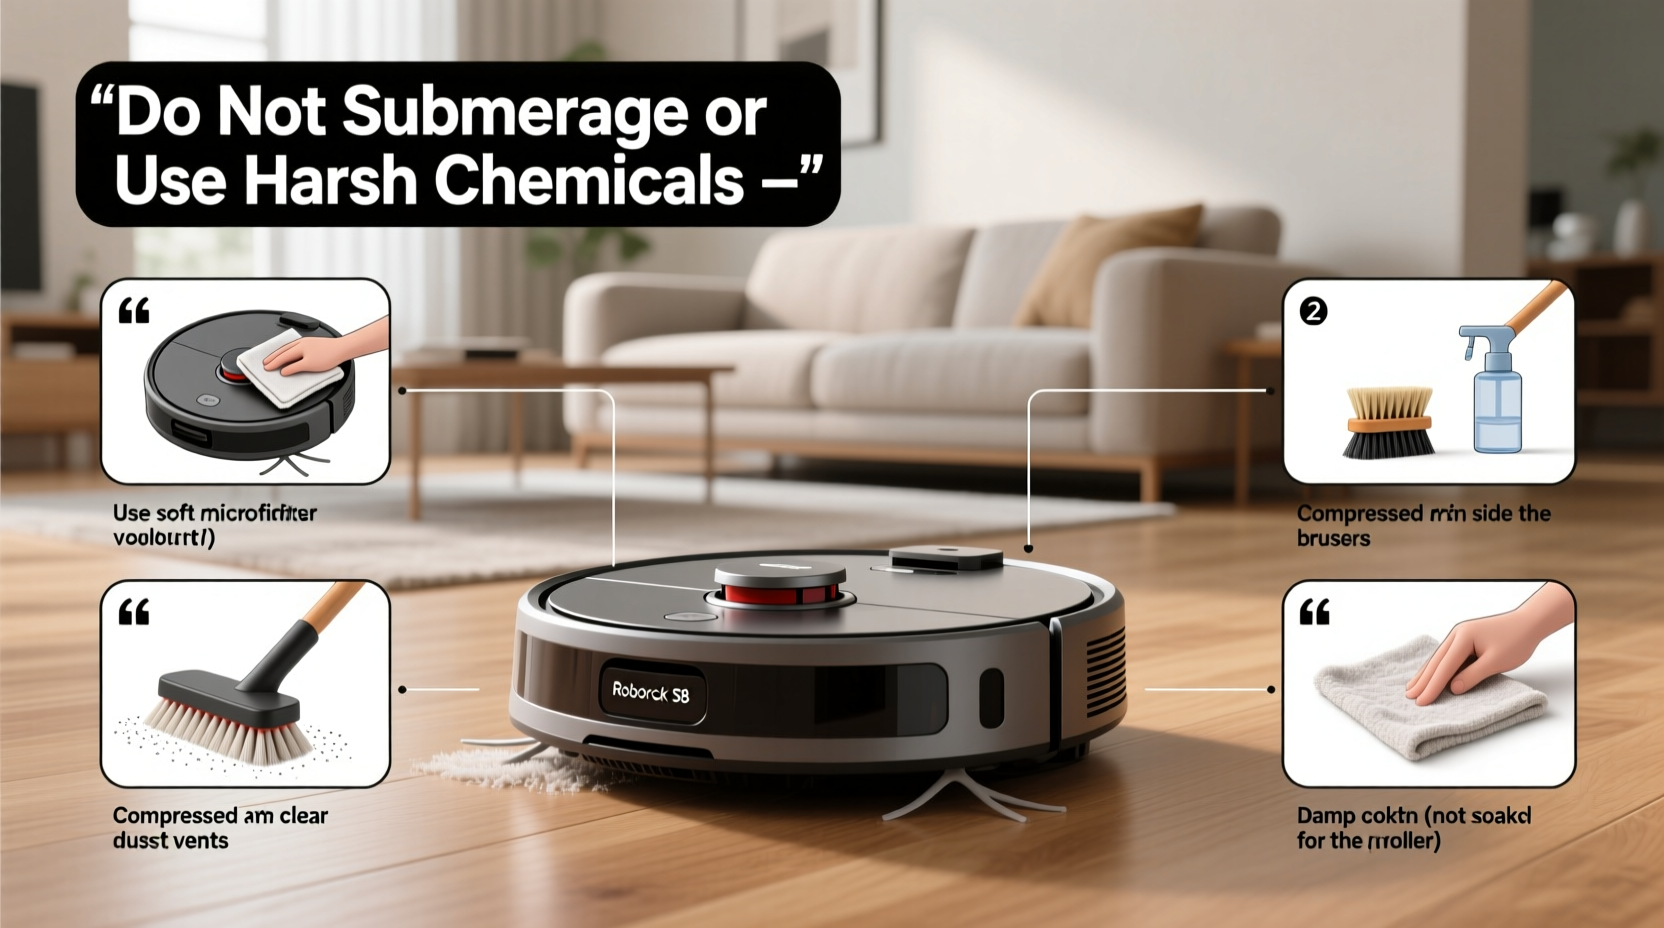
Step-by-Step: Safe Cleaning Procedure
Cleaning your robot vacuum doesn’t need to be complicated. By following this systematic approach, you ensure thorough maintenance while respecting warranty boundaries.
- Power down and unplug: Always turn off the robot and remove it from the charging dock before starting. This prevents accidental startups and protects internal circuits.
- Remove and empty the dustbin: Slide out the bin according to the manual’s instructions. Tap it over a trash can to dislodge debris. Avoid rinsing unless the manual explicitly allows it.
- Clean the filter: Gently tap the filter on a hard surface to release dust. If washable (check your model), rinse under lukewarm water and let it air-dry completely—typically 24 hours—before reinserting.
- Clear the main brush: Use scissors or a seam ripper to cut away hair and fibers wrapped around the roller. Never pull aggressively, as this can damage bearings.
- Wipe sensors and cliff detectors: Use a dry microfiber cloth to gently clean lens surfaces. Do not use liquids or paper towels, which may scratch or leave residue.
- Inspect wheels and side brushes: Remove tangled threads and check for obstructions. Replace worn side brushes only with OEM or approved replacements.
- Reassemble carefully: Ensure all parts click securely into place. Misaligned components can trigger error codes or cause mechanical stress.
Do’s and Don’ts: What You Can and Cannot Clean
Not all parts of a robot vacuum are meant for user access. Here’s a clear breakdown based on common manufacturer guidelines:
| Action | Allowed? | Notes |
|---|---|---|
| Emptying the dustbin | ✅ Yes | Standard maintenance; do this after each use if heavily soiled. |
| Washing a HEPA filter | ⚠️ Only if labeled washable | Non-washable filters degrade when wet. Always air-dry fully. |
| Using rubbing alcohol on sensors | ❌ No | Can damage anti-reflective coatings. Use dry cloth only. |
| Opening the main housing | ❌ No | Void warranty on most brands. Internal components are sealed. |
| Blowing dust out with compressed air | ⚠️ Limited use | Avoid direct contact with motors or sensors; use low pressure. |
| Replacing side brushes with third-party parts | ❌ Risky | May affect navigation or motor load; use manufacturer-approved parts. |
When in doubt, refer to your user manual. Most manufacturers publish downloadable PDFs online with detailed maintenance sections. Sticking to these protocols ensures compliance and keeps your warranty intact.
Real Example: How One User Lost Coverage—and How to Avoid It
Mark from Austin owned a high-end Roborock S7 for ten months when he noticed reduced suction. Believing the filter was clogged, he soaked it overnight in soapy water, then used a hairdryer to speed up drying. When the robot failed to start the next day, he filed a warranty claim.
Roborock’s service team inspected the unit and found moisture residue inside the fan housing—evidence of improper drying. They denied the claim, citing violation of Section 4.2 of the user manual: “Filters must be air-dried at room temperature for 24 hours. Do not use heat sources.” Mark ended up paying $129 for a replacement motor assembly.
His mistake wasn’t cleaning the filter—it was how he dried it. Had he followed the recommended air-drying process, his warranty would likely have remained valid. This case highlights how minor deviations from official procedures can have major financial consequences.
Expert-Recommended Maintenance Checklist
To make upkeep simple and consistent, follow this monthly checklist. It aligns with manufacturer standards and minimizes risk of accidental damage.
- ✅ Empty dustbin after every 1–3 runs
- ✅ Tap filter clean weekly; wash monthly (if washable)
- ✅ Clear hair from main brush weekly
- ✅ Wipe sensors and charging contacts with dry microfiber cloth
- ✅ Check wheel mobility and remove debris
- ✅ Inspect side brushes for wear; replace as needed
- ✅ Verify firmware updates are current (via app)
- 🚫 Do not immerse any component in water
- 🚫 Do not use chemical cleaners on plastic or lenses
- 🚫 Do not force open casing or attempt internal cleaning
Adhering to this list not only preserves performance but also creates a paper trail of responsible ownership—a factor some manufacturers consider during dispute resolution.
Frequently Asked Questions
Can I use a damp cloth to clean the robot’s body?
Yes, but with caution. Lightly dampen a microfiber cloth with water (not dripping) and wipe the exterior shell. Avoid ports, seams, and buttons. Immediately dry with a second cloth. Never spray liquid directly onto the device.
Is it safe to clean the mopping pad attachment?
Yes, and it’s encouraged. Most brands design mop pads to be removable and machine-washable. Rinse thoroughly after each wet mopping cycle and allow full air-drying before reuse. Mold growth from damp pads can void warranty if it leads to internal corrosion.
What happens if I accidentally get water inside the robot?
Immediately power it off, remove the battery if possible, and let it dry in a warm, ventilated area for at least 48 hours. Do not plug it in. Even if it appears to work, residual moisture can corrode circuits over time. Contact customer support before resuming use.
Final Tips for Long-Term Care
Beyond cleaning, long-term reliability depends on usage habits. Place virtual barriers to keep your robot out of high-risk zones like bathrooms or pet feeding areas where sticky spills occur. Run it regularly to prevent dust buildup, but avoid continuous daily use without periodic deep maintenance.
Store the robot on its charging dock in a dry, temperate environment. Extreme cold or heat can degrade battery life and sensor accuracy. If you're going on vacation, charge it to 50–80% and unplug the dock to reduce electrical risk.
“The best warranty protection isn’t just about avoiding voids—it’s about proactive care that prevents problems before they happen.” — Lila Nguyen, Home Robotics Engineer at IEEE
Conclusion
Cleaning your robot vacuum properly is a balance of diligence and restraint. While it’s tempting to deep-clean every nook, exceeding manufacturer guidelines risks both functionality and warranty coverage. By sticking to approved methods—emptying the bin, maintaining the filter, clearing tangles, and gently wiping sensors—you keep your device running smoothly without stepping outside permitted maintenance.
Remember, a well-maintained robot vacuum lasts longer, performs better, and remains protected. Take five minutes after each few cleaning cycles to inspect and tidy your unit. That small investment saves time, money, and frustration down the road.


 浙公网安备
33010002000092号
浙公网安备
33010002000092号 浙B2-20120091-4
Comments
No comments yet. Why don't you start the discussion?