
A cluttered desk doesn’t just look unprofessional—it can drain focus, increase stress, and waste time. Among the worst offenders? Cables. Tangled power cords, USB lines, and charging wires snake across desks like digital underbrush, making even simple tasks frustrating. While premium cable management kits are everywhere, most people don’t need to spend money to fix this. The best way to organize cables for a clean desk setup often lies in rethinking what you already own, applying smart grouping strategies, and using everyday objects creatively.
With a little ingenuity and 30 minutes of focused effort, you can transform a chaotic workspace into an organized, efficient environment. This guide walks through practical, budget-free methods that deliver real results—no Velcro ties from Amazon required.
Start with a Cable Audit
Before organizing anything, understand what you're working with. Most people have more cables than they realize—some active, some obsolete, many duplicated. Begin by unplugging everything from your desk and power strip. Lay each cable out on the floor or a nearby surface. Label them if needed (masking tape works perfectly).
Categorize each item:
- Essential: Daily-use items like laptop charger, monitor power, keyboard/mouse USB.
- Occasional: Devices used weekly, such as phone chargers or external drives.
- Obsolete: Old adapters, broken cords, or tech no longer in use.
Be ruthless. If you haven’t used a cable in six months and it doesn’t serve a backup purpose, recycle it responsibly. Many electronics stores offer free e-waste drop-offs.
Use What You Already Own
Most cable management tools sold online are repurposed versions of common household items. Instead of buying specialized clips or sleeves, identify substitutes around your home.
Paper Clips as Cord Holders
Standard jumbo paper clips can be straightened slightly and clipped to desk edges to hold lightweight cords in place. They’re ideal for keeping headphone wires or USB charging cables off the desk surface.
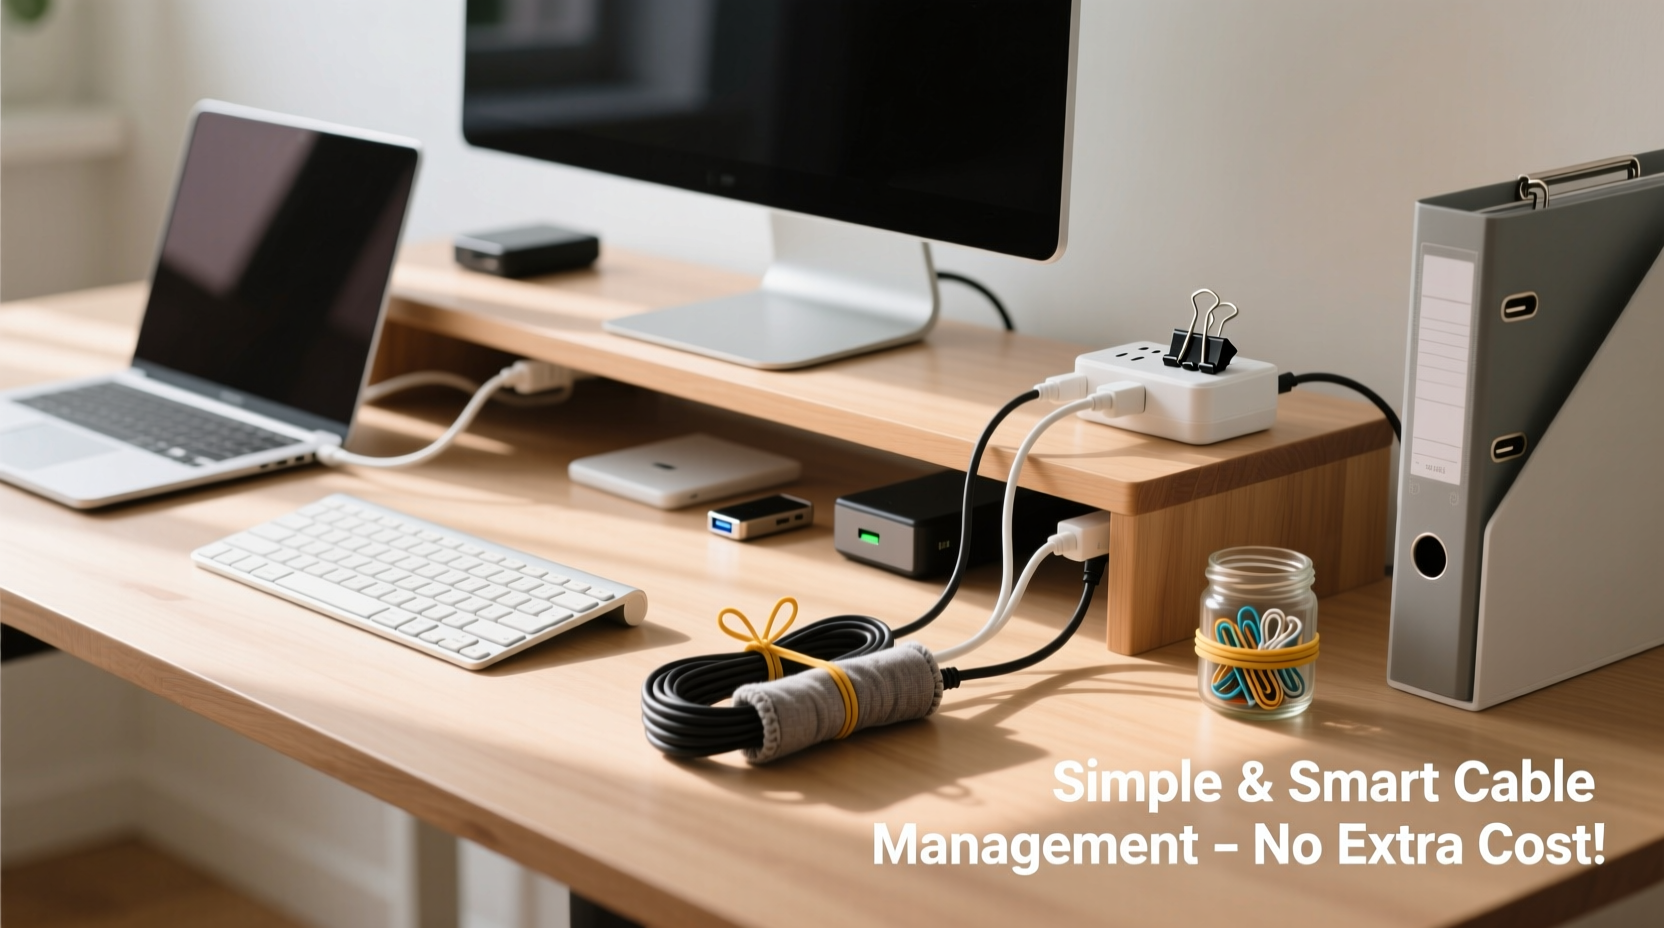
Binder Clips for Vertical Management
Binder clips are one of the most versatile tools for DIY cable organization. Clip them to the back edge of your desk and thread cords through the metal arms. This keeps multiple cables grouped and prevents them from dangling onto the floor.
Toilet Paper or Paper Towel Rolls as Cable Sleeves
If you have several cords running together—say, from your computer tower to the wall—slip them into an empty cardboard roll. Cut a small slit along the side for easy insertion. It’s not pretty, but it bundles wires neatly and keeps them aligned.
Shoelaces or Fabric Strips as Ties
Instead of plastic zip ties, cut up old shoelaces or fabric scraps into strips. Wrap them around bundled cables and tie a knot. Unlike plastic, fabric won’t damage insulation and can be reused indefinitely.
“People assume good cable management requires spending money, but the most elegant solutions often come from constraint.” — Jordan Lee, Workspace Ergonomics Consultant
Step-by-Step Guide to a Clean Desk Without Spending Money
Follow this sequence to achieve a tidy setup using only household items and disciplined habits.
- Unplug and remove all devices from the desk. Take monitors, laptops, speakers, and peripherals off the surface.
- Disconnect every cable and sort them. Group by device and usage frequency. Discard unusable ones.
- Plan your layout. Decide where each device belongs based on workflow. Keep frequently accessed items within reach.
- Route cables behind the desk. If your desk has a back opening or gap, feed all essential cords through it. If not, use binder clips along the rear edge to guide them downward.
- Bundle related cables. Use fabric strips or rubber bands to group cords that travel together (e.g., monitor power + HDMI + USB hub).
- Label inputs if needed. Use small pieces of tape on the wall outlet or power strip to mark which plug belongs to which device.
- Reconnect and test. Plug everything back in, ensuring no strain on connections. Adjust positioning as needed.
- Maintain weekly. Spend two minutes each week checking for slack or tangles before they become problems.
Smart Grouping Strategies
Organization isn’t just about hiding cables—it’s about making them predictable. The goal is to reduce visual noise and cognitive load when interacting with your workspace.
Apply these principles:
- One Device, One Path: All cables belonging to a single device (like a monitor) should follow the same route from device to power/data source.
- Separate Power from Data: Keep high-voltage cords (AC adapters) separate from signal cables (HDMI, Ethernet) when possible to reduce interference.
- Shorten Excess Length: Coiling extra wire neatly prevents sagging and tripping hazards. Use the over-under method: alternate loops left and right to avoid kinks.
Table: Do’s and Don’ts of DIY Cable Management
| Do | Don’t |
|---|---|
| Use rubber bands or fabric strips to bundle cords | Use duct tape directly on cables (can dry out insulation) |
| Route cables behind the desk using binder clips | Let cords dangle freely where feet or pets can pull them |
| Label outlets or plugs with tape | Tighten ties so hard they compress cable jackets |
| Use cardboard tubes to sleeve multiple wires | Hide damaged cords instead of replacing them |
Real Example: Transforming a Home Office in 45 Minutes
Sarah, a freelance writer in Portland, worked at a secondhand desk with no cable ports or built-in management. Her setup included a laptop, monitor, lamp, phone charger, and Wi-Fi router—all plugged into a power strip on the floor. Cables snaked across the baseboard, tangled under her chair, and made cleaning impossible.
She spent one evening applying the audit-and-bundle method:
- Discarded three old phone chargers and a broken USB hub.
- Used two binder clips to anchor monitor and laptop cords to the back of the desk.
- Bundled the remaining power cords with a cut-up shoelace.
- Ran everything down the side of the desk leg and secured the base with a rubber band looped around a furniture foot.
- Labeled each plug on the power strip with colored tape.
The result? A clean, functional workspace that looked intentionally designed—not makeshift. More importantly, she saved $47 she’d planned to spend on a cable management box.
Checklist: No-Cost Cable Cleanup in One Session
Use this checklist to stay on track during your organizing session:
- ☐ Unplug all devices from the desk and power source
- ☐ Sort cables into essential, occasional, and obsolete piles
- ☐ Recycle or donate unused cords
- ☐ Identify household items for bundling (shoelaces, clips, cardboard)
- ☐ Plan cable routes from device to outlet
- ☐ Bundle related cords together using fabric or rubber
- ☐ Secure cables along desk edges with binder clips or paper clips
- ☐ Neatly coil excess length using the over-under method
- ☐ Label plugs or outlets for easy identification
- ☐ Reconnect all devices and test functionality
- ☐ Set a weekly reminder to check for tangles
Frequently Asked Questions
Can I use tape to manage cables?
You can, but avoid direct contact with adhesive on cable jackets. Masking or painter’s tape is safer than duct or electrical tape for temporary fixes. Better yet, use tape to secure a fabric tie or clip rather than sticking it to the cord itself.
How do I keep pet-friendly spaces safe with loose cables?
Use heavy books or stacked magazines to weigh down cords along baseboards. Alternatively, run cables inside a PVC pipe section painted to match the wall, or use a deep drawer as a concealed raceway. Never leave low-hanging cords accessible to pets.
What if my desk has no back access or grommets?
No problem. Attach binder clips to the rear lip of the desk and route cables through their arms. For floor-level routing, tuck cords behind baseboard molding using removable adhesive hooks or folded sticky notes as anchors.
Final Thoughts: Simplicity Over Spending
A clean desk isn’t a product you buy—it’s a habit you build. The best way to organize cables for a clean desk setup without buying expensive gear is to start with awareness, apply thoughtful grouping, and leverage what’s already in your home. Tools like binder clips, cardboard rolls, and fabric scraps aren’t just substitutes; in many cases, they’re better than commercial options because they’re adjustable, reusable, and don’t lock you into a rigid system.
More than aesthetics, good cable management improves safety, reduces frustration, and makes troubleshooting easier. It signals respect for your workspace—and by extension, your work. You don’t need a designer desk or modular power hubs to achieve it. You need observation, patience, and a willingness to maintain order daily.


 浙公网安备
33010002000092号
浙公网安备
33010002000092号 浙B2-20120091-4
Comments
No comments yet. Why don't you start the discussion?