
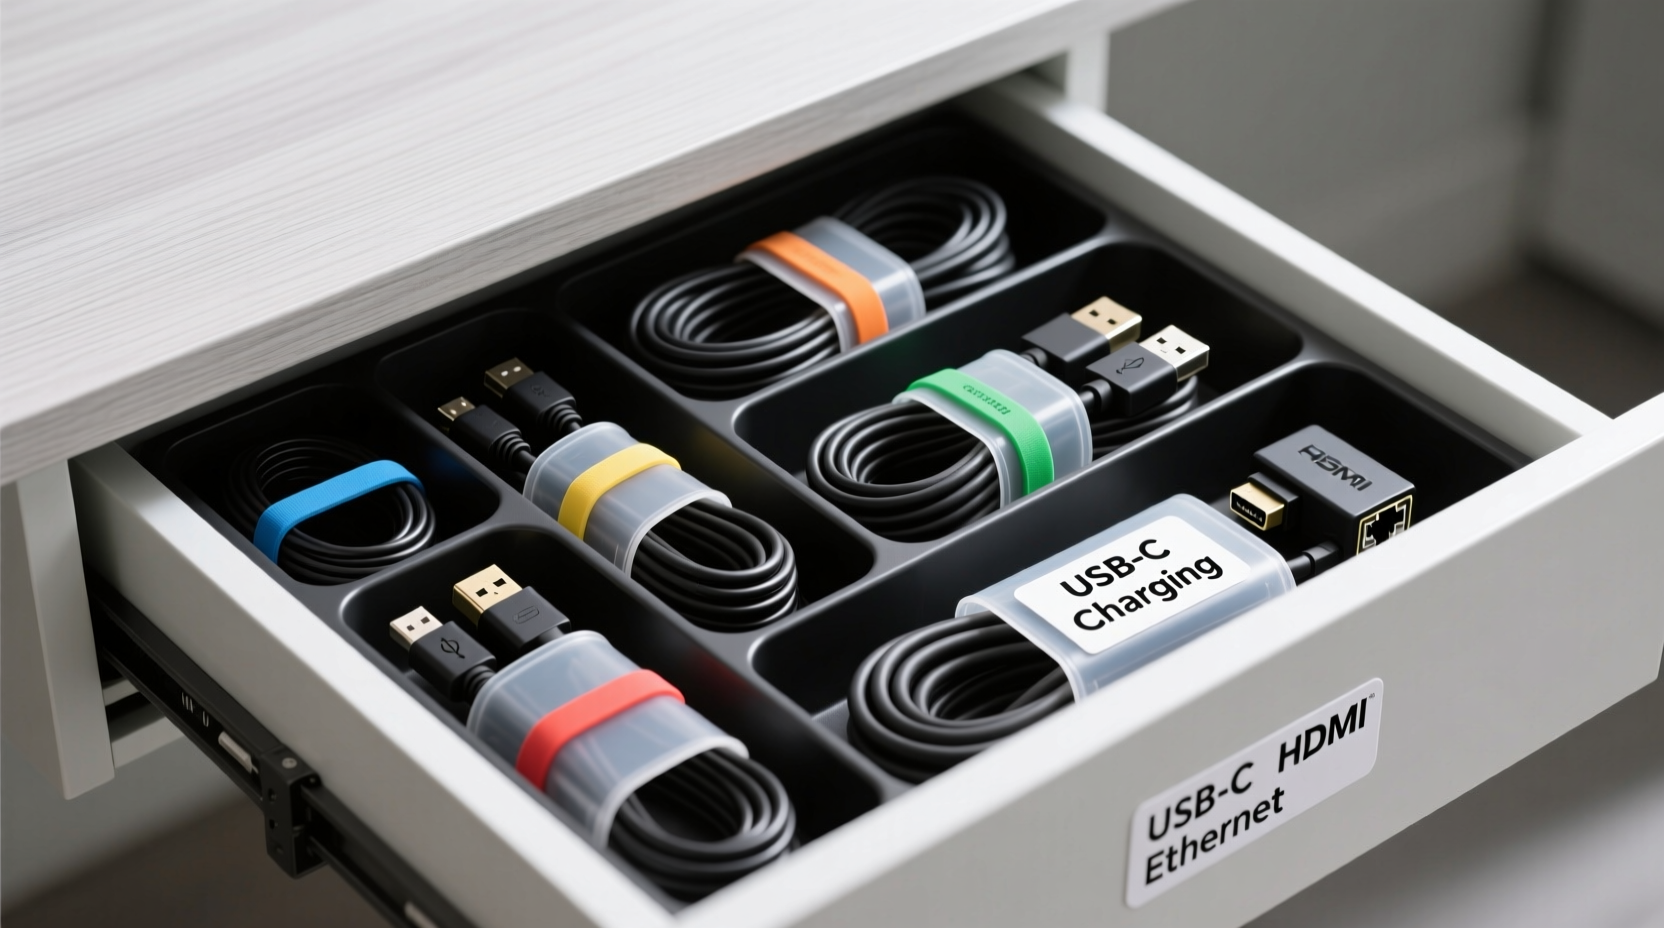
A cluttered desk drawer filled with tangled cords is more than just an eyesore—it’s a daily productivity drain. Whether it's USB-C chargers, HDMI cables, power adapters, or legacy audio jacks, disorganized cables lead to frustration, wasted time, and even damaged equipment. The solution isn’t just about tidying up; it’s about creating a system that gives you immediate, intuitive access to the right cable at the right moment. With thoughtful organization, your desk drawer can transform from a chaotic storage pit into a streamlined command center.
Why Cable Chaos Happens—and How to Fix It
Most people treat their desk drawers as catch-all zones. Over time, every forgotten charger, spare headset cord, or outdated adapter finds its way inside. Without structure, these items tangle, obscure labels, and make retrieval difficult. Worse, constant pulling and pushing damages insulation and connectors.
The root issue isn't too many cables—it's poor categorization and lack of physical separation. A well-organized drawer should allow you to identify and extract any cable in under five seconds. This requires intentional planning: sorting by function, securing loose ends, and using dividers or trays to maintain order.
“Cable management isn’t about perfection—it’s about predictability. When every item has a home, users stop wasting mental energy searching.” — Jordan Lee, Workspace Efficiency Consultant
Step-by-Step Guide to Drawer Optimization
Transforming your drawer doesn’t require expensive tools or hours of work. Follow this practical sequence to achieve lasting results:
- Empty and Audit: Remove everything from the drawer. Lay each cable out on a flat surface. Identify what you actually use versus what’s obsolete.
- Label Everything: Use small adhesive labels or colored tape to mark each cable by device type (e.g., “MacBook Charger,” “Monitor HDMI”).
- Cull the Unnecessary: Discard frayed wires, broken connectors, and duplicates unless they serve as backups. Recycle old electronics responsibly.
- Coil Neatly: Wrap each cable using the over-under method to prevent kinks and strain. Secure with Velcro ties or reusable rubber bands—never twist ties, which can damage insulation.
- Select a Storage System: Choose modular trays, adjustable dividers, or custom inserts based on drawer size and cable volume.
- Assign Zones: Group similar cables together—charging cords in one section, video/audio in another, adapters in a labeled pouch.
- Test Accessibility: Open the drawer and retrieve three different cables. If any require digging or untangling, reconfigure the layout.
Choosing the Right Organizer: What Works and What Doesn’t
Not all organizers are created equal. Some promise neatness but fail under real-world conditions. Below is a comparison of popular options based on durability, flexibility, and ease of access.
| Organizer Type | Pros | Cons | Best For |
|---|---|---|---|
| Foam Insert Trays | Precise fit, protects delicate connectors | Inflexible, hard to modify once cut | Fixed sets (e.g., camera gear kits) |
| Adjustable Plastic Dividers | Reconfigurable, stackable, durable | Can shift when drawer opens quickly | Mixed-use drawers with evolving needs |
| Felt Pouches with Compartments | Soft, portable, aesthetically pleasing | Limited structural support, wears over time | Light-duty use, home offices |
| Magnetic Cable Clips (mounted inside lid) | Maximizes vertical space, quick access | Only holds lightweight cables | Thin cords like USB-A to Micro-B |
| 3D-Printed Custom Inserts | Perfectly tailored to your exact inventory | Requires design skill or cost to produce | Tech professionals with specialized kits |
For most users, a combination approach works best: a base layer of adjustable dividers paired with small fabric pouches for tiny accessories like dongles or SD card readers.
Real-World Example: From Chaos to Clarity
Take the case of Maria Tanaka, a freelance graphic designer working from a compact home office. Her desk drawer had become a dumping ground for at least 14 different cables—two monitor cables, multiple phone chargers, a tablet dock, and various converters. Every client call requiring screen sharing involved a frustrating five-minute hunt for the correct HDMI-to-USB adapter.
After spending 45 minutes organizing using the step-by-step guide above, she implemented a two-tier system: a shallow tray with labeled felt sleeves for daily-use items, and a deeper compartment for backup cords stored in clear plastic bags with handwritten tags. She also mounted magnetic clips inside the drawer lid to hang her most-used charging cables vertically.
The result? Retrieval time dropped from minutes to seconds. More importantly, she reported feeling less stressed during time-sensitive tasks. “It sounds minor,” she said, “but not having to fight with cables first thing in the morning changed my entire workflow.”
Pro Tips for Long-Term Maintenance
Organization isn’t a one-time fix. Without maintenance, even the neatest drawer will devolve into chaos. These strategies ensure sustainability:
- Adopt a “One In, One Out” Rule: Before adding a new cable, remove an old or unused one. This prevents gradual accumulation.
- Schedule Quarterly Audits: Set a calendar reminder every three months to reassess what’s necessary.
- Use Color Coding: Assign colors by device type—blue for Apple products, red for Android, green for monitors. Even subtle cues speed recognition.
- Store Cables with Their Devices: If possible, keep laptop chargers in laptop bags rather than centralizing everything. Reduces cross-contamination of clutter.
- Limit Drawer Depth: Deep drawers encourage stacking and hiding items. Use shelf risers or foam spacers to create shallow layers.
Essential Checklist for Instant Access
Before closing your drawer for the first time post-organization, run through this checklist:
- All cables are clean and undamaged.
- Each cable is coiled and secured without tension.
- Labels are clearly visible and descriptive (not just “charger”).
- Categories are logically grouped (e.g., power, data, audio/video).
- There’s at least 1 inch of clearance around each section for easy removal.
- Rarely used items are marked or bagged separately.
- The heaviest items are at the bottom to prevent top-heaviness.
- You’ve tested access speed for three random cables.
Common Mistakes That Undermine Organization
Even with good intentions, people often sabotage their own systems. Avoid these pitfalls:
- Overfilling the Drawer: Crowding leads to compression, making it harder to see or reach items.
- Using Non-Reversible Labels: Write with permanent markers or use printed labels. Pencil fades; masking tape peels.
- Ignoring Cable Lengths: Long cables need wider compartments or vertical hanging solutions to avoid bunching.
- Skipping the Audit Step: Holding onto cables “just in case” creates false necessity and visual noise.
- Mounting Organizers Incorrectly: Adhesive trays must be applied to clean, dry surfaces. Otherwise, they peel off within weeks.
FAQ: Your Cable Organization Questions Answered
How do I label cables without damaging them?
Use soft fabric labels, heat-shrink tubing, or write directly on silicone sleeves with a fine-tip permanent marker. Avoid tape that leaves residue. Alternatively, color-coded O-rings slipped over cable ends offer a non-invasive option.
What’s the best way to store thick power bricks?
Place them upright in wide compartments with breathing room. If possible, position them along the back edge of the drawer so cords feed forward naturally. Consider mounting small hooks inside the drawer face frame to drape cords over, reducing strain on the plug.
Can I organize cables without buying anything?
Absolutely. Repurpose household items: toilet paper rolls for coiling, mint tins for small adapters, rubber bands for bundling. A simple folded piece of cardboard can act as a divider. The key is consistency, not cost.
Conclusion: Turn Frustration Into Flow
Organizing cables in a desk drawer isn’t just about aesthetics—it’s about reclaiming time, reducing stress, and supporting efficient work habits. The best system is one that’s personalized, sustainable, and built on simplicity. By applying structured sorting, smart labeling, and the right organizational tools, you create a space where functionality meets clarity.
Start today. Empty that drawer. Identify what stays and what goes. Build a layout that makes sense for how you work. Then maintain it with discipline and small routines. Once established, you’ll wonder how you ever tolerated the tangle.


 浙公网安备
33010002000092号
浙公网安备
33010002000092号 浙B2-20120091-4
Comments
No comments yet. Why don't you start the discussion?