
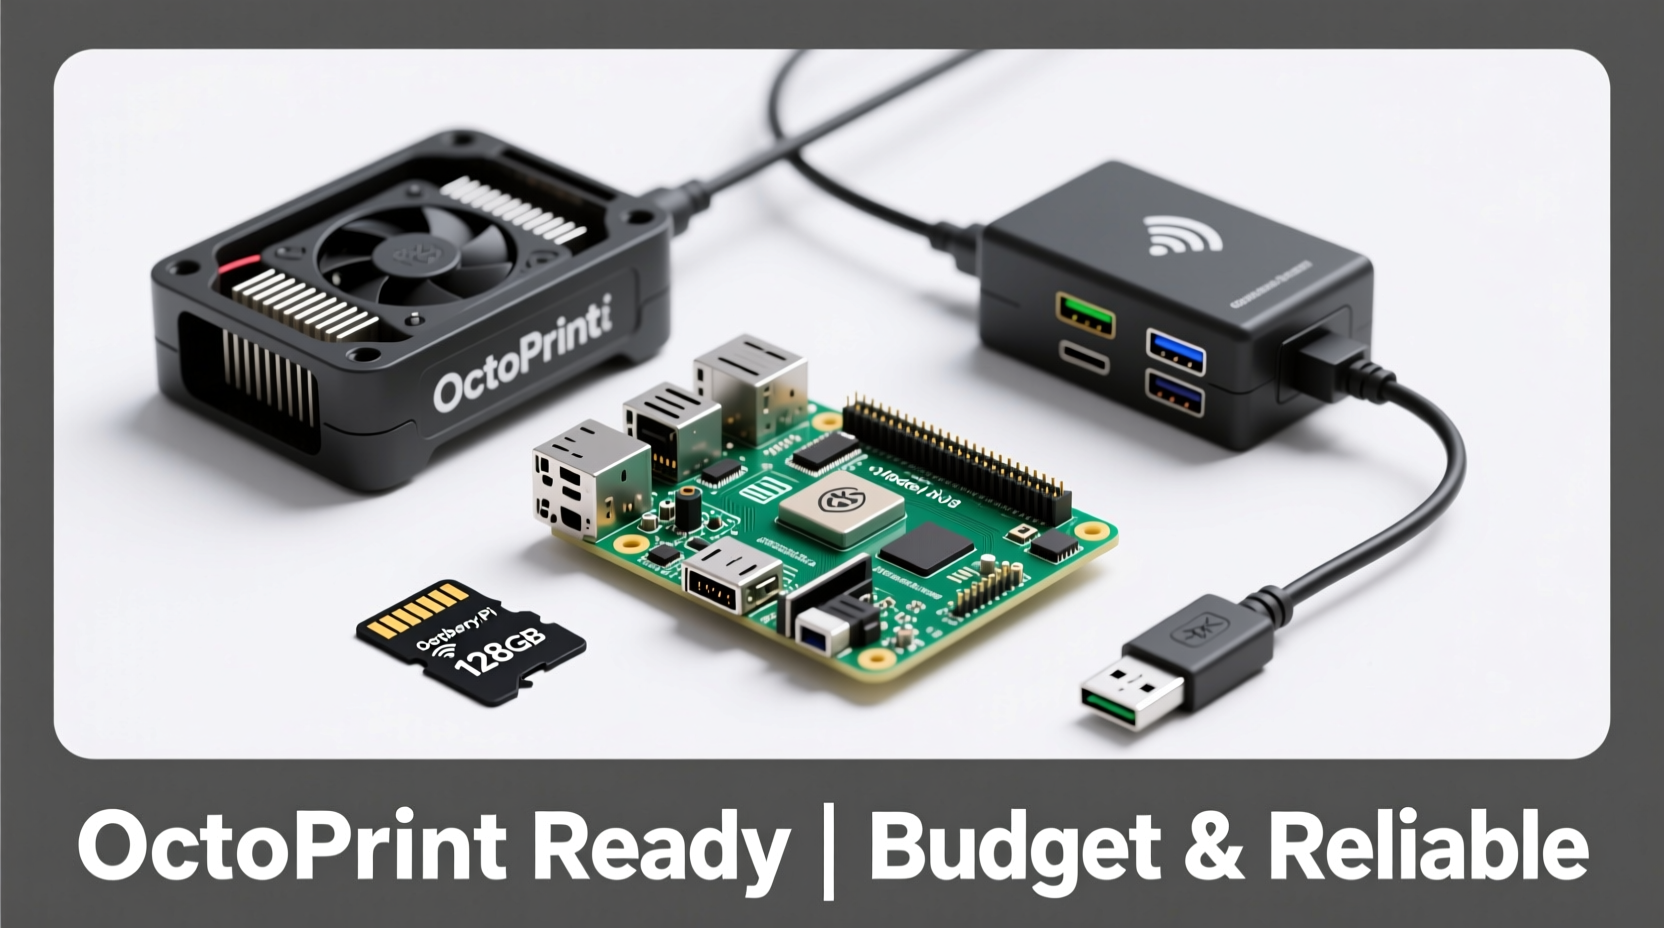
Running a 3D printer efficiently often means relying on consistent, stable software control. OctoPrint, the open-source web interface for 3D printers, has become a go-to solution for remote monitoring, file management, and print supervision. At the heart of most OctoPrint setups is a Raspberry Pi—a compact, low-power computer capable of handling the task with ease. But not all Raspberry Pis are created equal. Choosing the right model involves balancing performance, reliability, power efficiency, and cost—especially if you're building a budget-friendly yet dependable system.
This guide breaks down the ideal Raspberry Pi options for running OctoPrint, evaluates their long-term viability, and provides actionable advice to help you avoid common pitfalls. Whether you're setting up your first printer or upgrading an aging system, understanding which model fits your needs ensures uninterrupted prints and peace of mind.
Why Raspberry Pi Works Well with OctoPrint
The synergy between Raspberry Pi and OctoPrint stems from simplicity and accessibility. The Pi runs a lightweight Linux OS (typically Raspberry Pi OS Lite), connects directly to your 3D printer via USB, and hosts the OctoPrint server locally on your network. This allows full control through any browser or mobile app, including time-lapse recording, print progress tracking, and filament usage estimation.
Its low power consumption (~3–5 watts) means it can run 24/7 without adding significant energy costs. Additionally, the GPIO pins allow integration with accessories like camera modules, relays for power control, and sensors for temperature monitoring—making it highly extensible even on a tight budget.
“OctoPrint transforms a standalone 3D printer into a smart device. A Raspberry Pi is the most reliable and affordable gateway to that upgrade.” — David Lin, Open-Source Hardware Developer
Key Factors When Selecting a Raspberry Pi for OctoPrint
Before diving into specific models, consider these four critical factors:
- Processing Power: While OctoPrint isn’t CPU-intensive, smoother multitasking (e.g., streaming video or handling large G-code files) benefits from better processors.
- RAM: At least 1GB is recommended. Models with only 512MB may struggle under extended use or when additional plugins are installed.
- Thermal Stability: Overheating leads to throttling or crashes mid-print. Passive cooling or heatsinks are essential for sustained operation.
- Budget vs Longevity: Spending slightly more now can prevent frequent replacements later. Consider availability, community support, and future-proofing.
Comparison of Raspberry Pi Models for OctoPrint
The following table compares popular Raspberry Pi models based on key criteria relevant to OctoPrint users:
| Model | CPU | RAM | Power | Price Range (USD) | Best For |
|---|---|---|---|---|---|
| Raspberry Pi 4B (4GB) | Quad-core Cortex-A72 @ 1.5GHz | 4GB | USB-C, 5V/3A recommended | $55–$70 | High-performance, multi-printer setups, future-proofing |
| Raspberry Pi 4B (2GB) | Quad-core Cortex-A72 @ 1.5GHz | 2GB | USB-C, 5V/3A recommended | $45–$55 | Balanced performance and cost |
| Raspberry Pi 3B+ | Quad-core Cortex-A53 @ 1.4GHz | 1GB | Micro-USB, 5V/2.5A | $35–$45 (used/refurbished) | Budget builds with moderate expectations |
| Raspberry Pi Zero 2 W | Quad-core Cortex-A53 @ 1.0GHz | 512MB | Micro-USB, 5V/1.5A min | $15–$25 | Ultra-budget or portable setups |
| Raspberry Pi 5 | Quad-core Cortex-A76 @ 2.4GHz | 4GB/8GB | USB-C, 5V/5A (PSU required) | $60–$80 | Advanced users needing top-tier performance |
The Raspberry Pi 4B (2GB or 4GB) remains the sweet spot for most users: powerful enough for smooth operation, widely supported, and stable under load. The Pi 3B+ still functions well but lacks modern features like Gigabit Ethernet and dual HDMI. The Pi Zero 2 W offers remarkable value but risks instability during long prints due to thermal constraints and limited RAM. The Pi 5 delivers excellent performance but at a higher price and increased heat output, requiring active cooling.
Step-by-Step Guide to Setting Up Your OctoPrint Pi
Once you've selected your hardware, follow this sequence for a reliable installation:
- Choose your OS image: Download the official OctoPi image (based on Raspberry Pi OS) from octoprint.org/download. It comes preconfigured for OctoPrint.
- Flash the SD card: Use Raspberry Pi Imager or Balena Etcher to write the image to a high-endurance microSD card (minimum 16GB).
- Configure Wi-Fi and SSH (optional): Edit the
octopi-network.txtfile on the SD card before first boot to set up wireless connectivity. - Connect hardware: Plug in the Pi to your printer via USB, connect to power, and join your local network via Ethernet or Wi-Fi.
- Access the web interface: After booting (allow 3–5 minutes), navigate to
http://octopi.local:5000in your browser. - Secure your instance: Set up a strong admin password, enable API access if needed, and install trusted plugins only.
- Test thoroughly: Run a short print job while monitoring connection stability and UI responsiveness.
Real-World Example: A Maker’s Upgrade Journey
Jamal, a hobbyist with two Ender 3 printers, initially used a Raspberry Pi 3B+ for each. While functional, he noticed dropped connections during 12-hour prints and sluggish response when viewing camera feeds. After researching, he upgraded one station to a Raspberry Pi 4B with 4GB RAM and added a heatsink/fan combo.
The difference was immediate: no disconnections over three weeks of daily printing, faster G-code loading, and seamless timelapse rendering. Encouraged, he replaced the second Pi 3B+ with a Pi Zero 2 W to test budget limits. While it worked for shorter jobs, a 16-hour print failed midway due to overheating. He concluded that the Pi 4B was worth the extra $20 for mission-critical reliability.
Essential Checklist Before Deployment
- ✅ Use a name-brand, high-amperage power supply (avoid phone chargers)
- ✅ Install a case with built-in heatsinks or add thermal pads/fans
- ✅ Flash using a reputable tool (Raspberry Pi Imager preferred)
- ✅ Use a Class 10 or UHS-I microSD card; consider industrial-grade for longevity
- ✅ Enable automatic updates for security patches (but disable them during prints)
- ✅ Backup your OctoPrint configuration regularly
- ✅ Test under real conditions before relying on it for long prints
Frequently Asked Questions
Can I use a Raspberry Pi Zero W?
The original Pi Zero W (single-core, 512MB RAM) is underpowered and prone to freezing during extended operations. While some users succeed with light-duty printing, it's not recommended for reliability. The Pi Zero 2 W is significantly better but still marginal for demanding workflows.
Is the Raspberry Pi 5 overkill for OctoPrint?
For basic OctoPrint functionality, yes—it offers more processing power than necessary. However, if you're integrating multiple cameras, running companion services (like PrintTimeGenius or OctoDash), or managing several printers, the Pi 5’s capabilities justify its cost. Just ensure proper cooling.
How do I prevent SD card corruption?
Safely shut down the Pi before cutting power. Avoid cheap SD cards. Alternatively, use a USB SSD via a high-quality adapter for improved durability and speed (requires bootloader update on Pi 4/5).
Final Recommendations
For most users, the **Raspberry Pi 4B with 2GB or 4GB RAM** strikes the optimal balance between cost, performance, and long-term reliability. Priced between $45 and $70, it supports fast networking, handles plugins smoothly, and runs cool with basic heatsinks. Pair it with a quality power supply and microSD card, and your OctoPrint setup will serve you reliably for years.
If budget is the primary constraint, a refurbished **Pi 3B+** can work—but expect limitations in responsiveness and lifespan. Conversely, the **Pi Zero 2 W** is viable only for occasional or secondary printers where failure won’t disrupt major projects.
Avoid older models like the Pi 1, Pi 2, or original Zero. Their lack of processing headroom and poor thermal design make them unsuitable for dependable OctoPrint service.
“The best Raspberry Pi for OctoPrint isn’t always the newest or cheapest—it’s the one that runs consistently without intervention.” — Sarah Kim, DIY Automation Engineer
Take Action Today
Your 3D printer deserves reliable oversight. Don’t let unstable hardware ruin a weekend-long print. Evaluate your current setup, invest wisely in a proven platform like the Pi 4B, and enjoy the freedom of hands-off printing. Share your experiences, configurations, or questions with the maker community—your insight might help someone avoid the same pitfalls you once faced.


 浙公网安备
33010002000092号
浙公网安备
33010002000092号 浙B2-20120091-4
Comments
No comments yet. Why don't you start the discussion?