
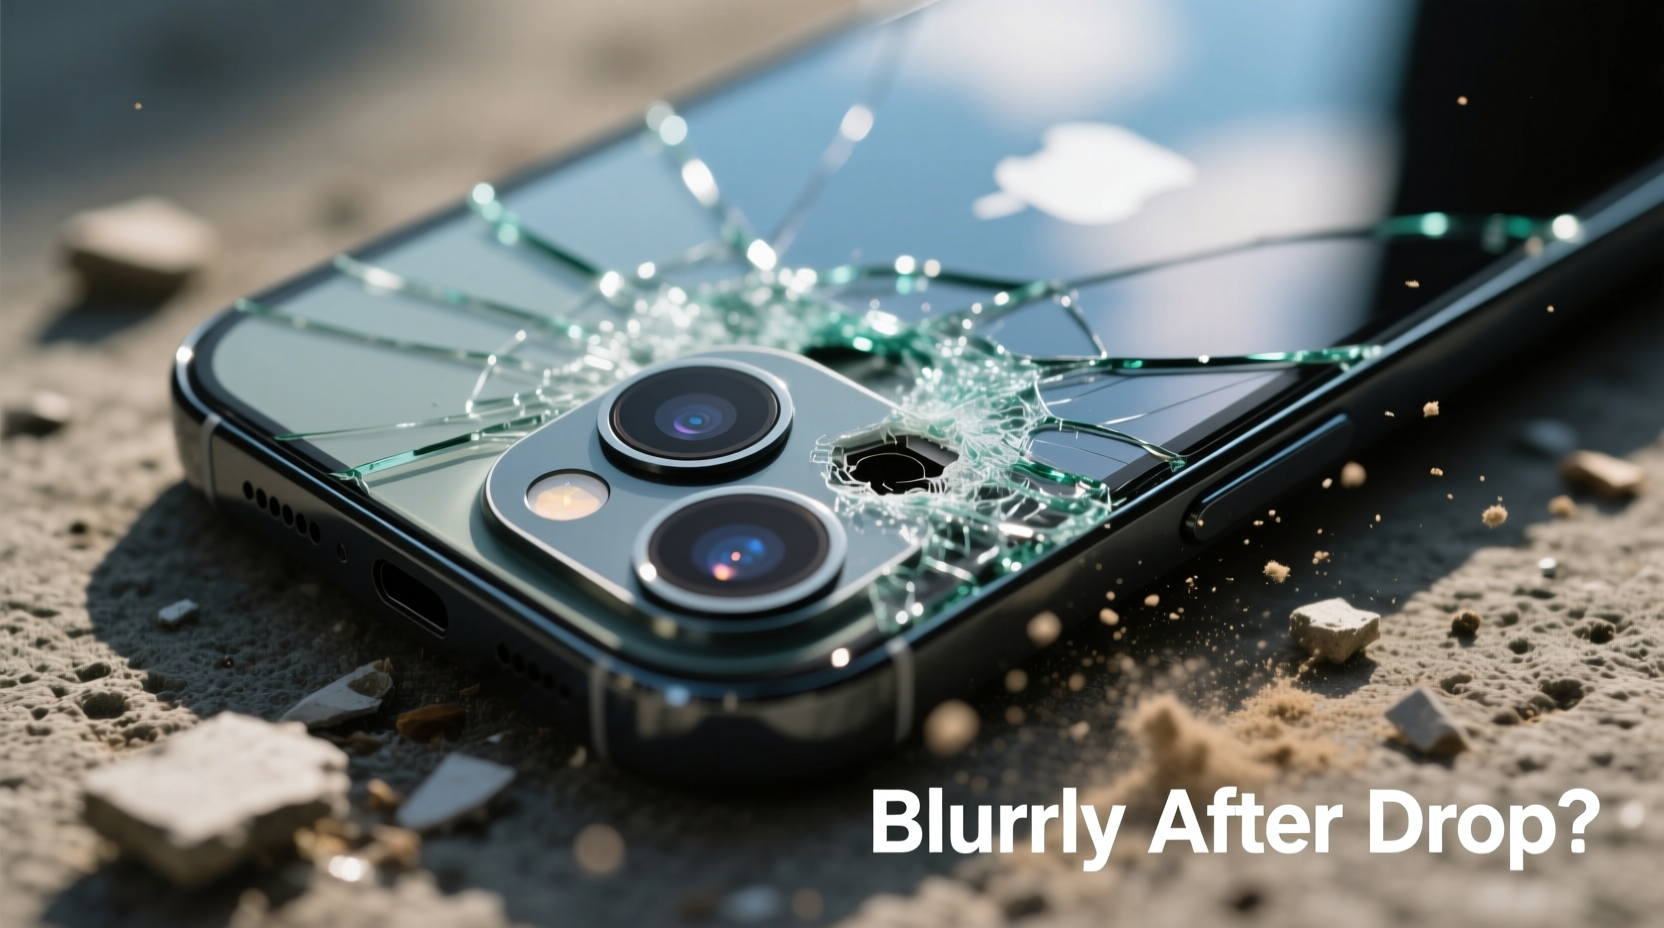
A dropped phone is one of the most common mishaps in modern life. While many devices survive with only cosmetic damage, others suffer functional setbacks — especially to delicate components like the camera. If you've noticed your phone's camera suddenly producing blurry, unfocused, or distorted images after an impact, you're not alone. This issue affects millions of users every year. The good news? In many cases, the problem can be diagnosed and even resolved without replacing the entire device.
The camera on a smartphone is far more complex than it appears. It’s not just a lens; it’s a precision system involving optical elements, sensors, autofocus mechanisms, image stabilization hardware, and software coordination. A drop can disrupt any part of this system, leading to performance issues that mimic dirt or poor lighting but are actually mechanical or internal in nature.
This article breaks down why a drop might cause camera blur, how to determine the extent of the damage, and what steps you can take — from simple troubleshooting to professional repair options.
What Happens to a Phone Camera During a Drop?
When a phone hits the ground, forces travel through its frame and internal components. Even if the screen remains intact, internal parts can shift, crack, or misalign. The camera module, typically located on the back near the top edge, is especially vulnerable due to its protruding lens housing and intricate internal design.
Common physical consequences of a drop include:
- Lens misalignment: The tiny lens assembly can shift within its housing, throwing off focus calibration.
- Internal lens separation: Multi-element lenses may separate slightly, causing distortion or haze.
- Autofocus motor damage: The mechanism that moves lens elements for focusing can become jammed or displaced.
- OIS (Optical Image Stabilization) failure: Tiny gyroscopes and moving parts designed to counteract hand shake can be damaged by impact.
- Sensor displacement: The image sensor behind the lens may shift, affecting clarity and color accuracy.
- Cracked lens cover: Microscopic cracks scatter light and reduce sharpness, even if not visible to the naked eye.
These aren’t always obvious. You might see no external signs of damage, yet the photos appear consistently soft, out of focus, or exhibit strange artifacts like double imaging or foggy patches.
How to Diagnose a Blurry Post-Drop Camera
Before jumping to conclusions or spending money on repairs, conduct a systematic check to isolate the issue. Start with the simplest explanations and work toward deeper diagnostics.
- Clean the lens thoroughly: Use a microfiber cloth and a small amount of lens cleaner (or distilled water). Wipe gently in circular motions. Dirt, oil, or smudges are frequent culprits.
- Test both front and rear cameras: Compare results. If only one camera is blurry, the issue is likely isolated to that module.
- Check multiple lighting conditions: Take photos in bright daylight and low light. Blurriness that worsens in dim settings may point to OIS or autofocus failure.
- Tap to focus: On your screen, tap different areas to force the camera to refocus. If the focus doesn’t change or hunts endlessly, the autofocus system may be compromised.
- Use a third-party camera app: Try apps like Open Camera (Android) or ProCamera (iOS). If the issue persists across apps, it’s hardware-related.
- Inspect for physical damage: Examine the lens under bright light. Look for scratches, cloudiness, or uneven gaps around the lens ring.
- Listen for unusual sounds: When opening the camera app, listen closely. A faint buzzing or grinding noise could indicate a stuck autofocus motor.
If cleaning and testing don’t resolve the issue, the damage is likely internal. At this stage, consider whether the problem is mechanical, electronic, or software-based.
Can You Fix a Blurry Camera After a Drop? Practical Solutions
Yes — but the feasibility depends on the nature and severity of the damage. Here’s a breakdown of possible fixes, ranked by complexity and cost.
1. Software Reset and Calibration
Sometimes, a drop triggers a software glitch that confuses the camera’s calibration. Rebooting or resetting settings can help.
“Physical shocks can interrupt firmware communication between sensors and processors. A soft reset often restores normal function.” — Dr. Lena Torres, Mobile Hardware Engineer
To attempt a software fix:
- Restart your phone completely.
- Clear the camera app cache (Android: Settings > Apps > Camera > Storage > Clear Cache).
- Reset all settings (iOS: Settings > General > Transfer or Reset iPhone > Reset All Settings).
- Update your operating system and camera app.
Note: This won’t fix physical damage, but it eliminates software as the root cause.
2. DIY Lens Realignment (Advanced, Risky)
In rare cases, gentle realignment of the lens housing may restore focus. However, this is not recommended unless you have technical experience.
Some users report success by:
- Gently pressing around the lens bezel while taking a photo (to test responsiveness).
- Using a rubber band wrapped around the phone to apply slight inward pressure on the lens module.
⚠️ Warning: Excessive pressure can worsen internal damage or break seals. Proceed at your own risk.
3. Professional Repair Services
For confirmed hardware damage, professional repair is the safest option. Trained technicians use specialized tools to disassemble the phone, inspect the camera module, and replace or recalibrate components.
Repair options include:
- Camera module replacement: Most common fix. Technicians swap the damaged module with a new or refurbished one.
- Lens recalibration: Some shops offer micro-adjustment services using alignment jigs.
- OIS recalibration: Requires firmware tools and precise testing equipment.
Cost varies by model: $50–$150 for mid-range phones, $100–$300 for flagships like iPhone or Samsung Galaxy S series.
4. Manufacturer Service
If your phone is under warranty or covered by AppleCare+/Samsung Care+, manufacturer repair ensures genuine parts and proper calibration. However, accidental damage is rarely covered unless you’ve paid for protection plans.
Apple, for example, charges $99–$149 for out-of-warranty camera repairs on iPhones. Samsung offers similar pricing through authorized service centers.
Do’s and Don’ts: What to Avoid After a Camera-Damaging Drop
| Do’s | Don’ts |
|---|---|
| Wipe the lens with a microfiber cloth | Use abrasive cloths or household cleaners |
| Test camera functionality across apps | Assume the issue is software without testing |
| Seek quotes from multiple repair shops | Let unlicensed technicians open your phone |
| Back up data before repair | Continue dropping or stressing the device |
| Consider a protective case post-repair | Ignore persistent autofocus hunting or noise |
Following best practices increases your chances of recovery and prevents further damage.
Real-World Example: Sarah’s Cracked Lens Dilemma
Sarah, a freelance photographer, dropped her iPhone 13 while shooting at a wedding. The screen was fine, but her photos turned consistently hazy. She assumed it was dust, so she cleaned the lens repeatedly. When the blur persisted, she tried a third-party app — same result.
She visited a local repair shop, where the technician used a magnifier and discovered hairline cracks in the sapphire lens cover. Though invisible to the eye, the fractures scattered light and degraded image quality. The shop replaced the rear camera module for $120. After recalibration, her photos regained full clarity.
Had she ignored the issue, moisture could have seeped in over time, damaging the sensor permanently. Early diagnosis saved her hundreds in potential data and hardware loss.
Step-by-Step Guide: From Drop to Resolution
Follow this timeline to maximize recovery chances:
- Immediately after drop: Power off the phone if you suspect internal damage. Minimize usage to prevent short circuits.
- Day 1: Inspect lens, clean gently, test camera in various modes. Note symptoms (e.g., blur, noise, focus lag).
- Day 2: Restart phone, clear cache, update software. Test again.
- Day 3: Visit a reputable repair shop for diagnosis. Request a quote and ask about warranty on parts.
- Day 4–5: Get the repair done. Confirm post-repair testing is included.
- Day 6: Use the camera extensively to verify resolution. Check for color accuracy, focus speed, and OIS performance.
- Ongoing: Invest in a rugged case and avoid placing the phone lens-down on hard surfaces.
Frequently Asked Questions
Can a blurry camera fix itself over time?
No. Physical damage does not heal on its own. Software glitches might resolve after a restart, but mechanical issues require intervention. Delaying repair risks worsening the condition.
Is it worth repairing an older phone’s camera?
It depends. If the phone still meets your needs and the repair cost is under 40% of a replacement’s price, it’s usually worth fixing. For phones over three years old, consider upgrading if repair costs exceed $100.
Will insurance cover a blurry camera after a drop?
Yes, if you have accidental damage coverage. Most carrier and third-party insurance plans (like Asurion or AppleCare+) cover camera repairs for a deductible ($50–$150). File a claim promptly and retain proof of damage.
Final Thoughts: Act Fast, Preserve Functionality
A blurry camera after a drop isn’t just an inconvenience — it can signal deeper internal compromise. Whether you rely on your phone for daily memories, remote work, or creative projects, maintaining camera integrity is essential. The key is swift, informed action: diagnose carefully, avoid risky DIY fixes, and consult professionals when needed.
Modern smartphones are engineered for durability, but their precision optics remain fragile. Protect your investment with a quality case, routine maintenance, and awareness of early warning signs. A small drop doesn’t have to mean a permanent downgrade in photo quality.


 浙公网安备
33010002000092号
浙公网安备
33010002000092号 浙B2-20120091-4
Comments
No comments yet. Why don't you start the discussion?