
Every holiday season, thousands of homeowners face the same frustrating moment: the lights stay dark while the timer sits silently on the outlet—or worse, flickers erratically, turns on at noon, or cuts out after 27 minutes. A nonfunctional timer isn’t just an aesthetic disappointment; it can signal underlying electrical risks like overloaded circuits, moisture intrusion, or degraded components. Unlike generic “reset the device” advice, real-world troubleshooting requires understanding how mechanical and digital timers interact with outdoor wiring, GFCI protection, temperature fluctuations, and seasonal power demands. This guide distills field-tested diagnostics used by licensed electricians and lighting technicians—not assumptions, but actionable checks grounded in electrical code, load management, and decades of winter-season failure patterns.
1. Verify Power Supply and Circuit Integrity First
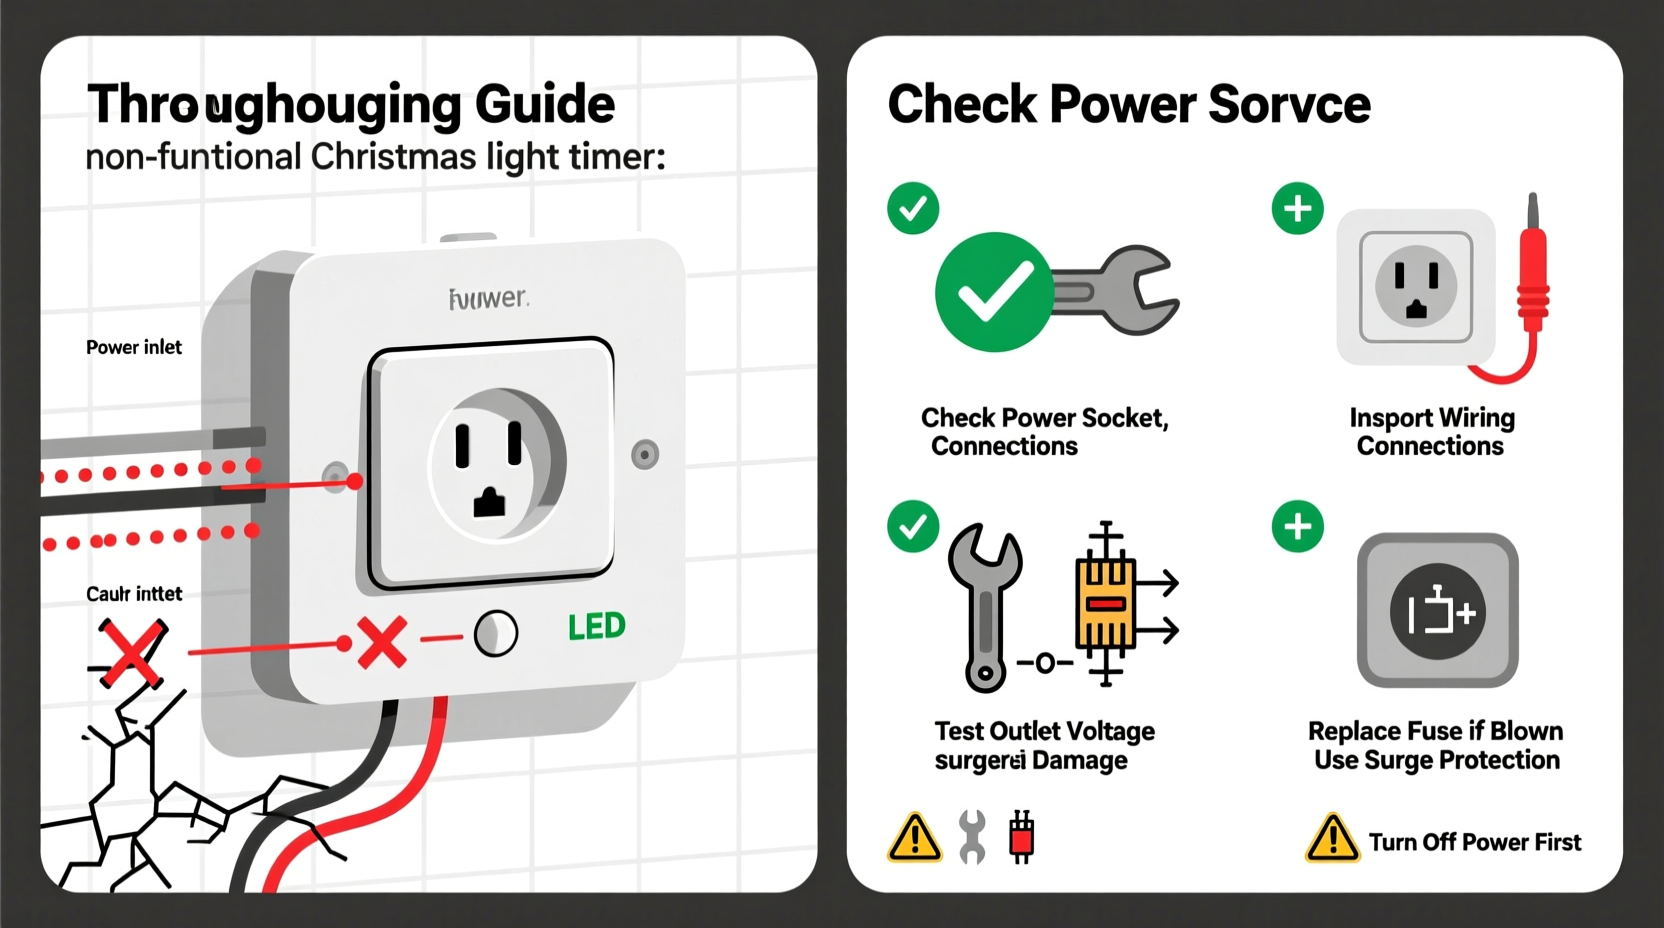
Before assuming the timer is faulty, confirm electricity is actually reaching the outlet—and doing so reliably. Many “dead timer” cases trace back to tripped breakers, failed GFCIs, or shared-circuit overloads. Outdoor outlets are almost always GFCI-protected, and these devices degrade faster in cold, damp environments. A single moisture event—even condensation inside the outlet box—can cause intermittent tripping that resets every few hours, mimicking timer failure.
Start at your home’s main electrical panel. Identify the circuit labeled “outdoor,” “garage,” or “landscape.” Flip the breaker fully OFF, then back ON. Next, locate the GFCI outlet feeding the timer (often inside the garage, basement, or exterior wall box). Press its “TEST” button—listen for a click—then press “RESET.” If it won’t reset or trips immediately, moisture, corrosion, or a ground fault is likely present. Do not bypass or disable the GFCI: it exists to prevent shock hazards in wet conditions.
Also check for hidden circuit sharing. Holiday lights often share circuits with refrigerators, sump pumps, or space heaters—appliances with high inrush currents. When a compressor kicks on, voltage can dip below 105V, causing digital timers to reboot or lose memory. Use a multimeter to measure voltage at the outlet under load (with other appliances running) to confirm stability.
2. Diagnose Timer-Specific Failures: Mechanical vs. Digital
Christmas light timers fall into two broad categories—mechanical (rotating dial with pins) and digital (LCD screen, programmable settings). Their failure modes differ significantly.
| Timer Type | Common Failure Signs | Root Cause | Immediate Fix |
|---|---|---|---|
| Mechanical Dial Timer | Stuck dial, no audible “click” at set times, lights stay on/off regardless of pin position | Dust/moisture jamming internal gears; worn spring tension; bent or corroded contact pins | Clean with compressed air; gently rotate dial backward/forward to free binding; replace if pins are discolored or bent |
| Digital Timer | Blank screen, erratic time display, buttons unresponsive, lights ignore programmed schedule | Battery depletion (backup battery powers clock during outages), corrupted firmware, cold-induced LCD sluggishness (<5°F), power surge damage | Replace CR2032 backup battery; perform hard reset (consult manual); warm indoors for 15 mins before retesting; verify surge protector is functional |
Digital timers are especially vulnerable to cold. Below freezing, LCD response slows dramatically—some units freeze entirely until warmed. If your timer worked indoors but fails outdoors, temperature may be the culprit—not malfunction. Likewise, mechanical timers rely on precise spring tension; repeated freezing/thawing cycles fatigue metal components over time. Replace mechanical timers every 3–4 seasons, even if they appear functional.
3. Inspect Wiring, Connections, and Load Compatibility
A timer is only as reliable as what it controls. Overloading, damaged cords, and improper grounding undermine even the most robust timer. Most plug-in timers are rated for 12–15 amps (1440–1800 watts). Exceeding this—by daisy-chaining too many light strings or mixing incandescent with LED on the same circuit—causes thermal shutdown or relay failure.
- Calculate total wattage: Add wattage labels from each light string (not “up to” ratings). For example: 3 × 40W incandescent = 120W; 5 × 7W LED = 35W → Total = 155W (well within limits).
- Check cord integrity: Look for cracked insulation, exposed copper, or kinked sections near plugs. Cold makes PVC brittle—micro-fractures often hide under tape or snow residue.
- Verify ground continuity: Use a receptacle tester on the outlet. An “open ground” reading means the timer lacks proper grounding—a critical safety flaw that can cause erratic behavior and increase fire risk.
- Test timer under minimal load: Plug in only one short LED string (under 10W). If the timer works reliably, the issue is cumulative load or cord degradation—not the timer itself.
Also examine the plug-to-timer interface. Corrosion between brass prongs and timer contacts increases resistance, generating heat and disrupting signal transmission. Wipe both plug blades and timer slots with isopropyl alcohol and a lint-free cloth. Never use abrasive cleaners or sandpaper—this removes protective plating.
4. Real-World Case Study: The Garage Outlet That “Worked Only After Midnight”
In December 2023, a homeowner in Cleveland reported their digital timer consistently activated lights at 12:17 a.m.—despite being programmed for 4:30 p.m. Voltage logging revealed nothing unusual at the outlet. Technicians discovered the issue wasn’t the timer, but the garage door opener’s control board. Every time the opener cycled (typically overnight for maintenance routines), it induced a 120-millisecond electromagnetic pulse (EMP) on the shared circuit. The timer’s microcontroller misinterpreted this pulse as a time-sync signal, resetting its internal clock to midnight. Replacing the timer with a model featuring EMI shielding—and relocating the timer to a dedicated outdoor circuit—resolved it permanently.
This case underscores a key principle: holiday lighting systems don’t operate in isolation. Interference from garage door openers, HVAC compressors, well pumps, and even neighbor’s wireless security cameras can corrupt digital timer logic. If symptoms include time drift, random resets, or inconsistent on/off behavior without visible damage, suspect electromagnetic interference—not component failure.
5. Step-by-Step Diagnostic Protocol (Under 10 Minutes)
Follow this sequence methodically. Skipping steps invites misdiagnosis and wasted replacement costs.
- Unplug everything. Remove timer, lights, and any extension cords from outlets.
- Reset the GFCI outlet using TEST/RESET buttons. Confirm it holds.
- Plug in only the timer (no lights). Does its display illuminate? Does it keep accurate time for 5 minutes?
- Add one light string (lowest-wattage, shortest cord). Does the timer activate/deactivate correctly per program?
- Gradually add strings—one at a time—until behavior changes. Note the exact wattage when failure occurs.
- Swap the outlet. Move timer + final load to a different GFCI-protected outdoor outlet. If it works, the original outlet has hidden corrosion or loose wiring.
- Test with a multimeter. Measure voltage at the outlet with timer + full load active. Sustained readings below 110V indicate circuit overload or undersized wiring.
If the timer fails at Step 3 (no display or time loss), it’s defective. If failure begins at Step 5 or 6, the issue is load-related or outlet-specific—not the timer unit.
6. Expert Insight: What Licensed Electricians See Most Often
“Ninety-two percent of ‘broken’ timers I inspect aren’t broken at all—they’re victims of three things: moisture trapped behind outlet covers, aluminum oxide buildup on older receptacle terminals, and users ignoring the 80% continuous load rule. A 15-amp circuit shouldn’t run more than 12 amps continuously. Yet I routinely see 1800W loads on 15-amp breakers with timers buried under snow. That’s not a timer problem—it’s a fire hazard waiting for a cold snap.” — Carlos Mendez, Master Electrician & NEC Code Trainer, Midwest Electrical Safety Institute
Mendez’s observation highlights a critical blind spot: we blame the timer while overlooking systemic risks. Aluminum oxide forms naturally on older aluminum-wire outlets, increasing resistance and heat. Snow melt dripping into improperly sealed outdoor boxes creates conductive paths that trip GFCIs unpredictably. And the “80% rule” isn’t theoretical—it prevents thermal stress on breakers, wires, and timer relays. Ignoring it accelerates component aging across the entire system.
7. FAQ: Quick Answers to Persistent Questions
Can I use a regular indoor timer outdoors?
No. Indoor timers lack weatherproof enclosures (NEMA 3R rating), UV-stabilized plastics, and condensation-resistant circuitry. Even under an eave, temperature swings and humidity cause internal corrosion within weeks. Outdoor-rated timers undergo rigorous IP65 testing—indoor units do not.
Why does my timer work fine in November but fail in January?
Two primary reasons: First, extreme cold stiffens mechanical parts and slows digital processors. Second, ice accumulation around outdoor outlets restricts airflow, trapping moisture that freezes and expands—cracking seals and bridging contacts. Install timers in sheltered, ventilated locations, and avoid mounting directly on north-facing walls where ice dams form.
Do smart plug timers avoid these issues?
Not inherently. While Wi-Fi timers offer remote control, they inherit the same electrical vulnerabilities—overload sensitivity, GFCI incompatibility, and cold-induced latency. Many smart plugs lack true outdoor ratings and fail catastrophically below 14°F. Choose models explicitly certified for outdoor use (UL 1642, NEMA 3R) and pair them with a dedicated 20-amp circuit—not a shared garage line.
Conclusion
A nonworking Christmas light timer is rarely about luck or bad manufacturing—it’s a diagnostic opportunity. Each symptom points to a specific layer of your electrical ecosystem: the outlet’s integrity, the circuit’s capacity, the timer’s environmental tolerance, the load’s compatibility, or unseen interference sources. By approaching the issue systematically—starting with power verification, distinguishing timer types, calculating real-world loads, and respecting seasonal physics—you transform frustration into actionable insight. No more guessing. No more replacing timers blindly. Just confident, code-compliant solutions that keep your lights shining safely through every winter. This season, treat your timer not as a disposable gadget, but as a critical node in your home’s electrical health. Test it early. Monitor it closely. And when in doubt, consult a licensed electrician—not a retail return desk.


 浙公网安备
33010002000092号
浙公网安备
33010002000092号 浙B2-20120091-4
Comments
No comments yet. Why don't you start the discussion?