
Creating your own shoe heels may seem like a task reserved for experienced cobblers, but with the right tools, patience, and guidance, it’s an achievable craft for anyone passionate about footwear design. Custom heels offer more than aesthetic appeal—they allow you to tailor height, shape, and structure to your exact comfort and style needs. Whether you're designing for personal use or exploring a new creative outlet, this guide walks you through every stage of heel-making, from initial sketches to final polish.
Understanding Heel Types and Design Principles
Before diving into construction, it's essential to understand the variety of heel styles and their structural demands. The most common types include stilettos, block heels, kitten heels, wedges, and cone heels. Each has distinct weight distribution, balance requirements, and material needs.
A well-designed heel must align with the foot’s natural biomechanics. A heel that is too high or improperly balanced can cause discomfort or even long-term foot issues. As a beginner, start with low-to-mid height block heels—they’re more stable, easier to shape, and forgiving during the learning process.
Essential Tools and Materials Checklist
Success in heel crafting begins with preparation. Having the correct tools ensures precision and safety. Below is a checklist of essentials for beginners:
- Wood blanks (basswood or beech are ideal for practice)
- High-density EVA foam or urethane (for lightweight options)
- Bandsaw or scroll saw (for shaping)
- Sanding blocks and rotary tool (Dremel-type)
- Ruler, calipers, and compass
- Pencil and tracing paper
- Epoxy resin or industrial adhesive (e.g., Barge Cement)
- Metal shank or stabilizing rod (optional for added strength)
- Latex gloves and safety goggles
- Clamps and workbench vise
“Precision in measurement separates amateur attempts from professional results. Always double-check dimensions before cutting.” — Lena Torres, Footwear Artisan & Instructor
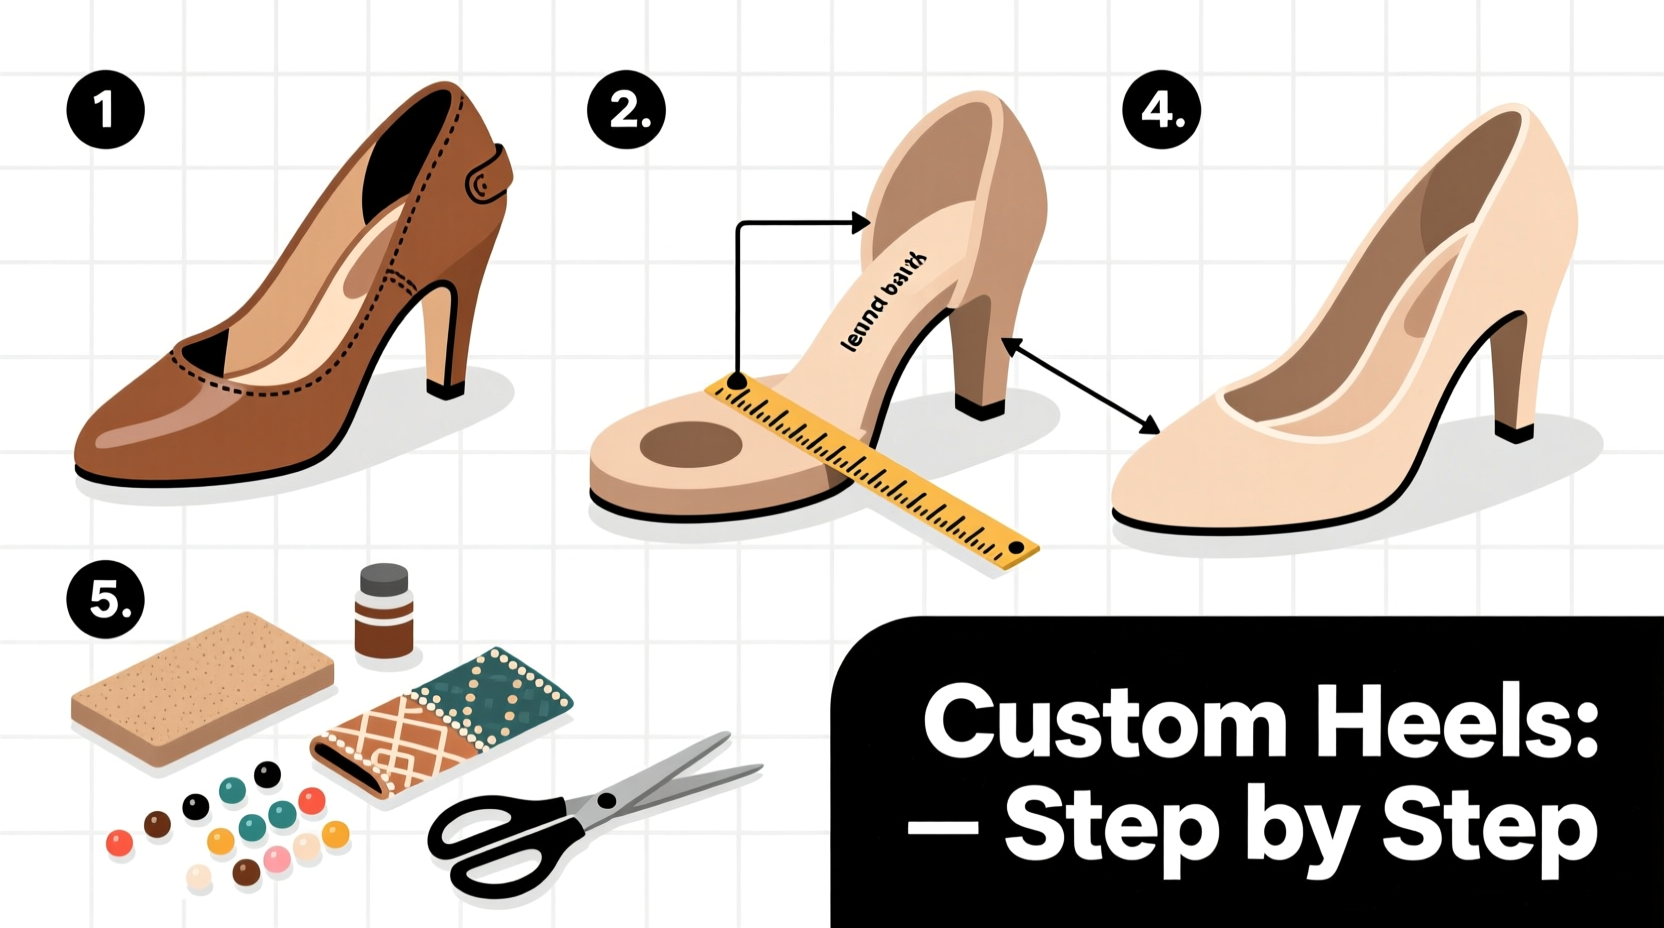
Step-by-Step Guide to Building a Custom Heel
This six-phase process outlines how to create a basic wooden block heel from scratch. Once mastered, these skills can be adapted to more complex shapes and materials.
- Design and Template Creation: Draw your desired heel profile on cardboard or thick paper. Aim for a smooth curve from base to top. Use calipers to measure standard heel attachment points (typically 1.5–2 inches wide at the top). Trace the template onto your wood blank.
- Cutting the Blank: Secure the wood blank in a vise and use a bandsaw to carefully cut along the traced lines. Work slowly to avoid splintering. For symmetrical heels, cut both sides simultaneously if using paired blanks.
- Rough Shaping: Use coarse-grit sandpaper (80–100 grit) to refine the edges and remove saw marks. Round corners slightly for comfort and aesthetics. A rotary tool with a grinding bit can help achieve finer curves.
- Smoothing and Detailing: Progress through medium (150 grit) and fine (220 grit) sandpaper. Pay attention to transitions between heel sections. If adding texture or grooves, now is the time to carve them carefully.
- Strengthening (Optional): For taller heels, insert a metal rod down the center for stability. Drill a vertical hole, apply epoxy, insert the rod, and let cure for 24 hours. This prevents breakage under weight.
- Finishing Touches: Apply a sealant or wood finish to protect against moisture and wear. Paint or wrap with leather/vinyl if desired. Allow full drying before attaching to a shoe.
Material Comparison: Pros and Cons
Different materials yield different outcomes in terms of weight, durability, and workability. Choose based on your project goals.
| Material | Pros | Cons | Best For |
|---|---|---|---|
| Hardwood (Beech, Maple) | Durable, holds shape, accepts finishes well | Heavy, harder to cut without proper tools | Classic block heels, dress shoes |
| Basswood | Soft, easy to carve, lightweight | Less durable, prone to chipping | Prototypes, beginner projects |
| EVA Foam | Very light, shock-absorbent, easy to shape | Wears faster, less rigid support | Casual heels, costume shoes |
| Polyurethane Resin | Strong, moldable, modern look | Requires molds and ventilation | Production runs, designer heels |
Real Example: From Idea to Wearable Heel
Sophie, a fashion student in Portland, wanted to create a pair of red ankle boots with geometric heels for her final collection. She began by sketching angular block heels inspired by Brutalist architecture. Using basswood blanks, she cut her first prototype with a jigsaw, sanded it over two evenings, and finished it with a glossy red lacquer.
The initial version wobbled when attached due to uneven weight distribution. After consulting a local cobbler, she adjusted the base width and added a steel pin for reinforcement. The final heel stood 2.5 inches tall, was fully functional, and became the centerpiece of her exhibition piece. Her experience highlights the importance of iteration and feedback in custom heel crafting.
Frequently Asked Questions
Can I attach a handmade heel to any shoe?
Not all shoes are suitable. The shoe must have a compatible sole thickness and structure to accept a heel tenon or screw mount. Most commercial heels use a pre-formed socket. For DIY, you’ll need to either modify the sole or build the heel into a custom shoe last from the beginning.
How do I ensure my heel is safe to walk on?
Test stability by standing on a flat surface and shifting weight forward and back. There should be no wobbling. Reinforce tall heels with internal rods, and always secure them with strong adhesive and mechanical fasteners (screws or nails). Walk short distances indoors first to assess performance.
What’s the easiest material for beginners to start with?
Basswood is the most beginner-friendly due to its softness and ease of shaping with hand tools. EVA foam is also excellent for ultra-lightweight designs and requires only basic knives and sandpaper.
Final Thoughts and Next Steps
Crafting custom shoe heels is a blend of artistry and engineering. It rewards patience, attention to detail, and a willingness to learn from mistakes. Your first heel might not be perfect—and that’s expected. Each attempt builds muscle memory and design intuition. Over time, you’ll develop a signature style and the confidence to experiment with bold shapes, mixed materials, and integrated lighting or color effects.
Start small, document your process, and don’t hesitate to seek feedback from experienced shoemakers or online communities. The world of bespoke footwear is growing, and there’s increasing demand for unique, handcrafted designs.


 浙公网安备
33010002000092号
浙公网安备
33010002000092号 浙B2-20120091-4
Comments
No comments yet. Why don't you start the discussion?