
Keeping a tissue box in your car is a smart habit—whether it’s for quick cleanups, seasonal allergies, or unexpected spills. But a plain cardboard box doesn’t do much for your car’s interior aesthetic. Instead of buying an overpriced fabric cover, why not make your own? With a little creativity and basic crafting skills, you can design a custom car tissue box cover that reflects your personality, matches your car’s decor, and even serves additional functions. These DIY projects are budget-friendly, fun to make, and surprisingly practical.
Why Make Your Own Car Tissue Box Cover?
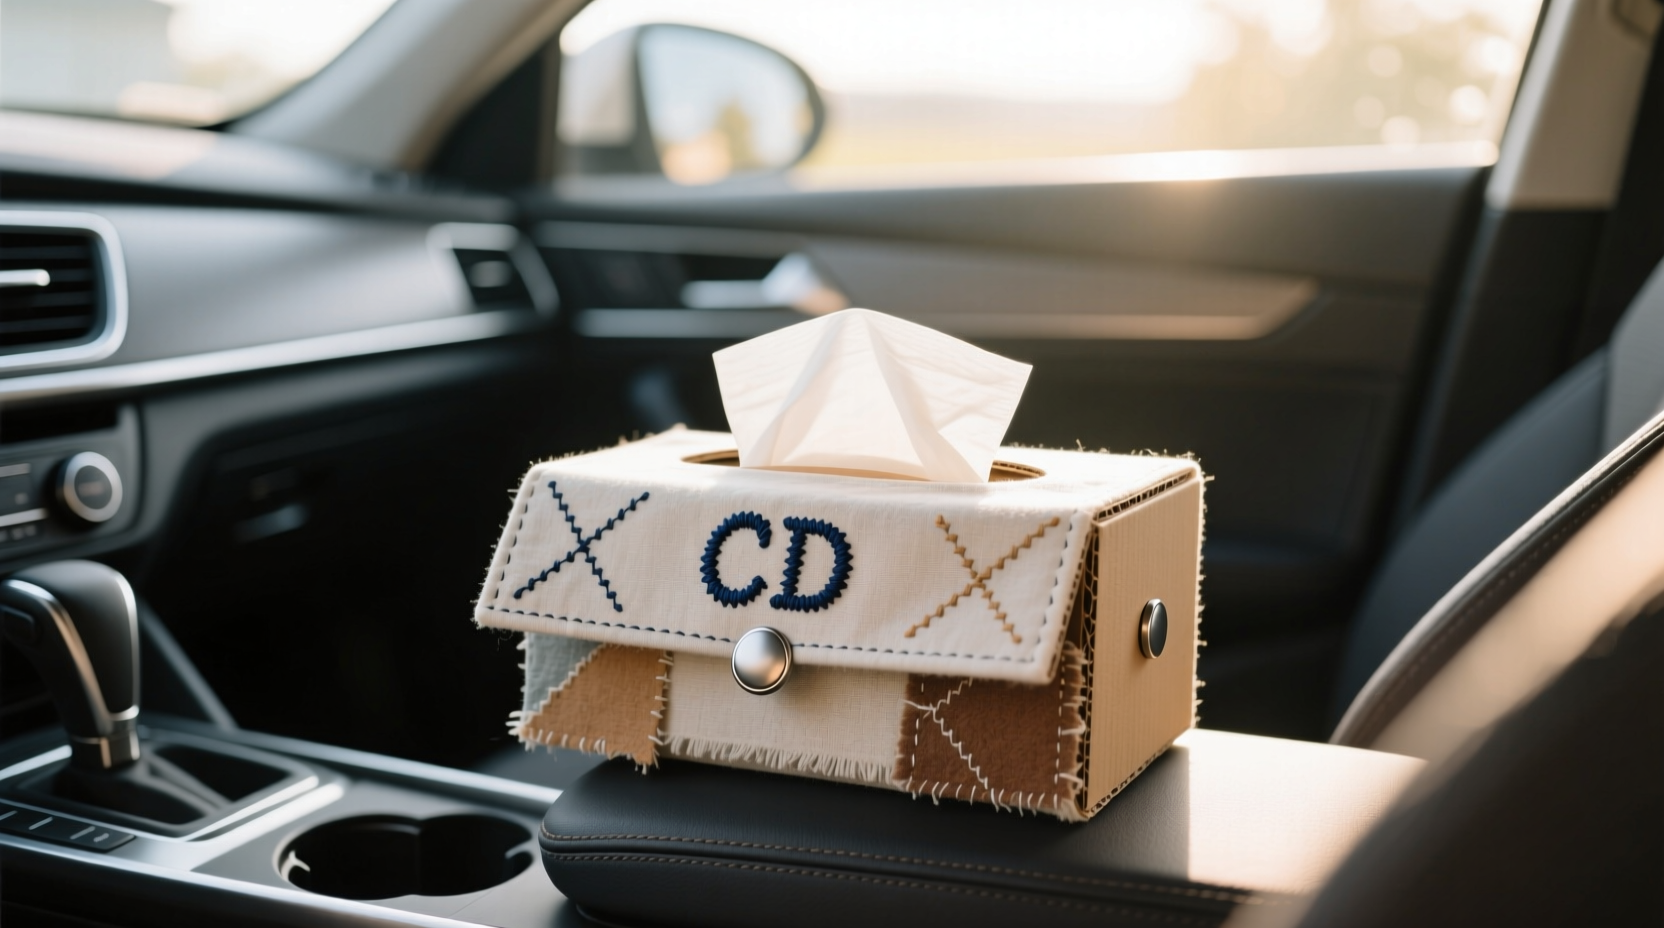
Store-bought car tissue holders often lack charm and versatility. Many are made from cheap plastic or generic patterns that don’t stand out. By making your own, you gain full control over materials, colors, functionality, and fit. Plus, handmade items add a personal touch to your daily routine.
DIY covers also allow you to repurpose materials you already have—old fabric scraps, denim jeans, quilting remnants, or even vintage scarves. This reduces waste and gives new life to unused textiles. Whether you're into minimalist design, bohemian flair, or modern utility, there's a DIY solution that fits your style.
Materials You’ll Need for Most Projects
The beauty of DIY tissue box covers is their simplicity. Most require only basic supplies commonly found at home or craft stores. Here’s what you’ll typically need:
- Fabric (cotton, denim, linen, or upholstery weight)
- Scissors and rotary cutter
- Ruler or measuring tape
- Pins or clips
- Sewing machine or needle and thread
- Elastic band or Velcro (optional, for secure fit)
- Iron and ironing board (for crisp seams)
- Decorative elements (patches, embroidery, buttons)
No-sew options are also available using fabric glue or fusible webbing, making these projects accessible even to beginners.
5 Creative & Practical DIY Designs You Can Try
1. The Classic Elastic-Slit Cover
This simple design slips over the top of the box and stays secure with elastic. It allows easy access while keeping tissues neatly contained.
- Cut a rectangle of fabric 7” wide by 9” long.
- Hem the long edges to prevent fraying.
- Fold the piece in half (right sides together) and sew the two short ends.
- Turn right side out and press flat.
- Along one open edge, create a casing by folding ½” inward and sewing, leaving a small gap.
- Thread a 10” elastic strip through the casing and secure the ends.
- Slide over the tissue box with the elastic side on top.
The elastic gathers the fabric snugly around the top, preventing slippage during driving.
2. Denim Pocket Upgrade
Transform an old pair of jeans into a rugged, stylish cover with bonus storage. The front pocket can hold wipes, parking tickets, or gum.
Cut a rectangle from the leg of a jean, large enough to wrap around the tissue box. Sew three sides, insert the box, then fold the top edge down to create a clean finish. No elastic needed—the stiffness of denim holds it in place.
3. Magnetic Closure Box Sleeve
For a sleek, modern look, use magnetic snaps to keep the cover closed when not in use. Ideal for dusty environments or off-road vehicles.
Attach small magnetic closures to the upper corners of the fabric sleeve. When folded over the top of the box, the magnets keep it shut yet allow one-handed access. Choose water-resistant canvas or outdoor fabric for durability.
4. Themed Holiday Covers
Switch up your car’s vibe seasonally with festive designs. Think plaid for winter, pastels for spring, or patriotic prints for July.
Keep multiple covers on hand and swap them out as holidays approach. Fabric markers or iron-on patches let kids personalize their own versions for backseat use.
5. Multi-Function Organizer Cover
Go beyond tissues—design a cover with extra pockets for phone, charger, or toll pass. Attach looped fabric strips inside to hold pens or mints.
This version works especially well for rideshare drivers or parents who spend a lot of time on the road. Mounting a small hook-and-loop strip lets you attach the entire unit to a headrest or seatback.
Material Comparison: Choosing the Right Fabric
| Material | Pros | Cons | Best For |
|---|---|---|---|
| Cotton | Easy to sew, wide variety of prints | Wrinkles easily, may shrink | Beginners, decorative covers |
| Denim | Durable, no-fray edges, great texture | Harder to sew through thick layers | Long-term use, rustic style |
| Felt | No fraying, cuts cleanly, kid-safe | Limits breathability, less flexible | No-sew projects, children’s cars |
| Upholstery Fabric | Stain-resistant, heavy-duty | Expensive, stiff to work with | Professional look, high-use vehicles |
| Quilting Cotton + Fusible Fleece | Soft, padded, warm feel | Requires interfacing, bulkier | Winter-themed or luxury feel |
“Customizing functional items like tissue holders enhances both usability and emotional connection to your space—even in a car.” — Lena Torres, Interior Design Consultant
Mini Case Study: Sarah’s Commuter Upgrade
Sarah, a graphic designer from Portland, spent two hours daily in her car. She found the stock tissue box unattractive and constantly sliding around. Inspired by a Pinterest post, she crafted a denim cover using her old jeans, adding a front pocket for her AirPods and a Velcro flap to keep tissues from drying out.
Within a week, coworkers started asking where she bought it. She began making them as gifts and eventually sold a few at a local craft fair. What started as a small convenience project turned into a micro-business—and all because she wanted a neater glove compartment.
Checklist: How to Make a Basic DIY Tissue Cover
Follow this step-by-step checklist to complete your first cover in under an hour:
- ☐ Measure your tissue box (height, width, depth)
- ☐ Select fabric based on durability and style preference
- ☐ Cut fabric to size (add ½” seam allowance on each side)
- ☐ Hem edges or use pinking shears to prevent fraying
- ☐ Sew three sides together (left, bottom, right)
- ☐ Add elastic, Velcro, or magnetic closure to the top
- ☐ Test fit on the tissue box and adjust if needed
- ☐ Decorate with embroidery, patches, or fabric paint
Frequently Asked Questions
Can I wash my DIY tissue box cover?
Yes, most fabric covers can be hand-washed or machine-washed on gentle cycle. Remove any elastic or magnetic parts first if possible. Air dry to prevent shrinkage, especially with cotton blends.
What if my tissue box is a non-standard size?
No problem. Simply measure your specific box and adjust the fabric dimensions accordingly. Many specialty brands (like travel packs or eco-boxes) differ slightly in size—customization ensures a perfect fit.
Do I need to know how to sew?
Not necessarily. Felt, fleece, or pre-cut fabric kits can be assembled with fabric glue or iron-on bonding tape. No-sew methods are ideal for kids or those without sewing machines.
Final Thoughts: Turn Utility Into Art
A car tissue box doesn’t have to be invisible. With a bit of imagination, it becomes a canvas for self-expression and thoughtful design. These DIY covers blend practicality with personal flair, turning a mundane item into a conversation starter or a reflection of your daily mood.
Beyond aesthetics, they improve organization, reduce clutter, and protect tissues from dust and sunlight. Whether you choose rugged denim, elegant linen, or playful novelty prints, each cover adds a layer of care to your driving experience.


 浙公网安备
33010002000092号
浙公网安备
33010002000092号 浙B2-20120091-4
Comments
No comments yet. Why don't you start the discussion?