
Every school day begins with a backpack slung over small shoulders—a silent companion through hallways, playgrounds, and after-school adventures. While function is key, personalization transforms this essential item into an extension of a child’s identity. A personalized backpack boosts confidence, eases identification in crowded classrooms, and nurtures a sense of ownership. Whether it’s a toddler’s first tote or a teen’s sleek laptop carrier, thoughtful customization can make all the difference.
The best personalizations balance creativity with durability. They reflect personality without compromising safety or longevity. From fabric markers to modular accessories, there are countless ways to tailor a backpack to suit a child’s age, interests, and developmental stage. The goal isn’t just decoration—it’s creating a functional piece that feels uniquely theirs.
Why Personalization Matters at Every Age
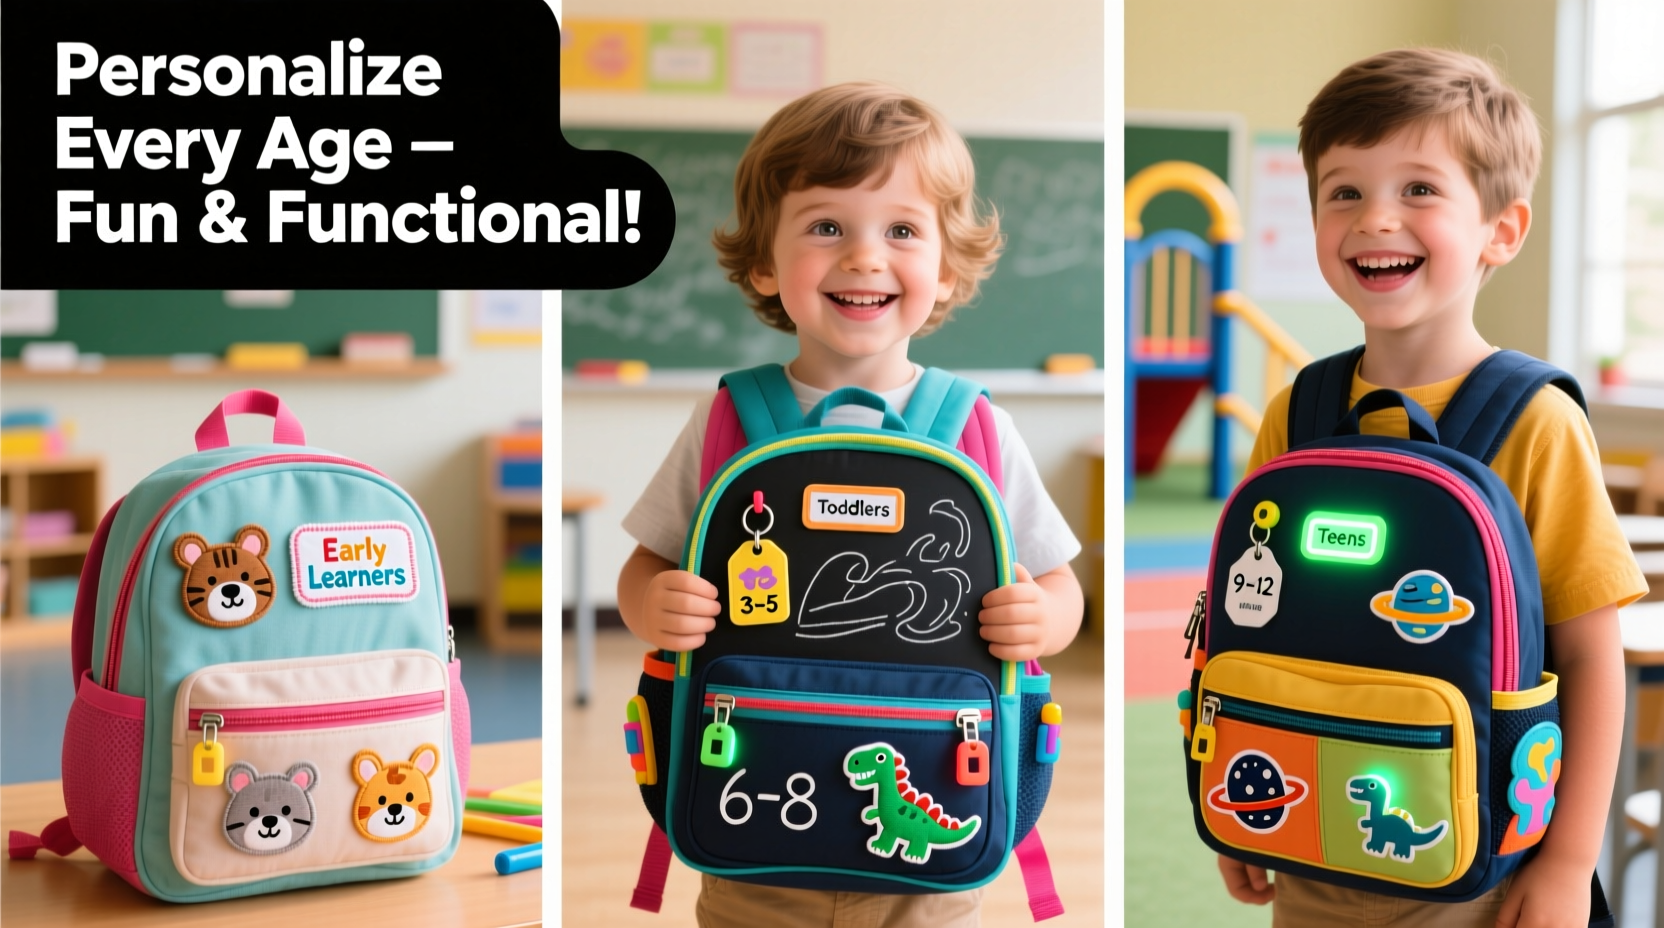
Personalizing a backpack goes beyond aesthetics. For young children, visual cues help them identify their belongings quickly and reduce mix-ups. As kids grow, self-expression becomes more important. Tweens and teens use accessories and design choices to communicate individuality within school guidelines.
Psychologically, having a personalized item fosters responsibility. When a child feels connected to their backpack, they’re more likely to care for it. This emotional investment translates into better organization, reduced loss, and pride in daily routines.
“Children thrive when they feel seen. A personalized backpack—no matter how simple—is a subtle affirmation of identity.” — Dr. Lena Patel, Child Development Specialist
Creative & Practical Ideas by Age Group
What works for a 4-year-old won’t resonate with a 15-year-old. Here’s how to adapt personalization strategies across developmental stages.
Preschool (Ages 3–5)
At this age, recognition is more important than style. Use bold visuals and tactile elements.
- Felt Name Patches: Sew or iron-on patches with large, colorful letters.
- Animal or Character Badges: Attach soft plush pins shaped like favorite animals.
- Textured Tags: Add silicone or rubber tags with raised letters for sensory engagement.
- Sticker Rotations: Let kids change weekly stickers based on moods or themes.
Elementary School (Ages 6–10)
Kids in this range love storytelling and themed designs. Encourage participation in the customization process.
- Fabric Marker Art: Let them draw their favorite characters, hobbies, or imaginary creatures directly on fabric zones.
- Patch Collages: Create a “journey map” with patches from camps, sports teams, or achievements.
- Zipper Pull Charms: Use durable plastic or metal charms shaped like dinosaurs, unicorns, or musical notes.
- Reflective Name Tapes: Combine safety and style with glow-in-the-dark or reflective lettering.
Middle School (Ages 11–13)
This is the era of emerging identity. Kids want to stand out while fitting in. Subtlety meets expression.
- Minimalist Embroidery: Monogram initials in a modern font on a front pocket.
- Interchangeable Pin Sets: Magnetic or rubber-backed enamel pins allow for rotating messages or inside jokes.
- Custom Lanyards: Dual-purpose lanyards with school ID holders and quirky pendants.
- Removable Fabric Panels: Sew Velcro-backed panels so designs can be swapped monthly.
High School (Ages 14–18)
Teens prioritize functionality and low-key flair. Focus on sophistication and utility.
- Leather Patch Engraving: A clean, embossed name or motto on a faux-leather patch.
- Artistic Transfer Prints: Use heat-transfer vinyl for band logos, poetry lines, or abstract art.
- Modular Accessories: Carabiner clips with mini pouches, flash drives, or air tags.
- Tonal Color Accents: Replace standard zippers with colored sliders matching school colors or personal palettes.
Step-by-Step Guide: DIY Backpack Makeover
Transform a plain backpack into a personalized masterpiece with these steps:
- Choose a Base Bag: Select a durable, neutral-colored backpack with smooth fabric surfaces ideal for customization.
- Gather Supplies: Fabric markers, iron-on patches, sewing thread, Velcro strips, pins, and protective sealant spray.
- Plan the Layout: Sketch placements on paper first. Avoid obstructing straps, zippers, or pockets.
- Apply Permanent Elements First: Iron on patches or sew on fabric pieces before adding drawings or transfers.
- Add Hand-Drawn Details: Use fabric pens to outline names or add doodles. Allow 24 hours to set.
- Seal for Durability: Lightly spray with a fabric protectant to resist stains and fading.
- Attach Accessories: Clip on charms, lanyards, or utility add-ons last.
Do’s and Don’ts of Backpack Personalization
| Do’s | Don’ts |
|---|---|
| Use wash-safe materials and sealed finishes | Avoid loose embellishments that could be choking hazards |
| Involve your child in the design process | Don’t overcrowd the bag—leave room for growth and changes |
| Check school policies on accessories | Never block safety features like reflective strips or ventilation panels |
| Rotate seasonal elements to keep it fresh | Don’t use permanent modifications on rented or shared bags |
Real-Life Example: Maya’s Transition from Elementary to Middle School
Maya, age 11, had worn the same sparkly unicorn backpack since first grade. As she entered middle school, she felt it no longer matched her evolving taste. Instead of replacing it, her mom helped her redesign it.
They removed outdated stickers, applied a dark purple fabric overlay to the front panel, and added a minimalist constellation embroidery near the top. Interchangeable pins—like a book emoji and a peace sign—allowed her to express different sides of her personality week to week. The result? A familiar bag with renewed relevance. “It still feels like mine,” Maya said, “but now I don’t feel babyish carrying it.”
Essential Checklist Before You Begin
Before starting any personalization project, ensure you’re prepared:
- Confirm backpack material compatibility (e.g., nylon vs. canvas)
- Verify school rules on visible branding, chains, or external attachments
- Test adhesives or heat applications on a small area
- Choose non-toxic, child-safe materials
- Include a permanent internal label with name and contact info
- Balance weight—avoid adding too many heavy charms
Frequently Asked Questions
Can I wash a personalized backpack?
Yes, but with caution. Remove detachable accessories first. Hand wash or use a gentle cycle with cold water. Air dry completely to preserve glued or ironed elements. Always check care labels before cleaning.
What if my child wants frequent changes?
Design for flexibility. Use Velcro-mounted patches, clip-on decor, or zipper-pull swappers. This allows seasonal updates without damaging the bag. It also supports evolving tastes during key developmental years.
Are there safety concerns with added decorations?
Yes. Avoid long strings, sharp pins, or small parts that could detach. Ensure all additions are securely fastened and do not interfere with closures or ergonomic fit. For younger kids, prioritize soft, lightweight materials.
Make It Meaningful, Not Just Flashy
The most impactful personalizations tell a story. A backpack adorned with a soccer patch, a science club pin, and a hand-drawn galaxy doesn’t just look unique—it reflects a life in motion. These details become memory markers, tracing growth year by year.
As children mature, their backpacks can evolve from brightly labeled carriers to understated companions that whisper rather than shout who they are. The key is intentionality: choosing elements that matter, not just what’s trendy.


 浙公网安备
33010002000092号
浙公网安备
33010002000092号 浙B2-20120091-4
Comments
No comments yet. Why don't you start the discussion?