
In an age dominated by digital devices, there’s something deeply satisfying about crafting a physical representation of technology with your own hands. Building a functional mobile phone model from cardboard boxes may sound like child’s play, but it’s a surprisingly powerful exercise in design thinking, spatial reasoning, and sustainable creativity. Whether you're a teacher illustrating tech anatomy, a parent engaging kids in STEM activities, or an artist exploring low-tech prototypes, this project bridges imagination and practicality. The result isn’t just a mock-up—it’s a tactile tool that simulates real-world interaction, complete with buttons, screen zones, and even app layouts.
Why Build a Cardboard Phone Model?
A cardboard phone model serves more than decorative purposes. It can be used as an educational prop to teach children about device interfaces, as a storytelling device in theater or film, or as a rapid prototype for app designers testing user flow without coding. Unlike digital simulations, a physical model encourages kinesthetic learning and fosters deeper engagement.
Moreover, repurposing cardboard aligns with eco-conscious values. Instead of discarding packaging materials, they become tools for innovation. As educator and maker advocate Dr. Lena Patel notes:
“Hands-on modeling lowers the barrier to technological understanding. When students build a phone from cardboard, they stop seeing it as magic and start seeing it as design.” — Dr. Lena Patel, STEAM Education Researcher
Materials and Tools You’ll Need
The beauty of this project lies in its accessibility. Most materials can be found at home or purchased inexpensively. Below is a checklist to prepare before starting.
Basic Materials
- Cardboard boxes (medium thickness, clean surfaces)
- Ruler and pencil
- Utility knife or scissors
- Glue (PVA or craft glue) or double-sided tape
- Sandpaper (fine grit, optional for smoothing edges)
- Clear plastic sheet (from packaging or report covers) for screen effect
- Acrylic paints or markers (for detailing)
- Printed templates (optional, for screen icons or keypad)
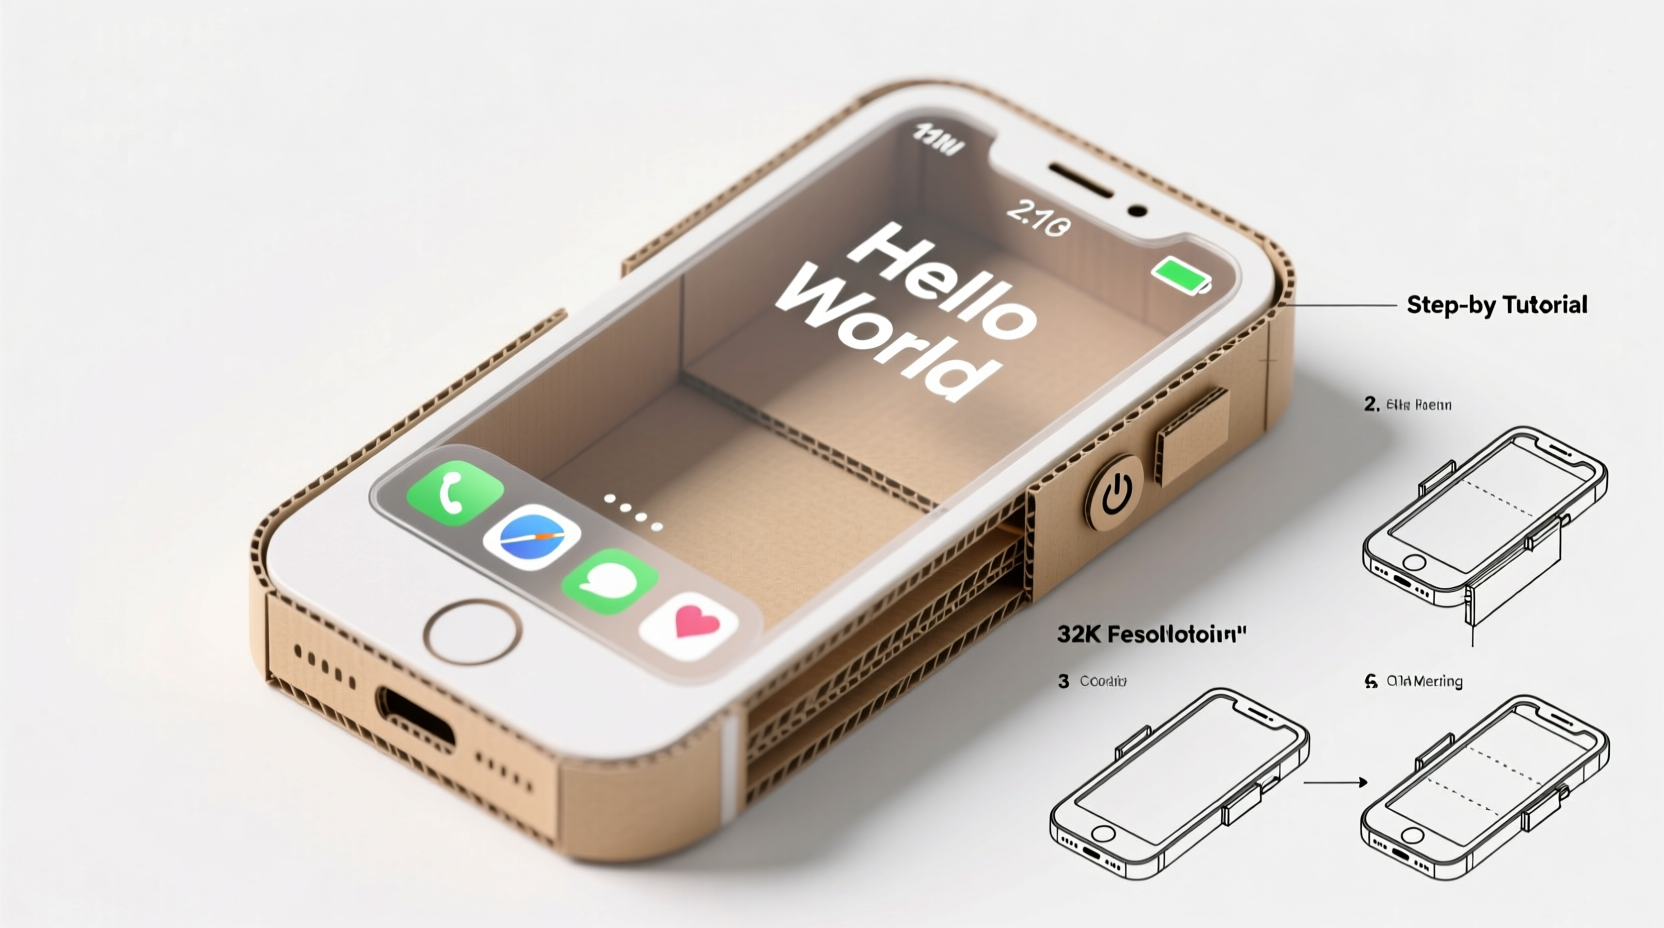
Step-by-Step Construction Guide
Follow this structured timeline to assemble a realistic, interactive phone model. Estimated build time: 2–3 hours, plus drying time.
- Design the Dimensions: Measure a real smartphone to scale. For example, if your phone is 15 cm tall, design the model at 1:1 or slightly larger for easier handling.
- Cut the Main Body: Draw a rectangle on cardboard matching your chosen dimensions. Add a 0.5 cm border around all sides—this will become the edge wrap. Cut carefully using a ruler and utility knife.
- Create Depth with Side Panels: Cut four thin strips (0.5 cm wide) for top, bottom, left, and right edges. Glue them along the border of the main body to form a shallow box.
- Add the Screen Layer: Trace the screen area (usually centered, slightly inset). Cut a piece of clear plastic to fit and attach it flush with the front surface. This gives the illusion of a glass display.
- Detail the Interface: Print or hand-draw icons, a status bar, and navigation buttons. Attach these beneath the plastic layer or directly on the cardboard base.
- Build Functional Buttons: Cut small rectangles for volume and power buttons. Attach them to the side panels with tiny hinges made from masking tape for pressable movement.
- Paint and Finish: Use matte paint to mimic metal or plastic finishes. Black, silver, or white work best. Let dry completely before handling.
- Optional Upgrades: Add a pop-out camera module, a charging port slit, or a headphone jack using shaped cardboard pieces.
Enhancing Functionality: From Mock-Up to Interactive Tool
A truly “functional” model goes beyond appearance. Here’s how to simulate usability:
- App Simulation: Create interchangeable screen inserts showing different app interfaces (camera, messages, maps). Slide them behind the plastic screen via a small slot.
- Tactile Feedback: Attach foam dots under screen areas to simulate button presses during role-play.
- Foldable Design: For a flip phone version, use a strong tape hinge between two halves and add a magnetic clasp made from paperclips.
- Wearable Strap: Punch holes at the top corners and thread a ribbon or fabric strip to carry the model like a real device.
| Feature | How to Implement | Realism Boost |
|---|---|---|
| Screen Glow Effect | Place LED tea light behind translucent screen insert | ★★★★☆ |
| Volume Rocker | Attach two movable tabs on the side with tape hinges | ★★★☆☆ |
| Camera Bump | Layer circular cardboard pieces and paint black | ★★★☆☆ |
| Charging Port | Cut a 1 cm slit at the bottom edge | ★★☆☆☆ |
| Sound Vents | Punch small holes in a row near the top or bottom | ★★★★☆ |
Real-World Application: A Classroom Case Study
In a fifth-grade classroom in Portland, Oregon, teacher Miguel Torres introduced the cardboard phone project during a unit on digital citizenship. Students built models based on their ideal phones—some included “kindness apps,” others designed screens with timers to prevent overuse.
“One student added a ‘family check-in’ button that lit up every evening,” Torres recalls. “It wasn’t just about mimicking tech—it became a way to express values through design.” The models were later used in skits demonstrating responsible phone use, turning abstract concepts into tangible stories.
This example shows how a simple craft can evolve into a multidisciplinary tool, blending art, engineering, and social-emotional learning.
Common Pitfalls and How to Avoid Them
Even experienced makers encounter challenges. Here’s a quick reference table of common issues and fixes.
| Problem | Do | Don’t |
|---|---|---|
| Warping during drying | Weight down flat with books while glue sets | Leave vertical; it may bend |
| Plastic screen peeling | Use minimal glue and smooth out bubbles | Apply excess adhesive |
| Buttons won’t press | Ensure tape hinges have slack | Glue too tightly |
| Paint looks uneven | Sand lightly and apply thin coats | Use thick, gloopy layers |
FAQ
Can I make the phone model waterproof?
Not fully, since cardboard absorbs moisture. However, you can enhance durability by sealing it with non-toxic Mod Podge or a thin layer of clear packing tape on all surfaces.
Is this suitable for young children?
Yes, with adult supervision. Replace utility knives with safety scissors and pre-cut complex parts. Focus on decorating and assembling rather than precision cutting.
Can I use this for product design prototyping?
Absolutely. UX designers often use cardboard mock-ups to test hand positioning, button placement, and screen visibility before moving to digital wireframes. It’s a low-cost way to validate ergonomics.
Conclusion: Turn Imagination Into Innovation
Building a functional mobile phone model from cardboard boxes proves that innovation doesn’t require advanced tools or expensive materials. With patience and creativity, everyday waste transforms into a meaningful, interactive object. This project teaches problem-solving, sustainability, and the joy of making—skills that resonate far beyond the craft table.


 浙公网安备
33010002000092号
浙公网安备
33010002000092号 浙B2-20120091-4
Comments
No comments yet. Why don't you start the discussion?