
In an age where mass-produced decor dominates shelves, there’s something deeply satisfying about crafting a handmade piece that carries warmth, character, and history. A vintage-inspired tissue box may seem like a small detail in home styling, but it can become a statement of charm and thoughtful design. With just a few accessible materials and a touch of creativity, you can transform an ordinary tissue box into a nostalgic centerpiece that complements any room—from the living room to the powder bathroom. This guide walks you through the process step by step, offering practical tips, material insights, and design inspiration to help you craft a truly unique piece.
Why Choose a Vintage-Inspired Design?
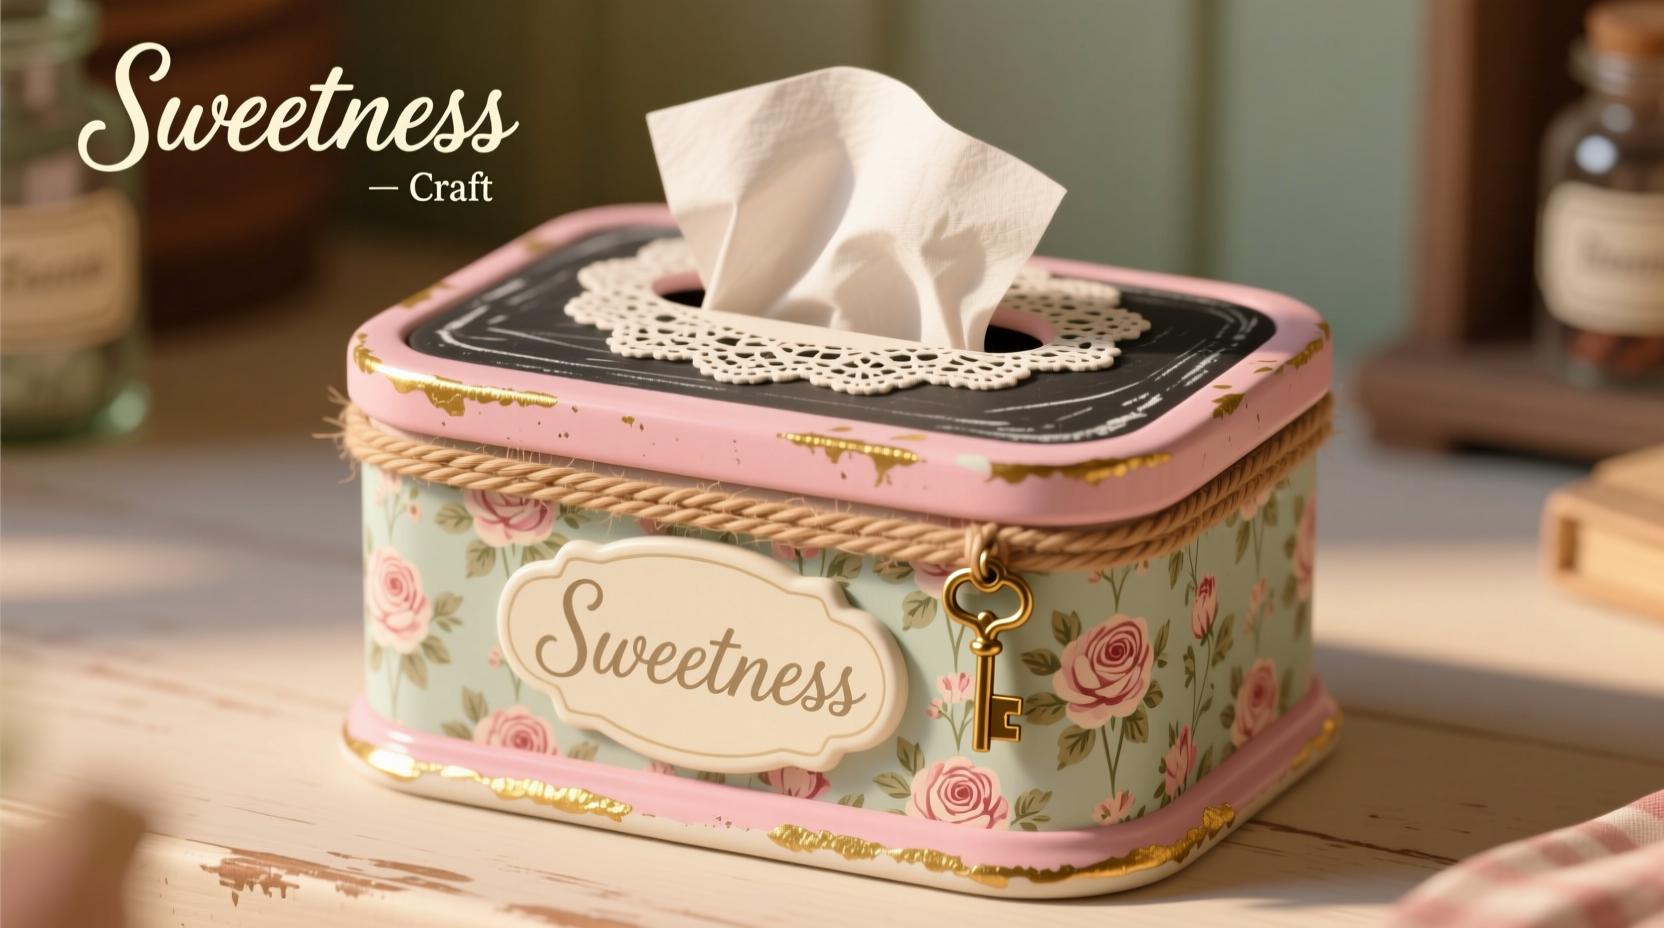
Vintage aesthetics evoke comfort, elegance, and timelessness. Whether influenced by Victorian florals, mid-century minimalism, or shabby-chic textures, vintage styles bring soul to modern interiors. Creating a tissue box with vintage flair allows you to personalize your space while repurposing everyday items. Beyond aesthetics, handmade decor fosters mindfulness and connection—each brushstroke or fabric choice reflects intentionality. Plus, a custom tissue box makes a heartfelt gift for friends or family who appreciate artisanal touches.
“Handmade objects carry stories. When we incorporate them into our homes, we invite memory, craftsmanship, and individuality into our daily lives.” — Clara Bennett, Interior Stylist & Author of *Slow Decor*
Materials You’ll Need
The beauty of this project lies in its accessibility. Most materials can be sourced from around the house or purchased affordably at craft stores. Below is a checklist to get you started:
- Empty rectangular tissue box (standard size)
- Cardboard or chipboard (for reinforcement, optional)
- PVA glue (white craft glue)
- Scissors or craft knife
- Ruler and pencil
- Fine-grit sandpaper
- Acrylic paint (in vintage tones: cream, sage green, dusty rose, navy)
- Paintbrushes (flat and detail)
- Decorative paper (scrapbook paper, old book pages, sheet music, or wallpaper samples)
- Mod Podge or decoupage medium
- Lint-free cloth
- Ribbon, lace, or trim (optional)
- Matte varnish (sealer)
Step-by-Step Guide to Crafting Your Tissue Box
Follow this clear, five-stage process to build your vintage-inspired tissue box from start to finish.
- Prepare the Base: Remove any plastic liner from the tissue box. If the box feels flimsy, reinforce it by gluing a layer of thin cardboard to each side using PVA glue. Let dry completely. Lightly sand edges for a smooth surface.
- Prime and Paint: Apply a base coat of acrylic paint in your chosen vintage color. Cream or antique white works well as a neutral backdrop. Allow to dry, then add a second coat if needed. For added depth, lightly dry-brush a contrasting tone (like gray or gold) along the edges to mimic aged patina.
- Design the Exterior: Cut vintage-style paper to fit each side of the box. Use old dictionary pages, botanical prints, or sepia-toned maps for authenticity. Apply Mod Podge to the box surface, place the paper, then smooth out air bubbles with a cloth. Trim excess with a craft knife. Repeat for all four sides.
- Add Dimensional Details: Enhance the vintage feel with lace trim glued along the top rim, or attach small brass corner protectors for an antique look. You can also stencil delicate motifs—such as filigree or floral vines—using a fine brush and metallic paint.
- Seal and Protect: Once fully dry, apply 2–3 coats of matte varnish to protect the surface from moisture and frequent use. Allow 30 minutes between coats. This step ensures durability without sacrificing the soft, lived-in finish.
Choosing the Right Vintage Theme
Vintage doesn’t mean one specific era—it’s a spectrum of styles. Matching your tissue box to your room’s existing decor enhances cohesion. Consider these popular vintage themes:
| Theme | Color Palette | Materials & Patterns | Ideal Room |
|---|---|---|---|
| Victorian Elegance | Deep burgundy, gold, forest green | Ornate lace, damask prints, script fonts | Drawing room, master bedroom |
| Shabby Chic | Cream, soft pink, sky blue | Distressed paint, floral transfers, ruffled trim | Bathroom, guest room |
| Mid-Century Modern | Mustard yellow, olive green, walnut brown | Geometric patterns, wood veneer, minimalist lines | Living room, office |
| Cottagecore | Earthy tones, sage, oat | Botanical illustrations, linen texture, hand-lettering | Kitchen, reading nook |
A Real-Life Example: Sarah’s Entryway Upgrade
Sarah, a graphic designer from Portland, wanted to add warmth to her minimalist entryway. She had a plain tissue box that clashed with her curated collection of framed botanical prints and woven baskets. Using an old sheet of French-language sheet music from her grandmother’s piano bench, she covered the box with decoupage, painted the edges in matte sage, and tied a strip of ivory lace around the top. The result? A functional yet poetic accent that guests consistently compliment. “It’s not just a tissue box,” she says. “It’s a little heirloom I made myself.”
Common Mistakes and How to Avoid Them
Even simple DIY projects can go awry without attention to detail. Here are common pitfalls and their solutions:
- Wrinkled Paper Finish: Applying paper too quickly without smoothing can cause bubbles. Work slowly, use a brayer or credit card to press out air from the center outward.
- Weak Structure: Thin tissue boxes may collapse under pressure. Reinforce with cardboard before decorating.
- Peeling Edges: Failing to seal the edges properly leads to lifting. Always apply decoupage medium or varnish over the very edge of the paper.
- Overcomplication: Adding too many elements (lace, beads, glitter) can dilute the vintage charm. Stick to 2–3 cohesive details for a refined look.
Frequently Asked Questions
Can I use real fabric instead of paper?
Absolutely. Lightweight cotton or muslin works beautifully. Pre-wash and iron the fabric to prevent shrinking. Stretch and glue it smoothly onto the box, trimming seams neatly at the corners. Seal with Mod Podge to prevent fraying.
How do I refill the tissues without ruining the design?
Design the back panel to be removable. Attach it with small magnetic strips or Velcro dots so you can slide new tissue packs inside discreetly. Alternatively, leave the interior unlined and simply insert a fresh box when needed—the exterior stays intact.
Is this safe to use in humid areas like bathrooms?
Yes, as long as you apply a waterproof sealer. Use a clear acrylic spray sealer designed for crafts, and reapply every few months if exposed to steam. Avoid direct water contact to prolong the life of your creation.
Final Touches and Creative Variations
Once your box is complete, consider personalizing it further. Stamp initials in antique gold ink, attach a tiny porcelain knob as a handle, or glue on vintage brooches for a whimsical twist. For seasonal flair, swap out paper covers—florals for spring, plaid for winter. The modular nature of this project means you can refresh it anytime.
Conclusion: Craft Beauty Into the Everyday
Creating a vintage-inspired tissue box isn’t just about function—it’s about elevating the mundane into something meaningful. In a world of disposable products, choosing to make, decorate, and cherish a simple object is an act of quiet rebellion. It celebrates slowness, artistry, and personal expression. Whether you’re new to DIY or a seasoned crafter, this project offers immediate satisfaction and lasting charm. Gather your supplies, find your inspiration, and begin turning overlooked corners of your home into pockets of beauty.


 浙公网安备
33010002000092号
浙公网安备
33010002000092号 浙B2-20120091-4
Comments
No comments yet. Why don't you start the discussion?