
In a world where personal style defines confidence, the smallest accessories can make the boldest statements. Bag straps are often overlooked, yet they play a crucial role in both function and fashion. Instead of settling for generic, flimsy straps, why not create one that reflects your personality and withstands daily wear? This guide walks you through crafting a custom, long-lasting bag strap using metal chains and decorative keychains. With industrial strength and artistic flair, this DIY project transforms ordinary materials into a standout accessory that’s as tough as it is trendy.
Why Upgrade Your Bag Strap?
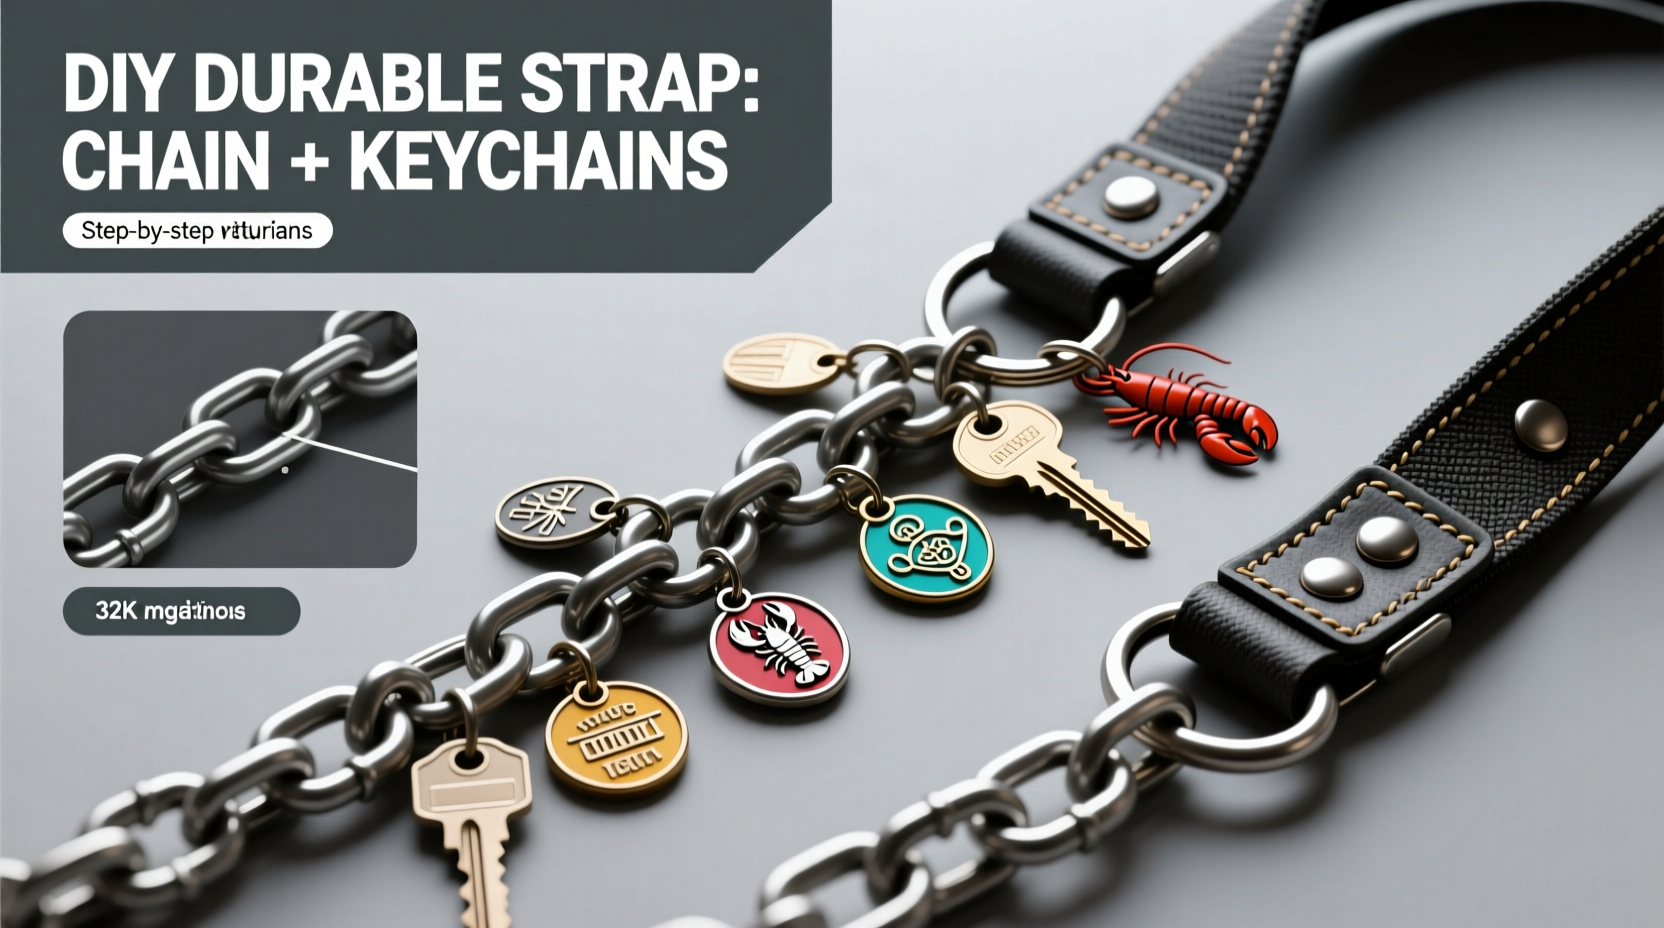
Standard fabric or thin leather straps degrade quickly under stress. They fray, stretch, or snap when carrying heavy loads. Metal chains, by contrast, offer superior tensile strength and resistance to wear. When reinforced properly and styled with character, a chain strap becomes a functional upgrade and a fashion centerpiece.
Using keychains isn’t just about decoration—they serve as weight distributors, style accents, and even symbolic charms. Whether you’re repurposing old jewelry, upcycling hardware, or incorporating meaningful trinkets, the result is a strap that tells a story while supporting your essentials.
“Customization isn’t just aesthetic—it’s ergonomic. A well-balanced, personalized strap reduces shoulder strain and increases usability.” — Lena Torres, Accessory Design Instructor at Metropolitan Craft Institute
Materials and Tools You’ll Need
Gathering the right supplies ensures your strap is safe, secure, and stylish. Below is a checklist of essential components:
Checklist: What to Buy or Repurpose
- Heavy-duty metal chain (minimum 3mm link thickness)
- Two sturdy metal swivel lobster clasps (rated for at least 5kg)
- Keychains with open rings or jump rings (for easy attachment)
- Silicone or faux-leather padding sleeve (optional, for comfort)
- Jump ring pliers or needle-nose pliers
- Chain cutter or bolt cutters (if resizing is needed)
- Measuring tape
- Protective gloves (when cutting metal)
The total cost for new materials rarely exceeds $20, especially if you incorporate vintage pieces from old necklaces, backpacks, or unused keyrings. Thrift stores and craft markets are excellent sources for unique chain segments and statement keychains.
Step-by-Step Guide to Building Your Strap
Follow this timeline to assemble a professional-grade strap in under an hour. Precision matters—each connection must be tight and secure.
- Measure and Cut the Chain: Determine your desired strap length. For crossbody use, 48–54 inches is standard; for shoulder carry, 24–30 inches works best. Use measuring tape diagonally across your body to test comfort. Mark the chain and cut with bolt cutters or a chain cutter.
- Attach the First Clasp: Open one end link of the chain slightly using pliers. Slide on a lobster clasp and close the link securely. Ensure the clasp opens away from the body for easy access.
- Reinforce Connection Points: To prevent stretching, double-link the first two and last two chain loops. This distributes tension and reduces wear at critical stress points.
- Add Keychains Strategically: Select 3–5 keychains. Attach them at intervals along the strap using jump rings. Avoid clustering them near the ends—spread them evenly to balance weight.
- Attach the Second Clasp: Repeat step 2 on the opposite end. Double-check that both clasps face the same direction for symmetry.
- Test Load Capacity: Hang a 4–5 kg weight (like a filled laptop bag) from the strap for 10 minutes. Inspect all links and connections. Tighten any loose rings immediately.
- Optional Comfort Upgrade: Slide a padded sleeve over the section that rests on your shoulder. Silicone sleeves grip fabric better and reduce slipping.
Design Variations and Style Ideas
Your strap doesn’t have to look industrial. With thoughtful detailing, it can complement any outfit—from edgy streetwear to minimalist chic.
| Style Theme | Chain Type | Keychain Suggestions | Best For |
|---|---|---|---|
| Edgy Glam | Oversized curb chain | Skull, spike, or lightning bolt charms | Festival bags, moto jackets |
| Vintage Elegance | Pearl-linked chain | Antique keys, locket, cameo | Clutch purses, date nights |
| Minimalist Modern | Thin, brushed silver trace chain | Geometric shapes, initials | Tote bags, work satchels |
| Boho Chic | Linked oval chain with mixed metals | Feathers, dreamcatchers, beads | Hobo bags, beach totes |
For those who love seasonal updates, consider designing interchangeable straps. Keep multiple chains ready and swap them based on occasion—no sewing, no hassle.
Mini Case Study: From Broken Backpack to Statement Piece
Jamie, a college student in Portland, had a favorite canvas backpack with a torn nylon strap. Rather than replacing the entire bag, she dismantled an old choker necklace and combined it with a brass chain from a thrifted bracelet. She added keychains representing her hobbies: a tiny camera, a paint palette, and her dog’s tag. After reinforcing the clasps with epoxy-coated connectors, the new strap held textbooks and a laptop without sagging. “People keep asking where I bought it,” she said. “It’s strong, sparkly, and totally me.”
Do’s and Don’ts for Longevity
A well-made strap lasts years—but only if maintained properly. Refer to this table to avoid common pitfalls.
| Do’s | Don’ts |
|---|---|
| Inspect clasps monthly for looseness | Overload the bag beyond 7kg |
| Wipe down chains after exposure to rain or sweat | Use pliers that mar or weaken chain links |
| Store the bag flat or hanging—never dangling by the strap | Expose iron-based chains to saltwater without rinsing |
| Lubricate swivel joints occasionally with dry Teflon spray | Attach sharp or jagged keychains that could snag fabric |
“Durability starts with design. Every link must support the next. One weak point compromises the whole structure.” — Rafael Nguyen, Industrial Jewelry Designer
Frequently Asked Questions
Can I use this strap on delicate bags like silk or satin?
Yes, but with caution. Attach a fabric buffer between the clasp and bag loop to prevent abrasion. Alternatively, use soft ribbon loops on the bag itself and connect the chain to those via the clasps.
How do I clean a metal chain strap?
Wipe with a microfiber cloth dampened with water and mild soap. For tarnished silver or brass, use a polishing cloth. Never soak the entire strap, especially if keychains contain wood, paper, or electronics.
Is it safe to fly with a metal chain strap?
Absolutely. TSA does not classify small decorative chains as prohibited items. However, remove the bag from your person during security screening to avoid delays.
Conclusion: Make It, Wear It, Own It
Crafting your own bag strap is more than a DIY project—it’s an act of self-expression grounded in practical engineering. By combining rugged chains with meaningful keychains, you create something far more valuable than store-bought alternatives: a piece that’s uniquely yours, built to endure, and admired for its bold individuality. No special skills are required, just attention to detail and a desire to stand out.


 浙公网安备
33010002000092号
浙公网安备
33010002000092号 浙B2-20120091-4
Comments
No comments yet. Why don't you start the discussion?