
Sanrio characters like Hello Kitty, My Melody, and Kuromi have captured hearts worldwide with their charm and whimsy. For fans and creators alike, turning that affection into tangible art through custom stickers is both a personal expression and a creative endeavor. Designing and printing your own Sanrio-inspired stickers allows you to personalize journals, laptops, gifts, or even sell them as part of a small creative business. This guide walks you through the entire process—from concept to peelable perfection—with practical advice, tools, and insider tips.
Understanding Your Creative Vision
Before opening any design software, define what kind of sticker collection you want to create. Are you aiming for kawaii-style decals featuring classic Sanrio poses? Or perhaps minimalist line-art versions with pastel tones? Maybe you’re designing themed sets—seasonal holidays, friendship messages, or motivational quotes paired with Sanrio motifs.
Clarity in vision ensures consistency across your sticker sheet. Start by gathering inspiration: browse official Sanrio releases, fan art on platforms like Pinterest or Instagram, and study how colors, spacing, and character expressions contribute to visual appeal.
Selecting Characters and Staying Within Guidelines
While Sanrio characters are beloved, they are protected under copyright law. You cannot legally reproduce exact official artwork for resale without a license. However, creating original designs *inspired* by Sanrio’s aesthetic—such as drawing your own version of a cat-eared character with similar cuteness—is permissible under “fan art” principles, especially if used non-commercially.
If selling your stickers, avoid direct replication of trademarked designs. Instead, focus on unique interpretations: change facial features slightly, alter accessories, or invent new characters within the same sweet, playful universe.
“Originality isn’t about reinventing the wheel—it’s about putting your own spin on joy. Fans appreciate heartfelt tributes more than perfect copies.” — Lila Chen, Independent Sticker Artist & Etsy Seller
Designing Your Stickers: Tools and Techniques
The quality of your final sticker depends heavily on your design phase. Use vector-based software whenever possible for crisp, scalable graphics that won’t pixelate when resized.
- Adobe Illustrator: Industry standard for precision and professional output.
- Procreate + Affinity Designer: Great combo for hand-drawn styles transferred into clean vectors.
- Inkscape: Free alternative with strong vector capabilities.
- Canva: User-friendly but best for simple shapes and limited scalability.
Key Design Principles for Stickers
- Size Appropriately: Most die-cut stickers range from 1–3 inches. Keep critical details (like eyes or text) large enough to be visible.
- Use Bold Outlines: Thin lines may disappear during printing or cutting. Aim for at least 1pt stroke weight.
- Leave Bleed Space: Add 1/8 inch (0.125”) bleed around each sticker to prevent white edges after trimming.
- Transparent Backgrounds: Save files as PNG or SVG with transparency enabled so stickers blend seamlessly on any surface.
Step-by-Step Guide to Printing Your Stickers
Once your designs are finalized, it's time to bring them into the physical world. Follow this timeline for reliable results:
- Export Files Correctly: Save each sticker or sheet as PDF (for printers) or high-resolution PNG (300 DPI minimum).
- Choose Print Method: Decide between home printing or professional services based on volume and quality needs.
- Select Sticker Paper: Use vinyl for durability or matte/frosted finish for a softer look. Ensure compatibility with your printer type (inkjet/laser).
- Print Test Sheet: Always run a test on plain paper first to verify alignment and colors.
- Load Sticker Sheets Carefully: Place in printer tray flat and according to manufacturer’s feeding instructions.
- Let Ink Dry Completely: Especially with inkjet printers, wait several minutes to avoid smudging.
- Laminate (Optional): Apply a clear adhesive laminate for water resistance and longer life.
- Cut Precisely: Use a craft knife, scissors, or electronic cutter (like Cricut or Silhouette) for clean edges.
Home Printing vs. Professional Services
| Factor | Home Printing | Professional Printing |
|---|---|---|
| Cost per Sheet | $2–$5 (after initial supplies) | $10–$25 depending on size/quantity |
| Turnaround Time | Immediate | 3–7 days |
| Color Accuracy | Variable (depends on calibration) | High (professionally calibrated) |
| Durability | Moderate (with lamination) | High (UV coating, weatherproof options) |
| Best For | Prototypes, small batches, personal use | Selling, gifts, long-term outdoor use |
Real Example: From Sketch to Sticker Sheet Success
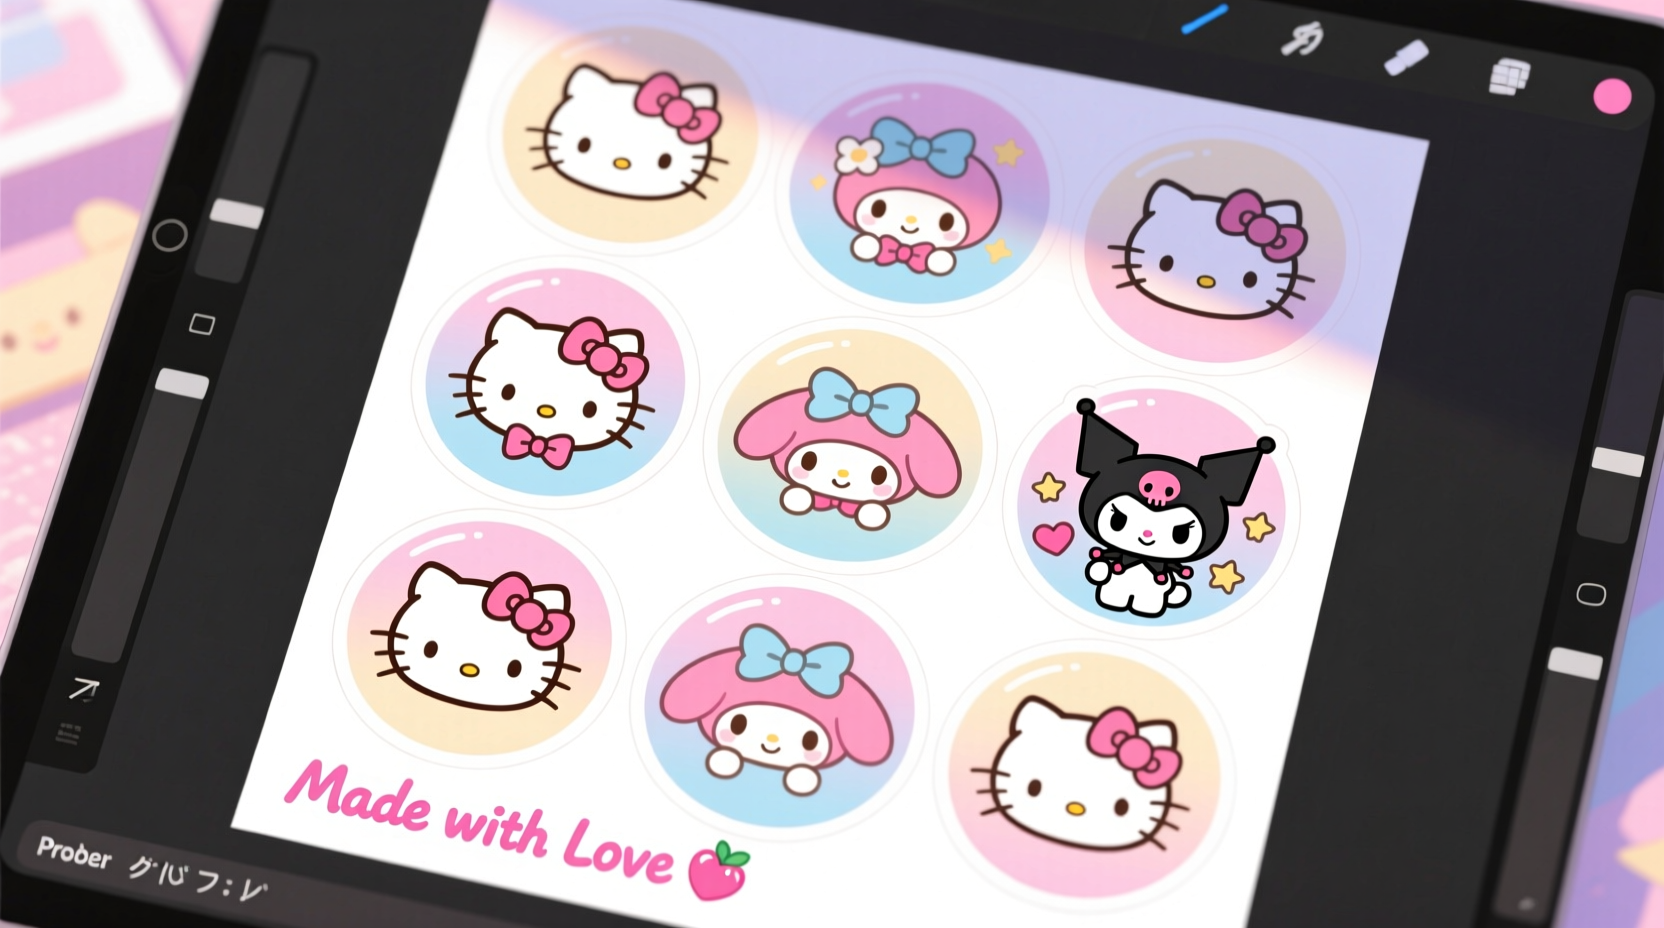
Maya, a university student and longtime Sanrio fan, wanted to make stickers for her planner and to trade with friends. She began by sketching five original characters inspired by Sanrio’s style but with distinct traits—like a bunny wearing glasses or a bear holding a cupcake. Using Procreate, she inked the drawings, added soft pink and mint backgrounds, and arranged them into a 6x8-inch sheet with consistent spacing.
She printed two test sheets at home on matte sticker paper using an inkjet printer. The first had slight misalignment; the second was perfect. After applying a clear laminating sheet, she used a precision cutter to separate each sticker. Her friends loved them so much that she started a small Etsy shop, now averaging 30 sales per month—all while staying within ethical fan-art boundaries.
Frequently Asked Questions
Can I sell stickers inspired by Sanrio characters?
You can sell original artwork *inspired* by Sanrio’s aesthetic, but not exact reproductions of copyrighted characters like Hello Kitty. Avoid using official names, logos, or registered designs. Focus on creating unique, transformative art to remain compliant with fair use guidelines.
What’s the best paper for waterproof stickers?
Vinyl sticker paper with a UV-protected laminate is ideal for waterproof, scratch-resistant stickers. These are commonly used in professional printing and can last years outdoors. For home use, consider printable vinyl sheets designed for inkjet printers.
How do I prevent my stickers from curling after printing?
Curling often occurs due to moisture imbalance between the printed side and backing. To reduce it:
- Use high-quality sticker paper suited for your printer type.
- Store sheets flat between heavy books for a few hours post-print.
- Avoid high-humidity environments during printing and storage.
Essential Checklist Before Printing
- ✅ Finalized all sticker designs in vector format
- ✅ Included 0.125” bleed on all sides
- ✅ Used 300 DPI resolution for raster elements
- ✅ Verified transparent background (if needed)
- ✅ Checked spelling and alignment on full sheet layout
- ✅ Selected correct paper type (vinyl, matte, glossy)
- ✅ Performed test print on plain paper
- ✅ Calibrated printer color settings
- ✅ Prepared cutting tools or die lines for trimming
- ✅ Confirmed non-infringing content (for commercial use)
Bring Your Kawaii Creations to Life
Designing and printing your own custom Sanrio-inspired stickers blends creativity, technical skill, and passion. Whether you're crafting for personal joy, sharing with fellow fans, or launching a micro-business, every sticker you make carries a piece of your imagination. With attention to detail, respect for intellectual property, and the right tools, your creations can stand out in the vibrant world of kawaii culture.


 浙公网安备
33010002000092号
浙公网安备
33010002000092号 浙B2-20120091-4
Comments
No comments yet. Why don't you start the discussion?