
Creating a handmade star bowknot keychain is more than just a craft—it's a small expression of personality, care, and creativity. Whether you're designing one for yourself, as a thoughtful gift, or to sell at a local market, this project blends whimsy with practicality. With minimal supplies and no prior crafting experience required, you can produce a charming accessory that stands out on any keyring. This guide walks you through every phase: from choosing materials to finishing touches, ensuring your bowknot is both beautiful and durable.
Gather Your Materials and Tools
The foundation of a well-made keychain lies in selecting the right components. Most items can be found at craft stores or repurposed from household supplies. Below is a checklist of essentials:
Materials Checklist
- Satin or grosgrain ribbon (width: 1–1.5 inches, length: 24–30 inches)
- Faux star charm (metal or acrylic, 10–15mm)
- Keychain ring (preferably stainless steel or nickel-free alloy)
- Fabric glue or E6000 adhesive
- Hot glue gun (optional, for faster drying)
- Scissors with sharp tips
- Pins or clips (to hold layers during drying)
- Lighter or fray check solution (to seal ribbon edges)
Choose ribbon colors that reflect your style—classic red and gold for holiday flair, pastels for spring, or bold neons for a modern pop. The star charm should complement the ribbon but remain small enough not to overpower the bow.
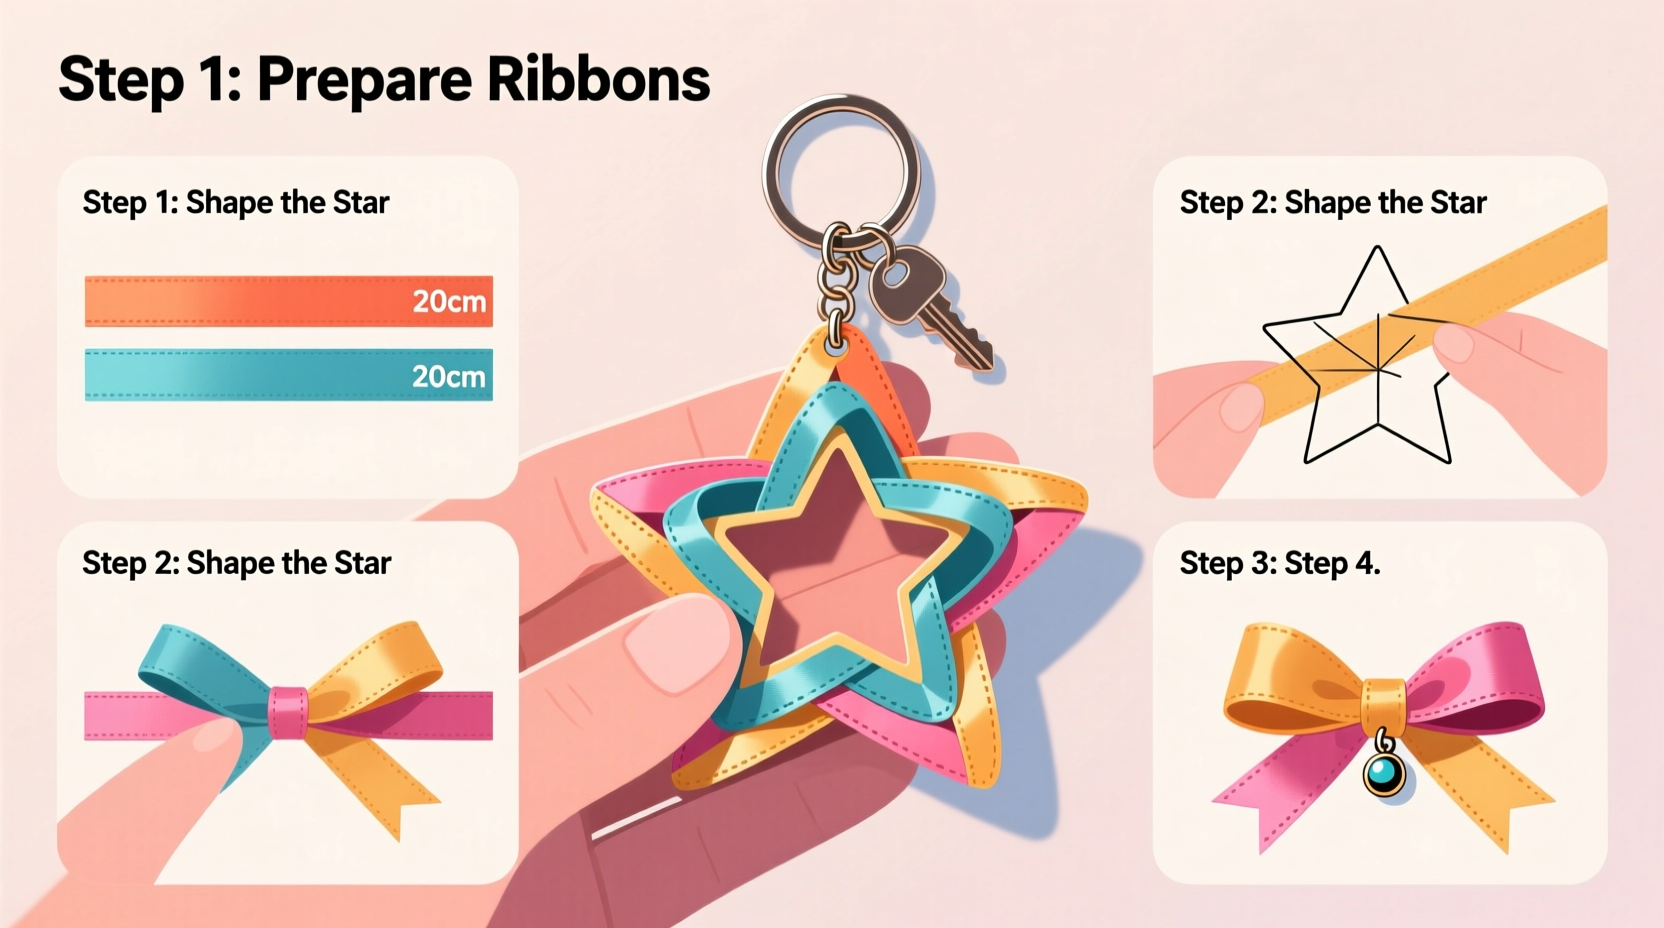
Step-by-Step Assembly of the Bowknot
The bow is the centerpiece of this keychain. A full, symmetrical bow gives the piece its charm. Follow these steps carefully to achieve a professional look.
- Cut the ribbon: Measure and cut 24 inches of main ribbon. For tails, cut two 4-inch pieces if you want short ends, or 6-inch for longer decorative tails.
- Seal the edges: Lightly run the flame of a lighter along each cut edge to prevent fraying. Do not burn—just pass quickly over the edge until it slightly melts and seals.
- Create the center loop: Fold the long ribbon into a loop about 2 inches wide. Hold it at the midpoint with your fingers.
- Form side loops: Bring both ends around and cross them behind the center loop to create two additional loops on either side. Adjust tension so all three loops are even.
- Secure the knot base: Wrap a narrow strip of matching ribbon (or thin wire) tightly around the center where all loops meet. Tie a double knot at the back to hold the shape.
- Attach the tails: Position the shorter tail pieces beneath the bow and secure them with the same wrap, so they extend straight down like traditional bow ends.
Attaching the Star Charm and Keychain Ring
This is where your keychain gains its identity. The star should sit prominently atop the bow without tilting or sliding.
Apply a small dot of fabric glue to the back of the star charm. Press it firmly onto the center of the bow’s top loop. Hold for 15 seconds to set initial adhesion. Let dry completely for at least one hour. For added security, reinforce from the backside with a tiny drop of glue between the charm and the ribbon core.
Next, open the keychain ring slightly using pliers (if metal) or simply twist it apart. Slide it through the wrapped center of the bow, then re-close securely. Ensure the ring moves freely but doesn’t detach under gentle pressure.
“Handmade accessories succeed when structure meets detail. A well-anchored charm transforms a simple bow into a keepsake.” — Lila Nguyen, Craft Designer & Etsy Artisan
Design Variations and Customization Ideas
Once you’ve mastered the basic version, experiment with styles to suit occasions or recipients.
| Variation | How to Achieve It | Ideal For |
|---|---|---|
| Glitter Accent | Use glitter-edged ribbon or add fine glitter glue to loop edges | Holiday gifts, party favors |
| Dual-Tone Bow | Combine two ribbon colors—one for loops, another for tails | Anniversaries, team spirit |
| Mini Pom-Pom Center | Replace star with a tiny wool pom-pom | Children’s keychains, spring themes |
| Personalized Tag | Add a stamped metal tag with initials beside the star | Wedding favors, best friend gifts |
For seasonal versions, consider themed charms—a snowflake in winter, a heart in February, or a pumpkin in autumn. You can also dye ribbons using fabric markers for custom gradients.
Troubleshooting Common Issues
Even experienced crafters encounter hiccups. Here’s how to fix frequent problems:
- Loops flatten after tying: Insert a small disc of stiff felt or plastic canvas inside the center before wrapping to give volume.
- Charm falls off: Always roughen the charm’s back slightly with sandpaper before gluing to improve adhesion.
- Ribbon slips during wrapping: Use a removable glue dot temporarily to hold the knot while securing the wrap.
- Bow leans to one side: Trim excess tail length evenly and rebalance loop positioning before finalizing the tie.
Real Example: Maya’s Graduation Gift Project
Maya wanted to create meaningful gifts for her five closest friends at graduation. Instead of generic presents, she designed star bowknot keychains in their school colors. She used navy and gold ribbon, added engraved stars with their initials, and attached small tags reading “Wherever you go, shine bright.” Each took her about 25 minutes once she perfected her technique. Her friends were moved by the thoughtfulness—and many still use the keychains years later.
Her success came from testing one prototype first, investing in quality glue, and packaging each in a mini gift box with a handwritten note. It wasn’t the complexity that made the gift special—it was the intention behind every stitch and sparkle.
Frequently Asked Questions
Can I wash the keychain if it gets dirty?
Spot clean only. Dip a cotton swab in mild soapy water and gently wipe the ribbon surface. Avoid soaking, as moisture weakens glue bonds and causes warping.
How long does the glue take to fully cure?
Fabric glue typically sets in 30 minutes but reaches maximum strength after 24 hours. For immediate handling, use a hot glue gun—but note it may yellow over time.
Are there eco-friendly material options?
Yes. Choose recycled polyester ribbon, wooden star charms, and biodegradable glue. Organic cotton tape can substitute for ribbon, though it won’t have the same glossy finish.
Final Touches and Longevity Tips
To preserve your creation, store it in a soft pouch when not in use, especially if carried in a bag with keys or coins that could scratch the charm. Avoid prolonged exposure to sunlight, which fades ribbon dyes. Reapply a clear sealant spray every few months if used daily.
Labeling your work adds professionalism. Attach a tiny tag with your name or logo if selling. For personal keepsakes, include a date on the back of the charm using a permanent marker.
Bring Your Creativity to Life
Making a star bowknot keychain is more than a DIY task—it’s an invitation to slow down, focus on detail, and create something meaningful. In a world of mass-produced items, handmade pieces carry emotional weight. They say, “I made this for you.” Whether you’re crafting solo on a quiet afternoon or hosting a workshop with friends, this project proves that beauty lives in the small things.


 浙公网安备
33010002000092号
浙公网安备
33010002000092号 浙B2-20120091-4
Comments
No comments yet. Why don't you start the discussion?