
Leather crafting has seen a resurgence in popularity, not just for its durability but for the timeless elegance it brings to handmade accessories. Among the most satisfying small projects is creating a custom leather ornament keychain—compact, personal, and surprisingly easy to make with basic tools. Whether you're looking to gift a meaningful keepsake or simply enjoy the tactile pleasure of working with natural materials, this guide walks you through every stage of designing and assembling a beautiful leather keychain from scratch.
Why Make Your Own Leather Keychain?
Beyond the satisfaction of creating something with your hands, a handmade leather keychain offers customization that mass-produced items can't match. You choose the shape, color, texture, and even engraving, turning a functional item into a personal statement. Over time, quality leather develops a rich patina, deepening in character with use. As artisan leatherworker Daniel Reyes notes:
“Every cut, stamp, and burn on a piece of leather tells a story. When you make your own keychain, you’re not just crafting an object—you’re imprinting a moment.” — Daniel Reyes, Artisan Leather Crafter
Unlike plastic or metal alternatives, leather keychains age gracefully, becoming more unique with every day they spend in your pocket or bag.
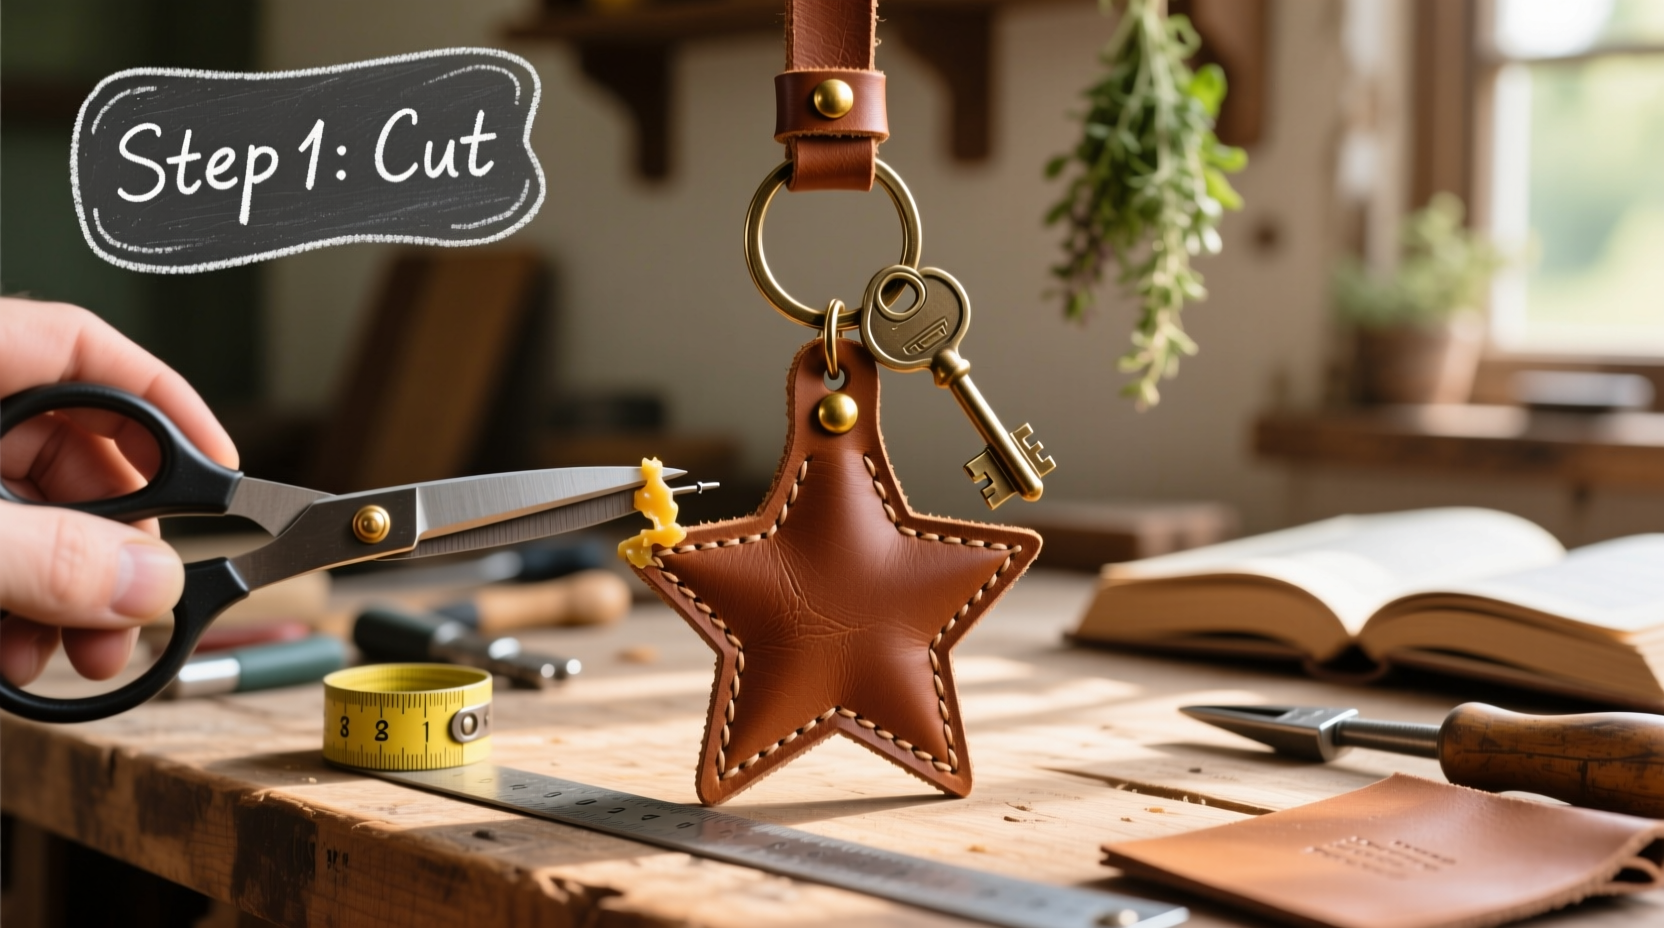
Essential Tools and Materials
Before diving into creation, gather the right supplies. Most can be found at craft stores or online retailers specializing in leatherworking. Here’s what you’ll need:
- Vegetable-tanned leather (2–3 oz thickness, ideal for small items)
- Leather cutting knife or rotary cutter
- Metal ruler (to prevent slipping while cutting)
- Leather hole punch or awl
- Edge beveler (for smoothing rough edges)
- Sanding block or fine-grit sandpaper
- Leather dye or finish (optional)
- Metal key ring (15–20mm)
- Leather stamping tools (if adding designs)
- Wooden mallet
- Cardboard or cutting mat (protective surface)
Step-by-Step Guide to Crafting Your Keychain
Follow this detailed process to transform a simple leather hide into a polished, personalized keychain.
- Design Your Shape
Select a template or sketch your own. Common shapes include circles, leaves, initials, stars, or geometric patterns. Trace the outline onto cardboard to create a reusable stencil. - Transfer and Cut
Place the stencil on the leather and trace around it with a silver pen or chalk pencil. Use a sharp utility knife and metal ruler to cut along the lines. Work slowly and reposition the knife as needed for curves. - Bevel and Sand Edges
Use an edge beveler to round off the sharp perimeter. Then, lightly sand the edges with 220-grit paper until smooth. This gives the keychain a refined, professional look. - Add Decoration (Optional)
If desired, use leather stamps to imprint initials, patterns, or borders. Place the leather on a soft surface like rubber or foam, align the stamp, and strike firmly with a mallet. For color, apply leather dye with a sponge applicator, let dry, then seal with a finish like beeswax or acrylic resin. - Punch the Hole
Decide where the key ring will attach—typically near the top edge. Use a hole punch set to 4–6mm and press straight through. If using an awl, twist gently to avoid tearing. - Attach the Key Ring
Open the key ring slightly with pliers, slide it through the hole, then close securely. Test by tugging gently to ensure it won’t slip out. - Final Conditioning
Apply a light coat of leather conditioner to nourish the material and enhance its natural luster. Buff with a soft cloth for shine.
Design Ideas and Personalization Tips
The beauty of DIY lies in personal expression. Consider these creative variations:
- Initial Keychains: Cut out a bold letter and highlight it with contrast stitching or metallic foil.
- Seasonal Ornaments: Create mini holiday shapes—snowflakes, pumpkins, hearts—and use seasonal dyes.
- Layered Designs: Stack two differently colored leather pieces, glued and stitched at the center, for depth.
- Minimalist Tags: A slim rectangle with a single stamped word like “Explore” or “Home” makes a subtle yet meaningful accessory.
| Design Style | Best Leather Type | Recommended Tools | Ideal For |
|---|---|---|---|
| Stamped Initials | Smooth veg-tan | Letter stamps, mallet | Gifts, monograms |
| Dyed Geometric | Thin, firm leather | Ruler, precision knife | Modern aesthetics |
| Natural Edge | Full-grain with bark edge | Sander, wax | Rustic, earthy look |
| Hand-Painted | Veg-tan (undyed) | Fine brushes, dyes | Artistic expression |
Common Pitfalls and How to Avoid Them
Even experienced crafters encounter hiccups. Here are frequent issues and solutions:
- Tearing During Cutting: Dull blades cause jagged edges. Replace blades frequently and apply steady, moderate pressure.
- Uneven Dye Application: Apply multiple thin coats instead of one thick layer. Let each dry completely before adding the next.
- Hole Ripping: Punch holes at least 6mm from the edge. Reinforce with a stitch or grommet if extra strength is needed.
- Blurred Stamping: Misalignment or weak strikes result in faint impressions. Hold the stamp steady and strike once—don’t tap repeatedly.
Real-Life Example: The Anniversary Gift That Sparked a Hobby
Sophie Chen, a graphic designer from Portland, wanted to make her husband a meaningful anniversary gift. Instead of buying another gadget, she crafted a leather keychain shaped like a tiny camera—his favorite hobby. She used a hand-drawn template, dyed the leather in dark brown, and stamped the date “2017–2023” below the lens. He still uses it daily.
“It wasn’t perfect,” Sophie admits, “but he said it meant more than anything store-bought. I ended up making sets for our friends and now run a small Etsy shop.” Her experience shows how a simple project can evolve into both emotional value and creative fulfillment.
Frequently Asked Questions
Can I make a leather keychain without special tools?
Yes, though results will vary. Scissors can cut thin leather, and a nail can substitute for a hole punch. However, investing in basic tools improves precision and longevity of your crafts.
How long does a handmade leather keychain last?
With proper care, a well-made leather keychain can last 5–10 years or more. Vegetable-tanned leather strengthens over time and develops a unique patina with exposure to oils and sunlight.
Is it safe to get leather wet?
Occasional moisture won’t ruin it, but prolonged exposure can stiffen or discolor leather. If it gets wet, blot dry and condition afterward. Avoid soaking or machine washing.
Checklist: Your DIY Leather Keychain Project
Use this checklist to stay organized and efficient:
- Choose a design or template
- Gather all tools and materials
- Cut leather using stencil and sharp blade
- Bevel and sand edges smoothly
- Add decoration (stamps, dye, paint)
- Punch hole near top edge
- Attach metal key ring securely
- Condition and buff the finished piece
- Test durability with gentle tug
- Package or gift with a handwritten note
Conclusion: Craft Something That Lasts
Creating your own leather ornament keychain blends craftsmanship with personal meaning. It doesn’t require years of training—just patience, a few tools, and the willingness to try. Each piece you make carries your touch, evolving with time and use into something truly irreplaceable. Whether you’re crafting for yourself or someone you love, the process itself becomes a quiet act of mindfulness and creativity.


 浙公网安备
33010002000092号
浙公网安备
33010002000092号 浙B2-20120091-4
Comments
No comments yet. Why don't you start the discussion?