
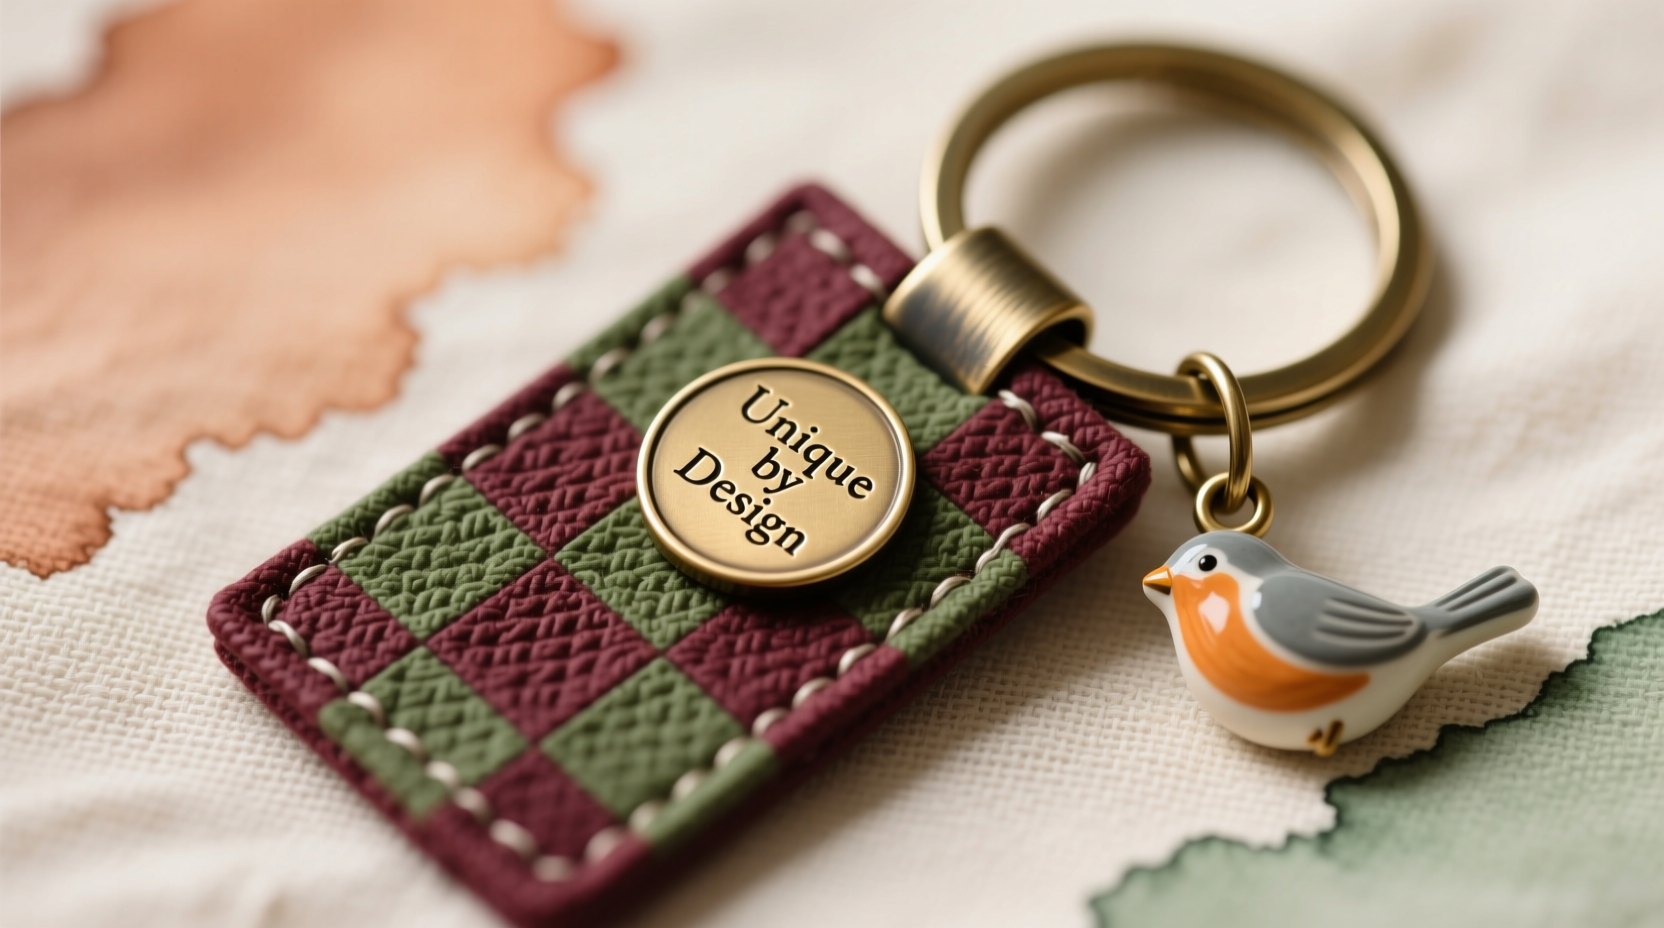
A checkered key ring—simple, classic, and often overlooked—can become a standout accessory with just a few thoughtful customizations. While the alternating squares of black and white (or any color pair) offer a timeless base, transforming it into a reflection of your personality elevates both function and fashion. Whether you're crafting for yourself or designing a meaningful gift, personalization turns an everyday object into a signature piece. From embossing initials to integrating tiny charms, the possibilities are limited only by imagination.
Selecting the Right Base Material
Before diving into decoration, consider the material of your checkered key ring. Most are made from metal, plastic, silicone, or coated fabric. Each responds differently to customization techniques:
- Metal rings accept engraving well and can support glued-on embellishments like enamel dots or miniature tags.
- Plastic or acrylic versions allow for paint detailing, laser etching, or even heat-molded additions.
- Silicone bands with a checkered pattern are flexible and ideal for permanent markers, embedded glitter, or embedded micro-charms.
- Fabric-wrapped rings open doors to embroidery, fabric paint, or iron-on patches.
Choosing a durable base ensures that your personalized touches last through daily use. If purchasing new, look for reinforced joints and scratch-resistant coatings to maintain visual clarity of the checkered design beneath modifications.
Embellish with Engraving and Etching
For a sleek, minimalist upgrade, engraving offers permanence and elegance. You can have initials, coordinates, dates, or short mottos etched directly onto the surface of a metal key ring. Many local jewelry or trophy shops provide laser engraving services affordably, but DIY methods work too.
To etch at home:
- Clean the surface with rubbing alcohol.
- Apply a stencil or masking tape to protect surrounding areas.
- Use a rotary tool with a fine-point bit or a metal scribe to carve your design.
- Wipe away debris and polish lightly to enhance visibility.
For non-metal rings, specialty pens with permanent acid-based ink can simulate etching effects on plastic or coated surfaces.
“Personalization isn’t about complexity—it’s about meaning. A single engraved letter can carry more weight than a dozen flashy add-ons.” — Jordan Lee, Accessory Designer & Craft Educator
Add Charms, Tags, and Miniature Accents
One of the most expressive ways to personalize a checkered key ring is by attaching small charms or identity tags. These dangle elements catch attention and convey individuality without overwhelming the original design.
Popular options include:
- Tiny zodiac signs or birthstones
- Miniature books, cameras, or musical notes for hobby representation
- Enamel pins repurposed as pendants
- Custom luggage tags with names or nicknames
Use split rings or jump rings to attach these securely. For a layered effect, stack multiple small charms in a balanced arrangement—one focal charm centered, flanked by smaller accents.
| Accent Type | Best For | Attachment Method |
|---|---|---|
| Resin Charms | Colorful themes, seasonal styles | Jump rings |
| Metal Tags | Initials, coordinates, quotes | Soldering or strong epoxy |
| Felt Shapes | Soft texture, whimsical looks | Fabric glue + clear sealant |
| Glass Beads | Elegant, refined style | Wire wrapping |
Mini Case Study: The Traveler’s Key Ring
Sophia, a frequent traveler based in Vancouver, wanted a key ring that reflected her adventures. She started with a stainless steel checkered ring and had her initials and “49.2827° N, 123.1207° W” (her hometown) laser-engraved on one side. On the other, she attached three small charms: a globe, a suitcase, and a tiny airplane—all in brushed gold. To preserve the balance of the design, she chose a single chain link to suspend the charms, ensuring they didn’t tangle with keys. Over two years later, it remains her most complimented accessory and a conversation starter at airports.
Incorporate Color and Pattern Beyond the Check
The checkered pattern provides contrast, but layering additional colors enhances individuality. Consider these techniques:
- Paint detailing: Use fine-tipped acrylic or enamel paint pens to outline select squares in metallic gold, neon pink, or iridescent silver.
- Decoupage: Cut tiny paper motifs (e.g., song lyrics, vintage maps) and seal them under a clear resin drip.
- Tapestry wrap: Wrap thin leather cord or embroidery floss around part of the ring in a secondary pattern (e.g., chevron or spiral).
- UV resin art: Pour colored UV resin into recessed areas or over flat surfaces, curing with a lamp for a glossy, dimensional finish.
When introducing new patterns, ensure they complement rather than clash with the existing checkered layout. For instance, diagonal stripes across alternating black squares create optical interest while maintaining harmony.
Create a Themed Narrative
Instead of random decorations, build a cohesive story into your key ring. Themes anchor the design and make it memorable. Examples include:
- Nostalgia theme: Attach mini replicas of childhood toys or school mascot pins.
- Literary theme: Use book-shaped tags with favorite quotes or author initials.
- Musical theme: Include tiny guitar picks, sheet music snippets, or band logos.
- Pet tribute: Add a paw print charm or a photo capsule showing your dog or cat.
Theming transforms the key ring from an accessory into a wearable scrapbook. Even subtle cues—like painting one square red to represent a favorite sports team—can spark recognition among those who know you well.
Step-by-Step Guide: Build a Personalized Checkered Key Ring
- Choose your base: Select a sturdy checkered key ring in your preferred material.
- Plan your design: Sketch ideas or lay out charms and paints before applying anything permanently.
- Engrave or etch: Add initials, symbols, or meaningful text using professional or DIY tools.
- Apply color: Use paint, wraps, or decals to introduce new hues without covering the entire pattern.
- Attach accents: Securely fasten charms, tags, or beads using appropriate connectors.
- Seal and protect: Apply a clear protective coat if using paint, paper, or fabric elements.
- Test functionality: Ensure the ring still opens and closes smoothly and doesn’t snag in pockets.
Checklist: Personalization Readiness
- ☑ Selected a high-quality checkered key ring
- ☑ Chosen a theme or personal motif
- ☑ Gathered tools (paint pens, glue, engraving tool, etc.)
- ☑ Tested materials on a spare surface
- ☑ Planned charm placement for balance
- ☑ Applied protective sealant where needed
- ☑ Verified durability through simulated daily use
Frequently Asked Questions
Can I remove personalization if I change my mind?
Some modifications are reversible. Charms can be unclipped, and wrapped threads unwound. Paint and glue may be removable with solvents, but engraving is permanent. Always start with non-destructive changes first.
How do I keep glued-on elements from falling off?
Use a high-bond adhesive like E6000 or epoxy resin, allow 24 hours of drying time, and avoid exposing the bond to moisture during curing. Reinforce larger pieces with mechanical fasteners when possible.
Is it safe to personalize someone else’s key ring as a gift?
Yes, as long as the personalization is thoughtful and not overly intimate. Initials, shared inside jokes, or hobby-related charms are generally well-received. Avoid sensitive details like addresses or passwords.
Final Touches That Last
A personalized checkered key ring is more than a tool—it's a daily companion that speaks to who you are. The best designs balance aesthetics with practicality, standing up to jostling in pockets and bags while retaining their charm. By combining durable materials, meaningful details, and careful craftsmanship, your customized piece will endure both physically and emotionally.


 浙公网安备
33010002000092号
浙公网安备
33010002000092号 浙B2-20120091-4
Comments
No comments yet. Why don't you start the discussion?