
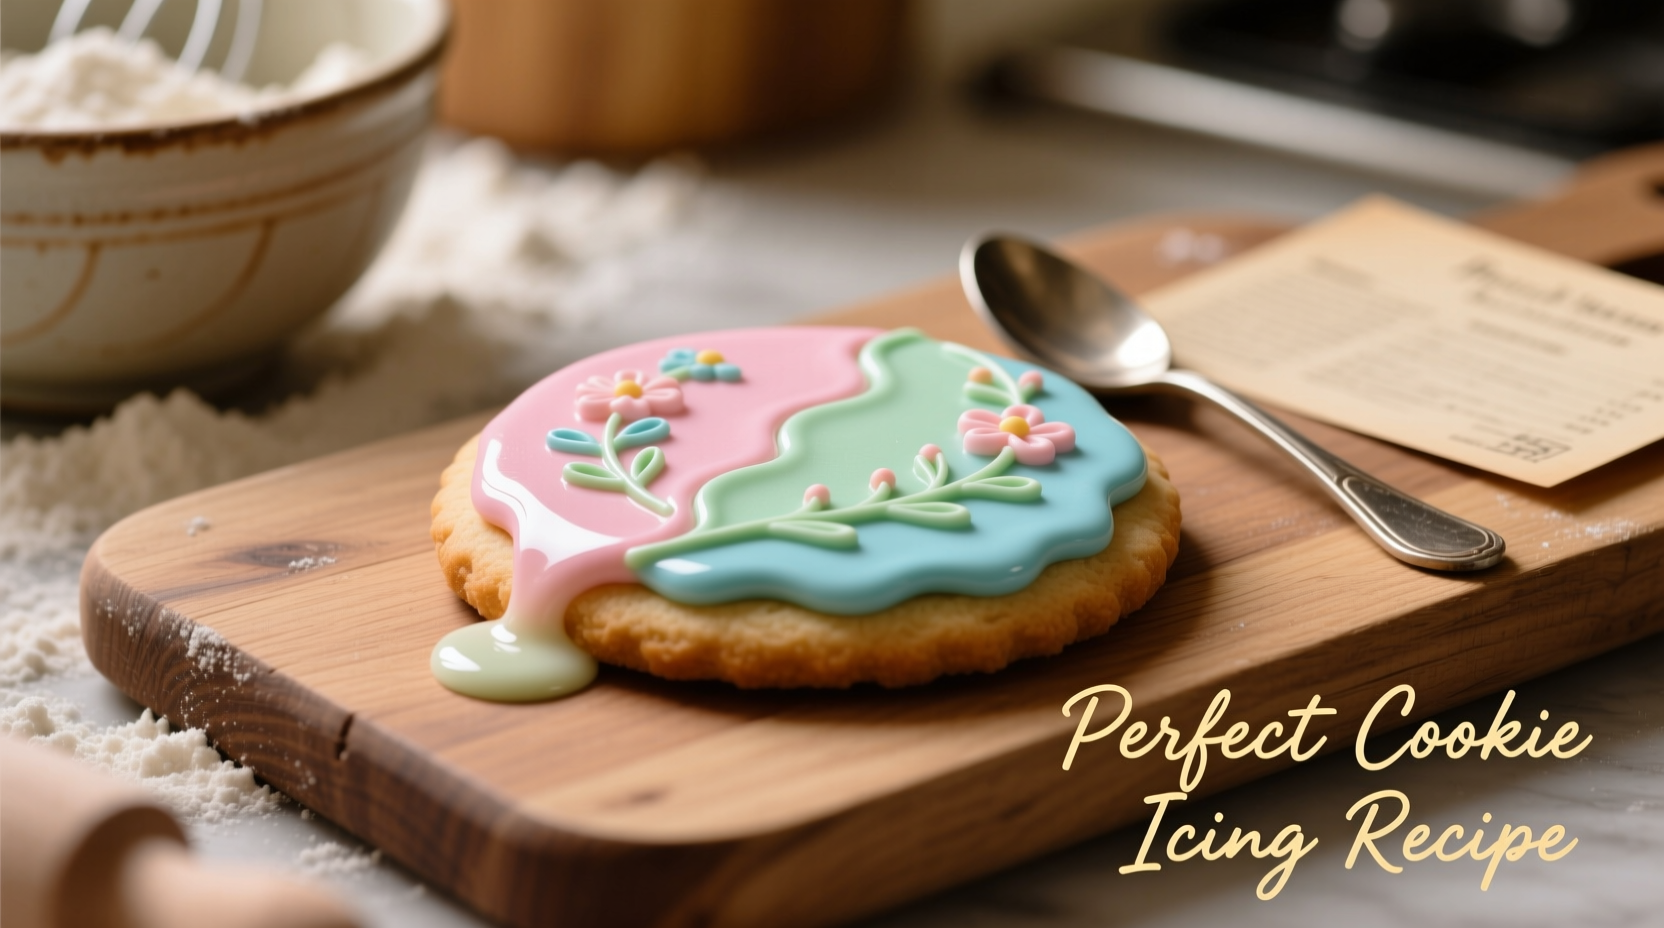
Decorating cookies is both an art and a science. Whether you're preparing for a holiday, birthday, or just indulging in a creative kitchen project, the right icing can make all the difference. Many bakers struggle with icings that crack, take too long to dry, or don’t hold intricate designs. The solution? A simple, reliable royal icing made from just a few pantry staples. This version delivers a smooth finish, sets firmly, and adapts easily to flooding, outlining, and detailed work—without requiring professional tools or experience.
The Foundation: What Makes This Icing Superior
This royal icing recipe stands out because it balances consistency, drying time, and flavor. Unlike store-bought alternatives that often taste chalky or set too hard, this homemade version uses real ingredients and allows full control over texture. The base combines powdered sugar, meringue powder, water, and a touch of vanilla. Meringue powder replaces raw egg whites, making the icing safe for all ages while still achieving that glossy, professional-grade finish.
The key to its versatility lies in adjustability. By altering the amount of water, you can shift from a thick outline consistency to a thin flood glaze—ideal for filling large areas smoothly. Once dried, the icing forms a crisp shell that resists smudging, yet remains pleasant to eat.
“Consistency is everything in cookie decorating. If your icing is off by even a tablespoon of liquid, your details may bleed or fail to hold.” — Lila Hartman, Pastry Instructor at Midwest Culinary Academy
Step-by-Step Guide to Perfect Cookie Icing
Follow this method to create flawless icing every time. The process takes under 10 minutes and requires only basic equipment: a mixing bowl, electric hand mixer or stand mixer, measuring spoons, and small containers for separating consistencies.
- Gather Ingredients: You’ll need 2 cups (240g) sifted powdered sugar, 2 tablespoons meringue powder, 3–4 tablespoons warm water, and ½ teaspoon vanilla extract (optional).
- Mix Dry Base: In a clean bowl, combine the powdered sugar and meringue powder. Sifting ensures no lumps form during mixing.
- Add Liquid Gradually: Begin by adding 3 tablespoons of warm water and the vanilla. Mix on low speed for 30 seconds, then increase to medium-high for 2–3 minutes until glossy peaks form.
- Test Consistency: Lift the beater; the icing should fall in a ribbon that dissolves into itself after 10 seconds. This is “flood consistency.” For thicker outlining, add more sugar. For thinner flooding, add water ½ teaspoon at a time.
- Color as Needed: Divide icing into separate bowls before adding gel food coloring. Use toothpicks to blend concentrated colors evenly without adding excess moisture.
- Store Properly: Cover each bowl with a damp paper towel and place inside an airtight container. This prevents premature drying during use.
Adapting Consistencies for Different Techniques
One batch of icing can serve multiple purposes when adjusted correctly. Understanding the different stages helps maximize efficiency and precision.
| Consistency | Use Case | How to Test | Adjustment Method |
|---|---|---|---|
| Stiff (15+ second count) | Piping borders, 3D details, writing | Holds sharp peaks | Add more powdered sugar |
| Medium (10-second count) | Outlining cookie shapes | Ribbon disappears slowly | Balanced mix; minimal adjustment |
| Flood (5–7 second count) | Filling interiors, smooth coverage | Ribbon blends within seconds | Add water drop by drop |
| Runny (under 5 seconds) | Glazing, marbling effects | Immediately absorbs | More water; use sparingly |
To transition between stages, keep a spray bottle of water nearby for thinning and extra sifted sugar for thickening. Never add large amounts at once—small increments preserve control.
Tips for Flawless Application and Drying
Even the best icing can disappoint if applied incorrectly. Humidity, temperature, and technique all influence results. Here are proven strategies to ensure success:
- Work in a climate-controlled room. High humidity slows drying and causes colors to run.
- Let outlined borders rest for 15–20 minutes before flooding to prevent bleed-through.
- Use scribe tools or toothpicks to guide flood icing into corners and pop air bubbles.
- Dry cookies uncovered for 4–6 hours, or overnight for full hardness. Avoid stacking until completely set.
- Rotate trays gently to ensure even airflow—don’t cover with cloths, which trap moisture.
Real Example: Holiday Cookie Prep Made Simple
Sarah, a home baker from Portland, used to dread her annual Christmas cookie exchange. Her icing would crack, colors faded, and fine details blurred. Last year, she switched to this royal icing recipe and transformed her process. She prepared one base batch, divided it into four portions, and tinted each with vibrant gel colors—crimson, forest green, gold, and white. Using a 10-second consistency for outlines and a 6-second flood, she decorated 48 sugar cookies in under three hours. The next morning, every design was crisp, shiny, and smudge-free. Her friends asked for the recipe, and she now hosts a yearly decorating workshop using this same method.
Essential Checklist Before You Start Decorating
Ensure success with this pre-decorating checklist:
- ✅ Sift powdered sugar to eliminate lumps
- ✅ Use room-temperature water for even mixing
- ✅ Prepare all tools: piping bags, tips (or ziplock bags), spatulas, toothpicks
- ✅ Have gel food colors ready in squeeze bottles
- ✅ Set up drying area with parchment-lined trays
- ✅ Test consistency on a spare cookie or plate before starting
- ✅ Cover unused icing immediately to prevent crusting
Frequently Asked Questions
How long does royal icing take to dry completely?
Thin layers typically dry to the touch in 2–4 hours, but full hardness takes 6–8 hours. Thicker applications or high humidity may require overnight drying. For best results, allow at least 6 hours undisturbed.
Can I make this icing ahead of time?
Yes, but with caution. Store prepared icing in an airtight container with a damp paper towel on the surface. It will keep for up to 48 hours at room temperature. Stir gently before reuse—do not re-whip, as this introduces air bubbles.
Is this icing safe for kids and pregnant women?
Absolutely. Because it uses meringue powder instead of raw egg whites, there is no risk of salmonella. Meringue powder is pasteurized and widely used in commercial baking for safety and stability.
Final Thoughts and Creative Encouragement
This easy and versatile cookie icing recipe removes the guesswork from decoration, giving consistent, beautiful results whether you’re a beginner or refining your skills. Its adaptability means you can tackle any design—from delicate lace patterns to bold geometric fills—using one trusted formula. The clarity of finish, quick drying time, and edible quality elevate your cookies from homemade to showstopping.
Don’t wait for a special occasion to try it. Bake a small batch of sugar cookies this weekend, whip up a bowl of icing, and experiment with colors and techniques. Each stroke builds confidence, and every finished cookie becomes a keepsake of creativity.


 浙公网安备
33010002000092号
浙公网安备
33010002000092号 浙B2-20120091-4
Comments
No comments yet. Why don't you start the discussion?