
When your Mac suddenly loses critical files due to accidental deletion, system crashes, or drive corruption, the right recovery program can mean the difference between a minor inconvenience and irreversible data loss. macOS includes built-in safeguards like Time Machine, but these don’t cover every scenario—especially when dealing with corrupted SSDs, failed external drives, or permanently emptied Trash folders. To ensure comprehensive protection, you need reliable third-party recovery software designed specifically for macOS. This guide explores the most effective recovery programs available today, helping you choose the best solution based on performance, usability, and real-world reliability.
Why Built-In Tools Aren't Always Enough
Apple’s Time Machine is an excellent backup utility, but it only works if you’ve enabled it before disaster strikes. If you haven’t set up regular backups—or if your backup drive itself fails—you’re left without a safety net. Additionally, Time Machine cannot recover files deleted prior to the first backup or retrieve data from unmounted or physically damaged drives.
Third-party recovery tools go beyond backups by scanning disk sectors directly, identifying recoverable files even when the file system is compromised. They support a broader range of storage devices—including SD cards, USB drives, and RAID arrays—and offer deeper forensic-level scanning capabilities that macOS alone does not provide.
“Even experienced Mac users underestimate how quickly data can become inaccessible after a crash. A dedicated recovery tool should be part of every user’s digital emergency kit.” — Dr. Alan Reyes, Data Recovery Specialist at Pacific Digital Forensics
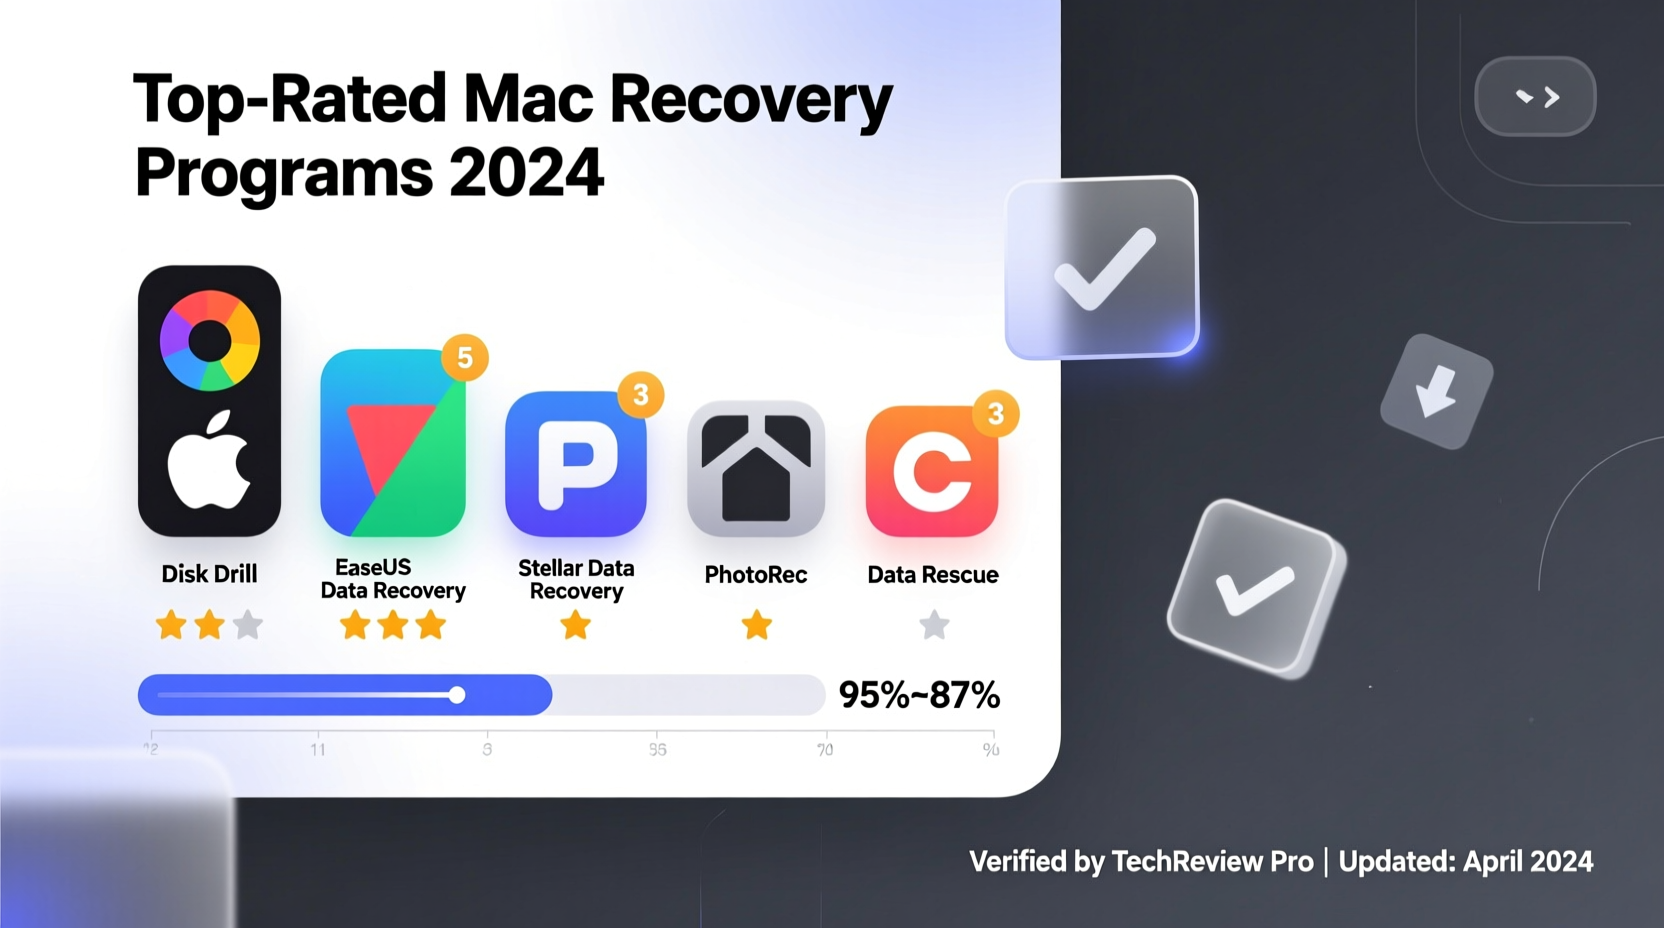
Top 5 Mac Recovery Programs Compared
The market is filled with data recovery software, but not all are created equal. The following five programs stand out due to consistent performance, compatibility with modern Apple hardware (including M1/M2 chips), and strong customer support.
| Software | Price (Annual/Lifetime) | Key Features | Best For |
|---|---|---|---|
| Stellar Data Recovery for Mac | $79.99 (lifetime) | Deep scan mode, Time Machine recovery, encrypted drive support, photo & video preview | Home users needing intuitive interface and broad format support |
| Wondershare Recoverit | $69.95/year or $99.95 (lifetime) | AI-powered recovery, real-time preview, supports over 1000 file types, cloud backup integration | Creatives working with media files and large volumes of data |
| EaseUS Data Recovery Wizard for Mac | $69.95 (annual), free version available | Partition recovery, RAW drive access, selective recovery filtering | Users recovering from formatted drives or partition errors |
| Disk Drill | Free base version; Pro: $89 (lifetime) | Recovery Vault, byte-level scanning, S.M.A.R.T. monitoring, ZIP repair | Proactive users who want ongoing disk health alerts |
| PhotoRec (Open Source) | Free | Command-line tool, recovers hundreds of file types, works on severely damaged media | Advanced users comfortable with terminal commands |
Step-by-Step Guide to Recovering Lost Files on Mac
Whether you've deleted an important document or suffered a drive failure, follow this structured process to maximize your chances of successful recovery:
- Stop using the affected drive immediately. Continued write activity increases the risk of overwriting deleted files.
- Boot into Safe Mode (if necessary). Restart your Mac and hold Shift until the Apple logo appears. This prevents background processes from writing to disk.
- Connect an external drive for saving recovered files. Never save recovered data back to the same drive you’re scanning.
- Download and install recovery software on a separate device or partition. Use another Mac or bootable USB installer if needed.
- Run a quick scan followed by a deep scan. Quick scans find recently deleted files; deep scans take longer but detect older or fragmented data.
- Preview recoverable files and select what to restore. Most premium tools allow previews of images, documents, and videos.
- Save recovered files to your external drive. Verify integrity before moving them back to your main system.
Real Example: Recovering Photos After Accidental Deletion
Sophie, a freelance photographer in Vancouver, accidentally reformatted her external SSD containing three months of client wedding photos. She panicked but remembered reading about Disk Drill. Using a friend’s MacBook, she downloaded the software, connected her SSD, and ran a deep scan. Within two hours, Disk Drill identified 93% of her missing JPEG and RAW files. She previewed thumbnails to confirm quality, then restored the collection to a new drive. Though stressful, the incident reinforced her decision to adopt both automated backups and a trusted recovery tool as standard practice.
Essential Features to Look for in a Mac Recovery Program
Not all recovery tools offer the same depth of functionality. Prioritize these features when evaluating options:
- Compatibility with Apple Silicon (M1/M2/M3): Some older tools fail on newer Macs without Rosetta translation.
- File type specificity: Ensure support for formats you use—e.g., PSD, MOV, CR2, or DNG.
- Preview capability: Previewing ensures you're recovering usable files, not corrupted fragments.
- Encryption handling: Can the software recover files from FileVault-protected or password-protected disks?
- Customer support responsiveness: Look for live chat or phone support during business hours.
- Licensing model: Lifetime licenses often offer better long-term value than subscriptions.
Checklist: Choosing the Right Recovery Solution
Before purchasing or relying on any recovery program, ask yourself the following:
- ✅ Does it support my Mac’s processor (Intel or Apple Silicon)?
- ✅ Can it recover from my specific issue (deletion, formatting, corruption)?
- ✅ Is there a free trial with meaningful functionality?
- ✅ Does it preserve original folder structure upon recovery?
- ✅ Are there verified user reviews on trusted platforms like MacUpdate or G2?
- ✅ Does it include technical support in case something goes wrong?
Frequently Asked Questions
Can I recover files after emptying the Trash?
Yes—files removed from the Trash remain on disk until overwritten. Recovery software can locate these remnants through sector-level scanning, especially if done promptly.
Is it safe to use third-party recovery tools on my startup disk?
Yes, provided you don’t save recovered files back to the same drive. Running scans read-only poses minimal risk. However, avoid writing anything to the drive until recovery is complete.
What should I do if my Mac won’t boot?
In non-bootable scenarios, create a bootable USB drive with recovery software (supported by Wondershare Recoverit and EaseUS). Boot from the USB by holding Option during startup and proceed with recovery.
Final Recommendations and Next Steps
The best recovery program for your Mac depends on your technical comfort level, budget, and specific needs. For most home users, Disk Drill offers the ideal balance of ease-of-use, robust scanning, and proactive protection. Creative professionals may prefer Wondershare Recoverit for its superior media file handling and AI-enhanced detection. Meanwhile, those facing severe corruption might benefit from PhotoRec, despite its steeper learning curve.
No matter which tool you choose, act quickly after data loss. The longer you wait, the lower the recovery success rate. More importantly, treat recovery software as a last resort—not a replacement for regular backups. Combine Time Machine with cloud services like iCloud or Backblaze for true peace of mind.


 浙公网安备
33010002000092号
浙公网安备
33010002000092号 浙B2-20120091-4
Comments
No comments yet. Why don't you start the discussion?